Ever stared at your makeup mirror wondering why your contour just looks… off? You’re not alone. Whether you’re a seasoned makeup artist or an enthusiastic beginner, advanced contouring can feel like decoding ancient runes. But what if I told you the secret to jaw-dropping cheekbones lies in mastering a few pro-level techniques?
Table of Contents
- Introduction
- Key Takeaways
- Understanding Advanced Contouring
- How to Master Advanced Contouring: A Step-by-Step Guide
- Pro Tips and Best Practices for Flawless Contouring
- Real-World Examples That Will Inspire You
- Frequently Asked Questions About Advanced Contouring
- Conclusion
Key Takeaways
- Advanced contouring transforms facial structure by using shadow and light strategically.
- Choosing the right products and tools is half the battle.
- Proper blending is non-negotiable—think “second skin,” not “stripes.”
- Practice on diverse skin tones to sharpen your artistry skills.
Understanding Advanced Contouring
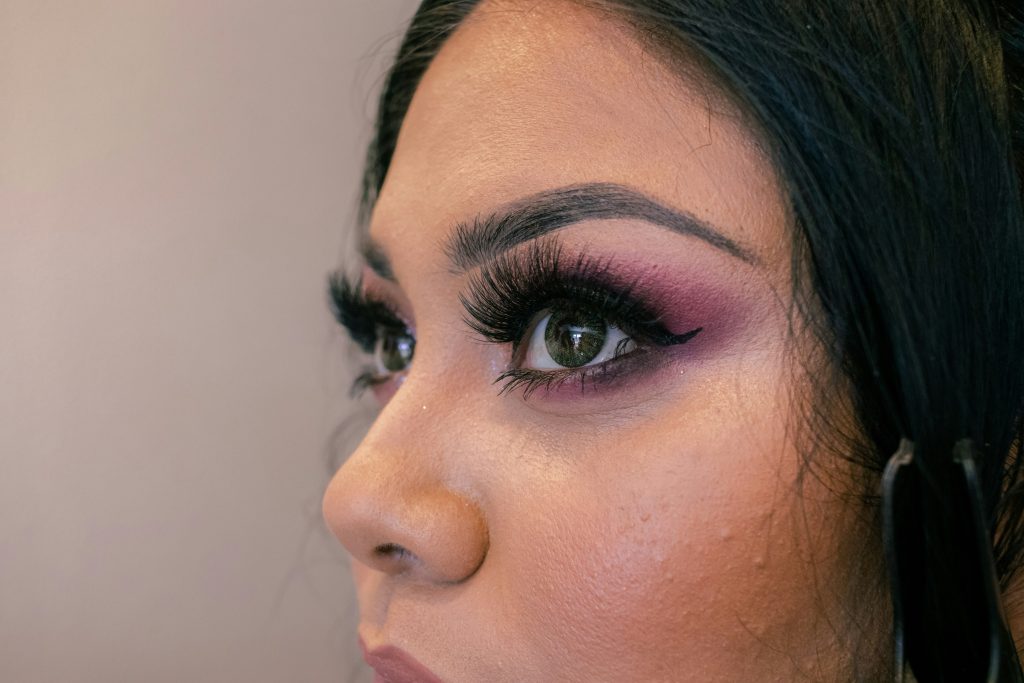
Let’s be real—basic contouring is child’s play compared to the magic of advanced contouring. This technique goes beyond simply shading under your cheekbones; it reshapes your entire face. Think sculpted cheekbones, chiseled jawlines, and even forehead modifications.

I’ll confess—I once spent two hours trying to contour during a photoshoot, only to end up looking like I’d been punched repeatedly. Lesson learned: prep work is *everything*. Start with primed skin and build up gradually for natural-looking results.
The Science Behind It
Contouring works because of how light interacts with shadows. By applying darker shades strategically, you create illusions—cheekbones look higher, noses slimmer, and chins sharper. The trick? Use matte formulas for realism and cream-based products for blendability.
Rant Alert:
Optimist You*: “Oh, just slap some powder on and call it day.”
Grumpy Me: “Yeah, unless you want to look like a muddy mess. Skincare prep? Tool mastery? Blend, blend, BLEND!”
How to Master Advanced Contouring: A Step-by-Step Guide
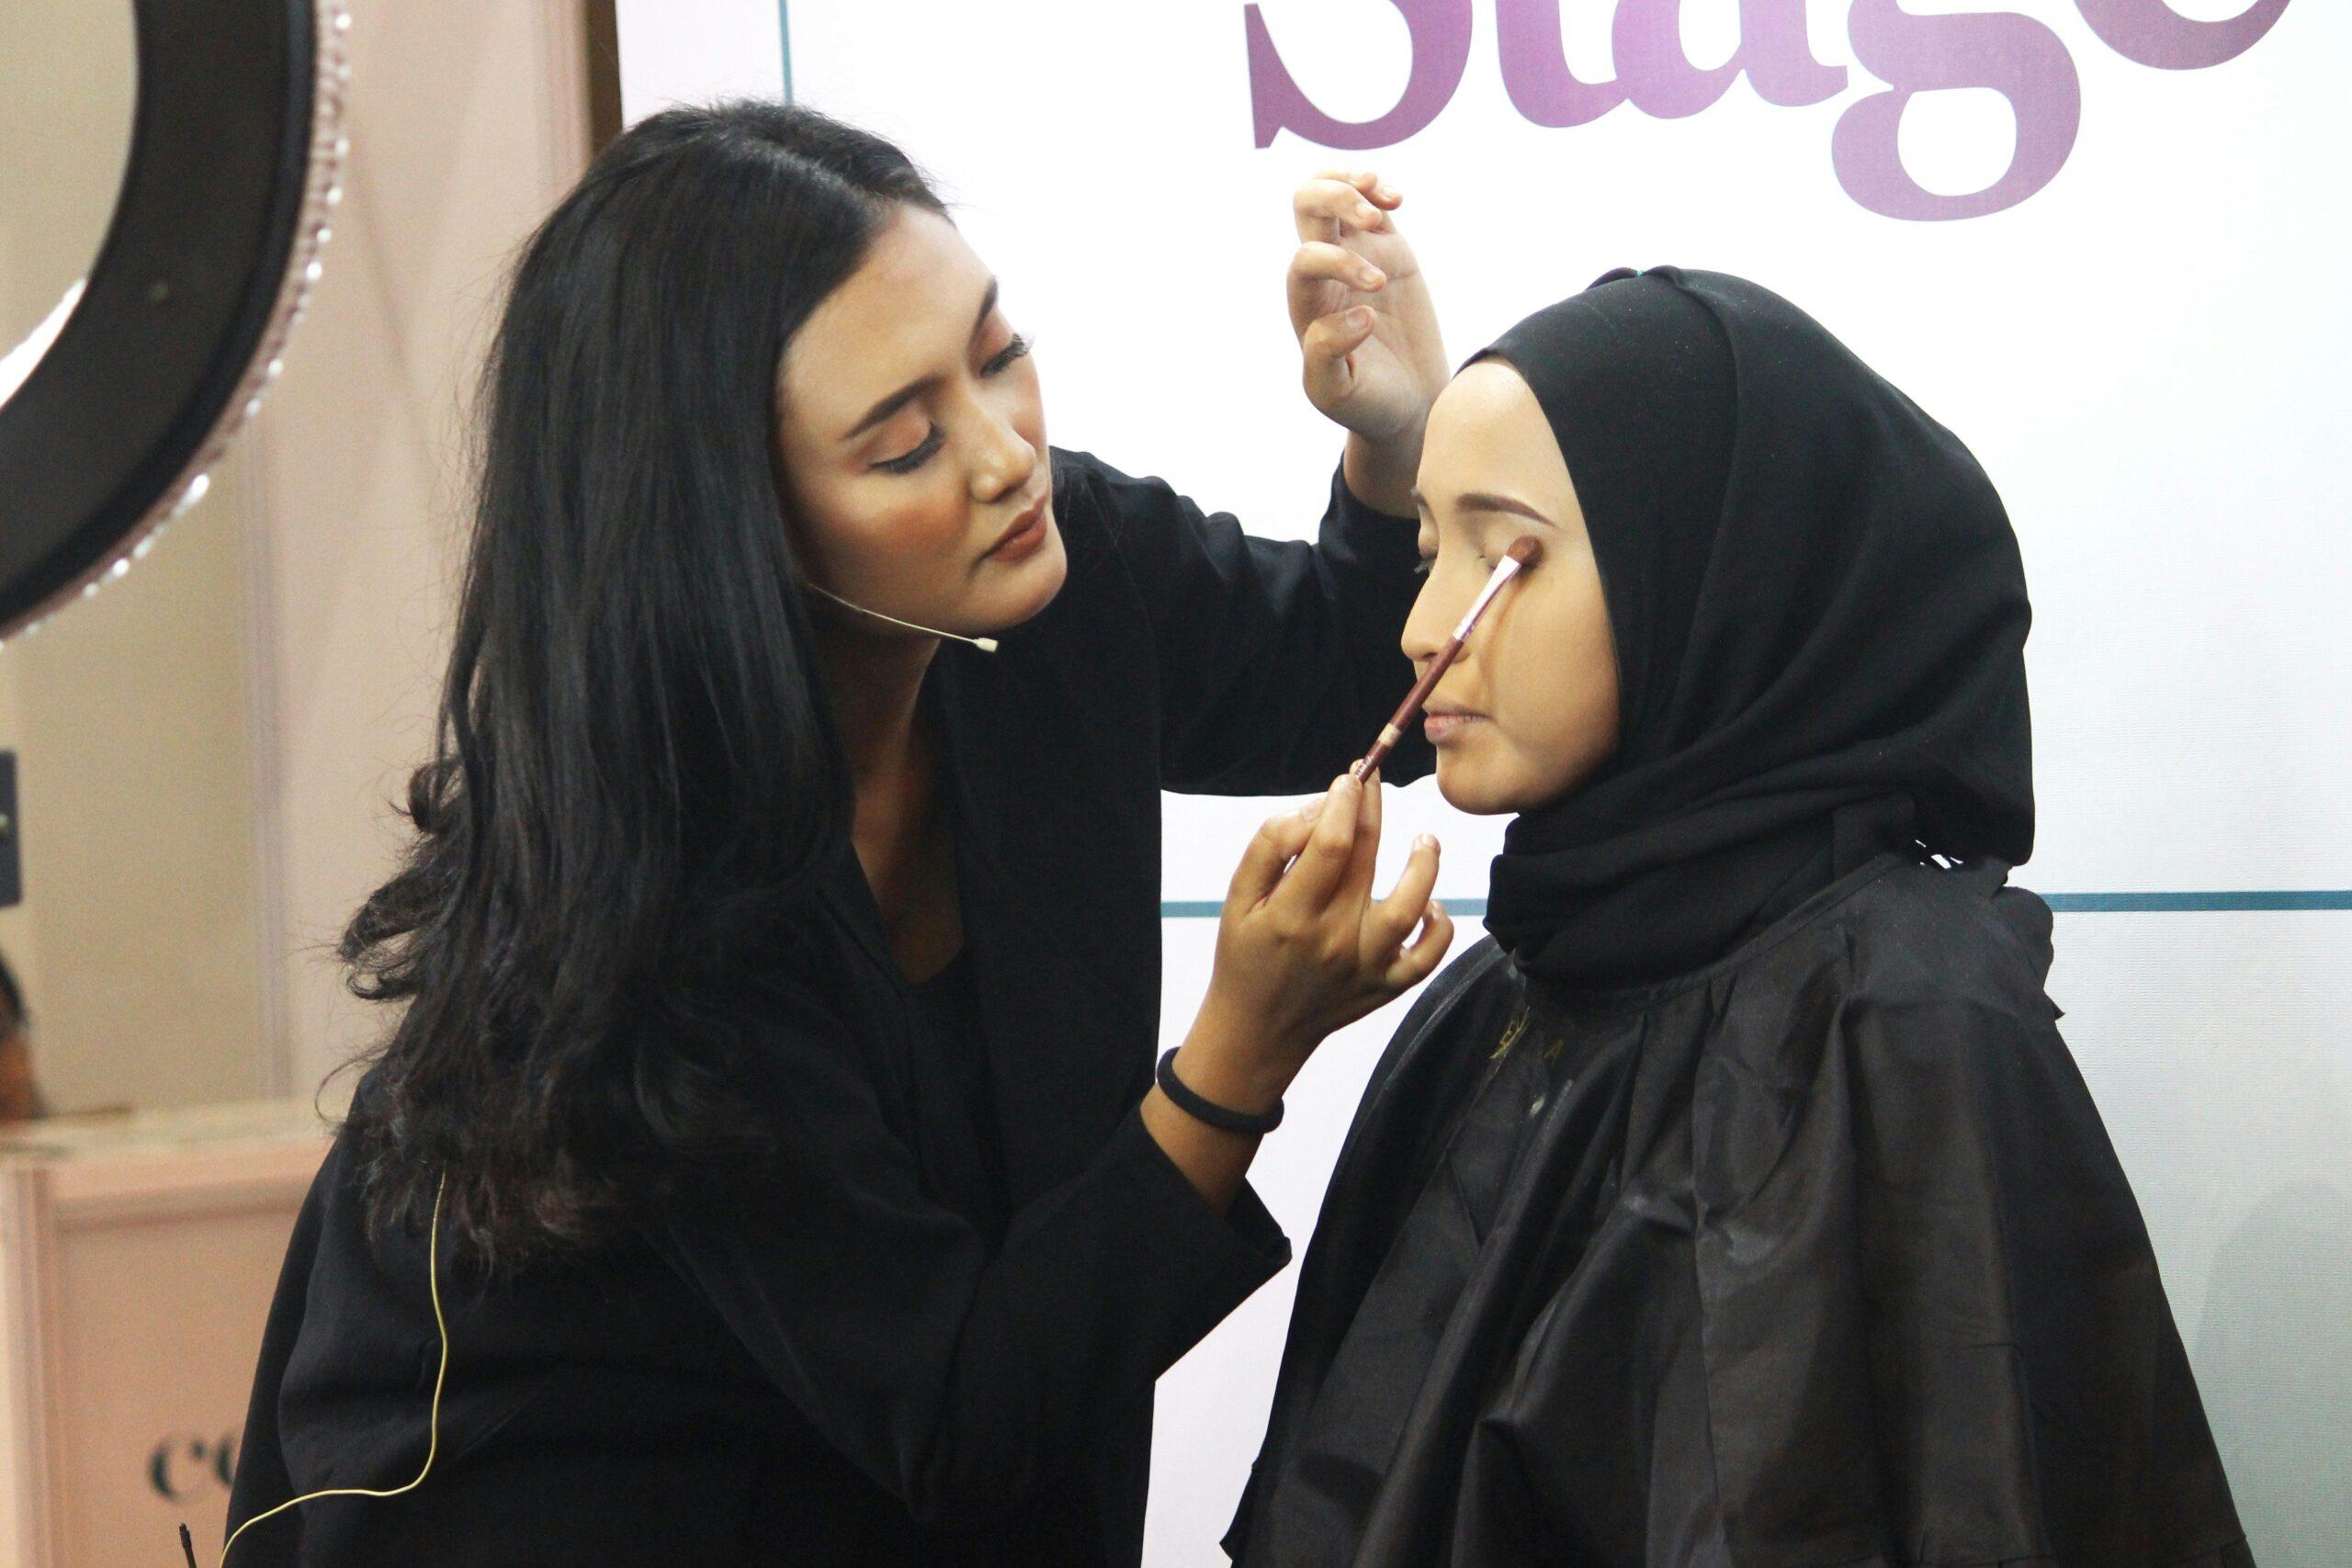
Step 1: Prep Like a Pro
Your canvas matters. Cleanse, tone, moisturize, and prime. Skipping this step equals cakey disaster.
Step 2: Map Out Your Face
Use concealer or foundation one shade lighter than your skin tone to highlight high points (cheekbones, bridge of nose, cupid’s bow). Apply a darker shade below these areas to define them further.
Step 3: Blend Until It’s Invisible
Whether you’re using brushes, sponges, or fingers, make sure there are no harsh lines. Blend until it feels second nature.

Pro Tips and Best Practices for Flawless Contouring
- Choose Multitasking Products: Cream sticks double as both contour and foundation.
- Avoid Overdoing It: Less is more—build layers slowly instead of piling product on all at once.
- Match Undertones: Cool-toned contours suit cooler complexions, while warm tones work better for warmer undertones.
- Set It and Forget It: Lock everything in place with a translucent setting powder.
Terrible Tip Disclaimer:
Using orangey bronzer as a contour will leave you resembling a pumpkin. Don’t do it. Ever.
Real-World Examples That Will Inspire You
Case Study: Professional makeup artist Sarah Jones turned heads at New York Fashion Week by experimenting with unconventional contour placements. Her model’s sharp cheekbones became the talk of Instagram.

Frequently Asked Questions About Advanced Contouring
Q: Can I use blush as a contour?
Absolutely not. Blush adds warmth and dimension but lacks the depth needed for proper shadowing.
Q: What brush should I use for blending?
A dense, angled brush works wonders for precision, while beauty sponges provide seamless diffusion.
Q: Is advanced contouring suitable for oily skin?
Yes! Opt for oil-free, long-wearing formulas to prevent sliding throughout the day.
Conclusion
There you have it—the ultimate guide to advanced contouring that combines artistic flair with technical expertise. From mapping your face to blending like a boss, every step brings you closer to becoming a master of makeup artistry.
Now go ahead, grab those brushes, and sculpt away!
Like the final layer of setting spray, here’s my haiku for you:
Cheekbones rise softly,
Light dances where shadow falls,
Art meets beauty now.