Ever stared at a makeup tutorial for “smokey eyes” only to end up looking like you just got punched in both sockets? You’re not alone. The smokey eye is one of those elusive makeup artistry staples that looks effortless on Instagram but feels impossible in your bathroom mirror. But what if I told you that mastering the smokey eye isn’t about following rigid rules—it’s about understanding techniques and practicing with intention?
This guide will take you through everything you need to know about achieving flawless smokey eye techniques, from breaking down tools and products to step-by-step instructions, tips straight from pros, common mistakes to avoid, and even some inspirational examples. Let’s turn frustration into finesse!
Jump Ahead:
Key Takeaways
- Smokey eye techniques aren’t as complicated as they seem—anyone can learn them with practice.
- Use quality blending brushes and layer shades gradually for smooth transitions.
- Avoid overly harsh lines by tapping off excess product before application.
- Practice makes permanent—the more you do it, the easier it gets.
Why Smokey Eyes Feel Impossible to Conquer
Here’s a confession: My first attempt at a smokey eye looked less like sultry elegance and more like a preschooler’s paint spillage project. I blended so aggressively, my eyelids were raw, red, and crying out for mercy. Trust me when I say this technique has humbled many aspiring makeup artists.
The problem lies in its deceptive simplicity: “Just smudge dark colors around,” everyone says. But without proper guidance, you’ll quickly realize why it’s not *just* smoke—it’s an entire symphony of gradients, textures, and precision layered carefully together.
Optimist You:* ‘I’ve got this!’
Grumpy You:* ‘Ugh, fine—but only if there’s wine involved.’
How to Get Smokey Eye Techniques Right: A Step-by-Step Tutorial
What Tools Do You Need?
Before we dive into the process, here’s your gear checklist:
– Neutral-toned eyeshadow palette (shimmery + matte options)
– High-quality blending brush
– Small detail brush for precision work
– Concealer or primer to prep lids
Step 1: Prep Those Lids
Start by applying a concealer or primer over your lids. This creates a blank canvas and ensures the shadow sticks all night long. Blend gently with either your finger or a flat brush.
Step 2: Define Your Crease
Using a fluffy brush, sweep a mid-tone brown shade across the crease using windshield-wiper motions. Don’t go too close to the lash line yet—we’re building depth slowly.
Step 3: Add Depth Near the Lashes
With a smaller brush, pack on a darker color (like black or deep charcoal) along the outer corner of your lid, bringing it slightly upward toward the crease. Blend outward—not inward—to keep things smoldered, not smeared.
Step 4: Highlight Inner Corners
Pick up a light shimmery shade and dab it onto the inner corners of your eyes. This brightens and opens up the look while contrasting beautifully against the darkness elsewhere.
Step 5: Line Wisely
Finish with a thin coat of gel liner close to the lashes. Optional but highly recommended: Tightlining your waterline for added drama. Voilà—you’ve completed your masterpiece!
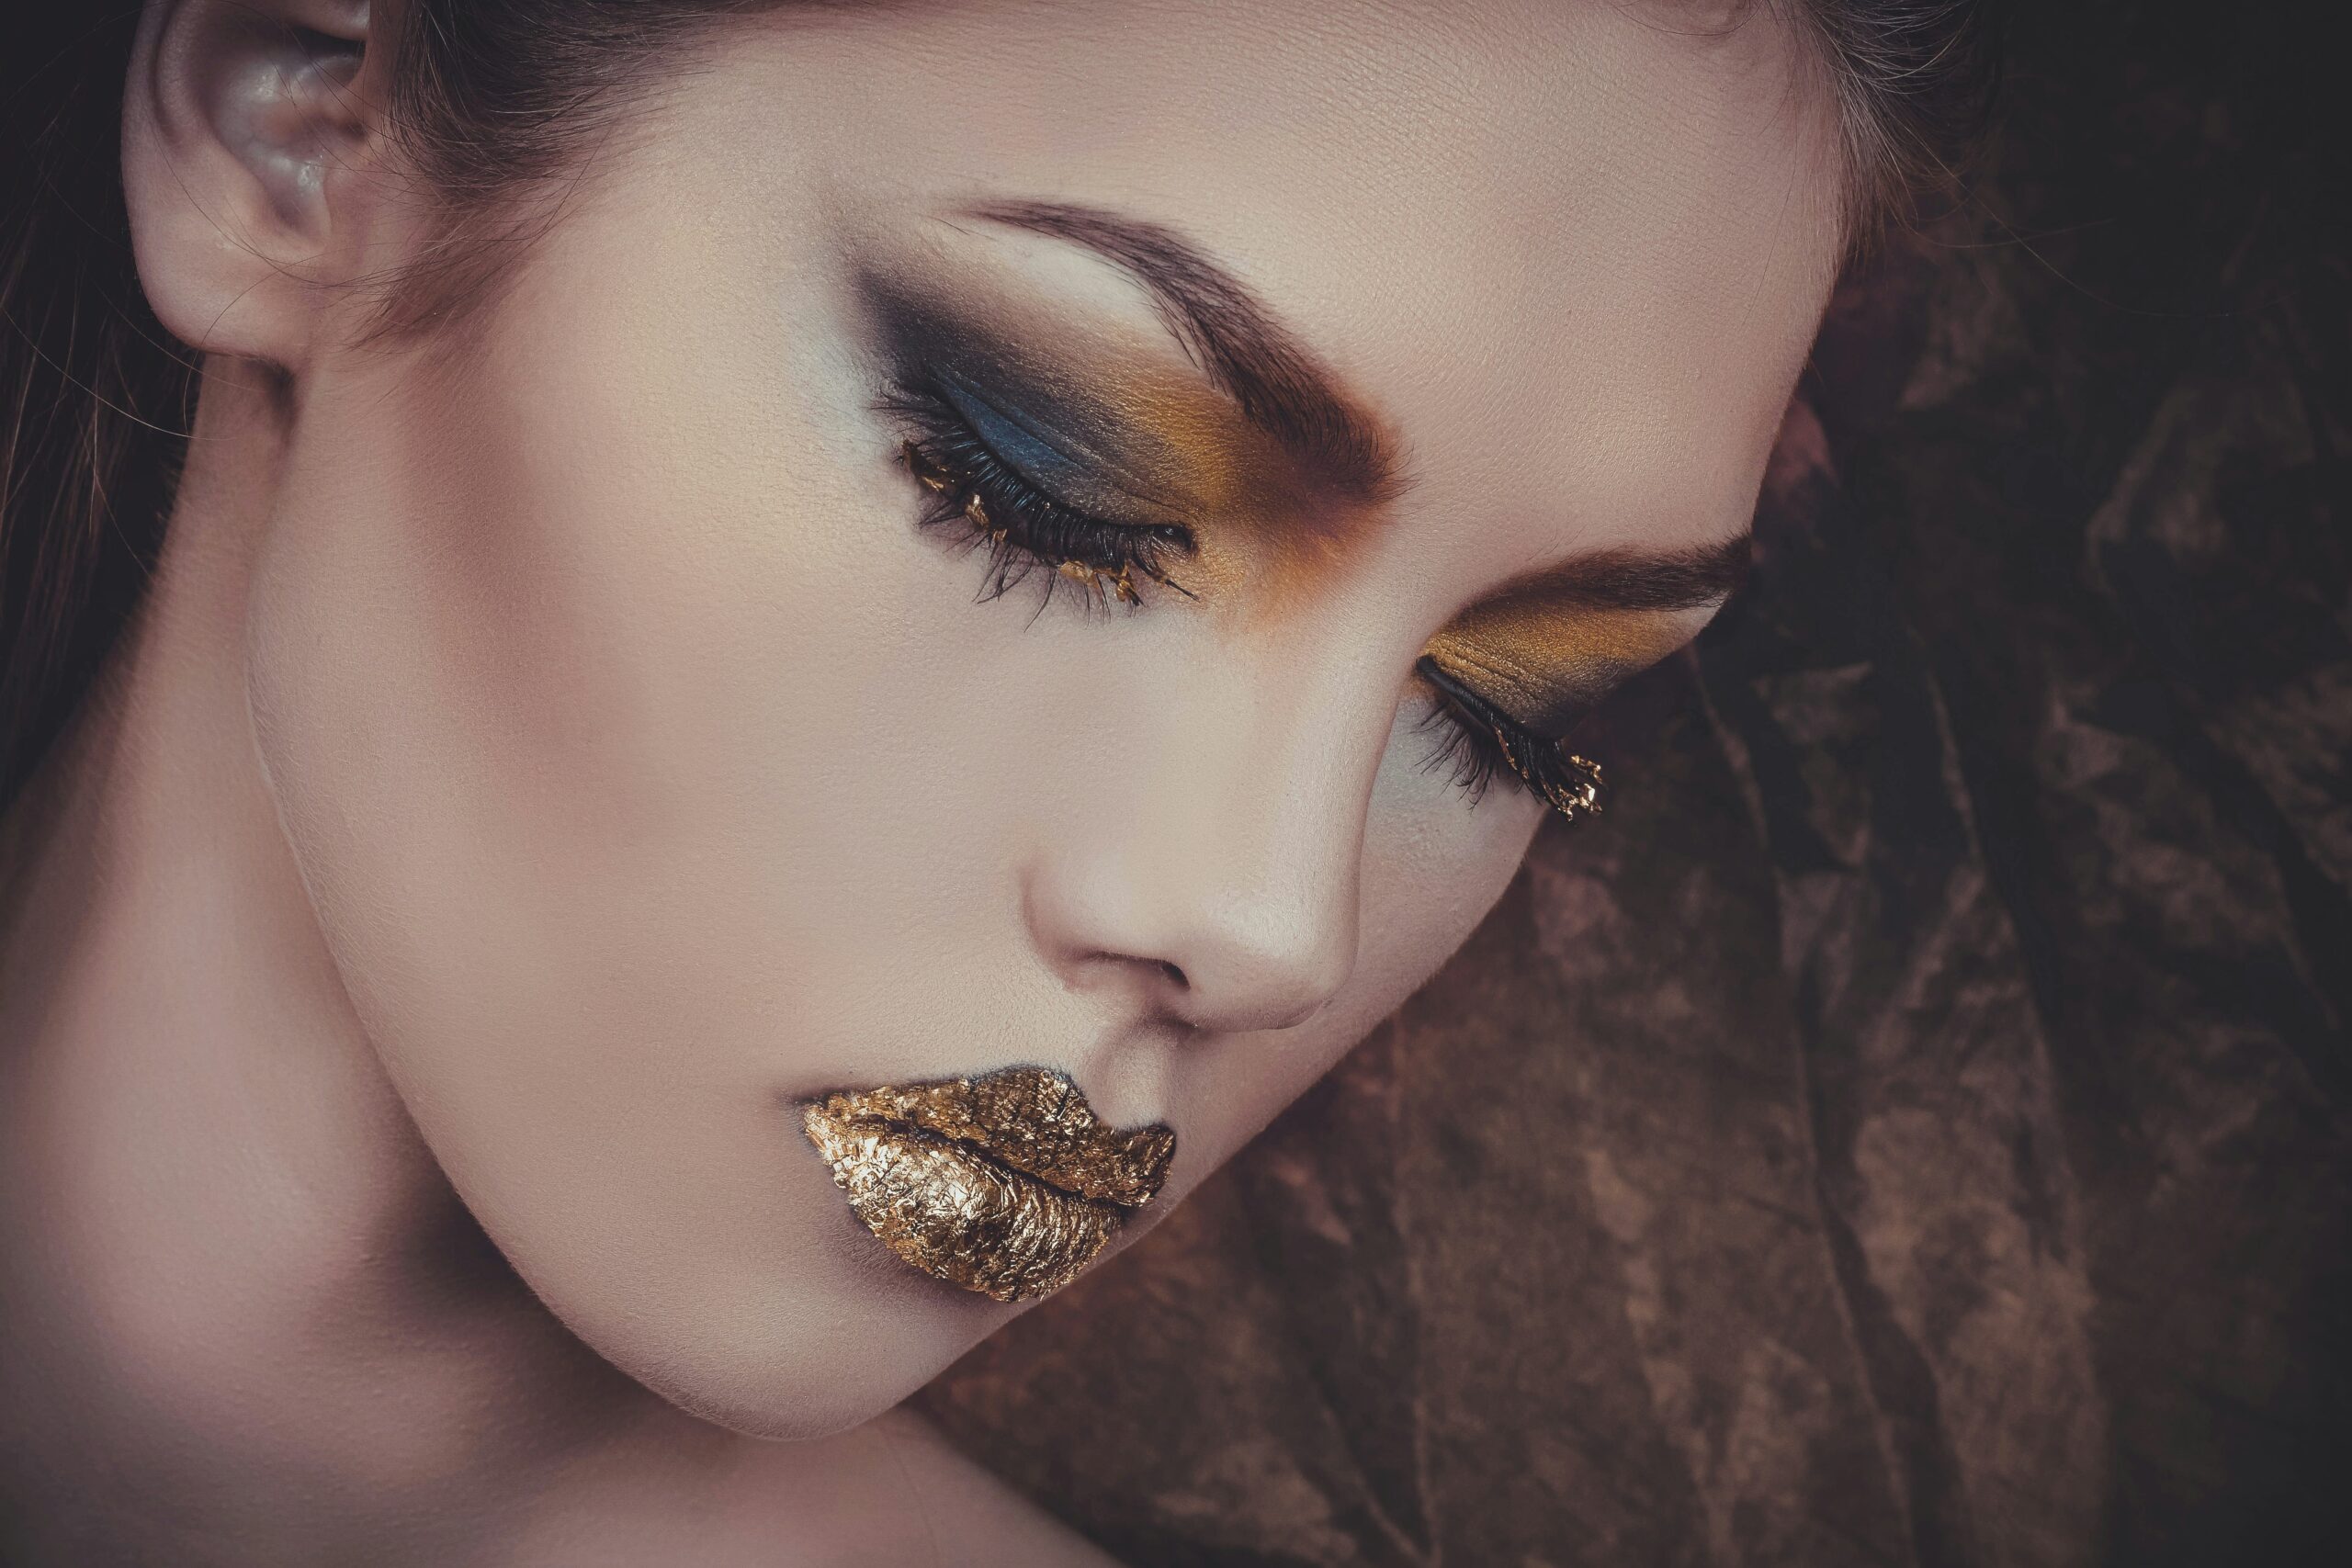
Pro Tips That’ll Elevate Your Smokey Eye Techniques
- Blend, Blend, BLEND: Blending is non-negotiable. Use soft taps instead of strokes to build gradual layers.
- Use Tape or Shields: Place small pieces of tape diagonally under your lower lashes to catch fallout and create sharp edges.
- Set It and Forget It: Finish with a setting spray to lock everything in place.
- Avoid Harsh Colors Initially: Start softer (like browns and taupes), then gradually increase the intensity based on comfort.
Rant alert: Stop buying cheap brushes! The difference between a $3 knockoff and a professional-grade tool is NIGHT AND DAY. Invest wisely if you want stellar results.
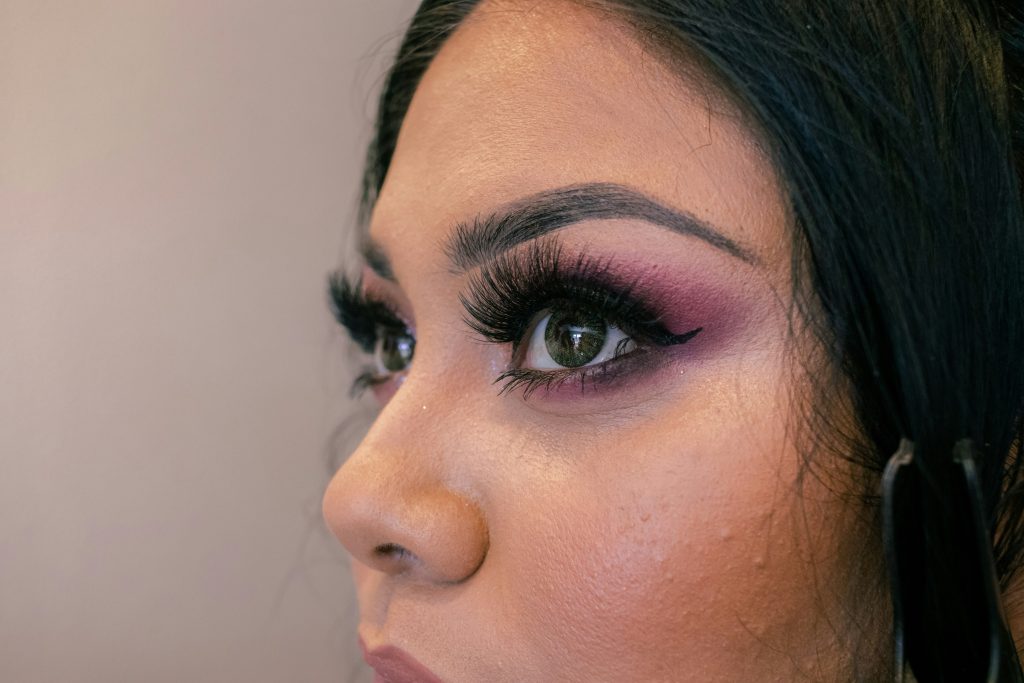
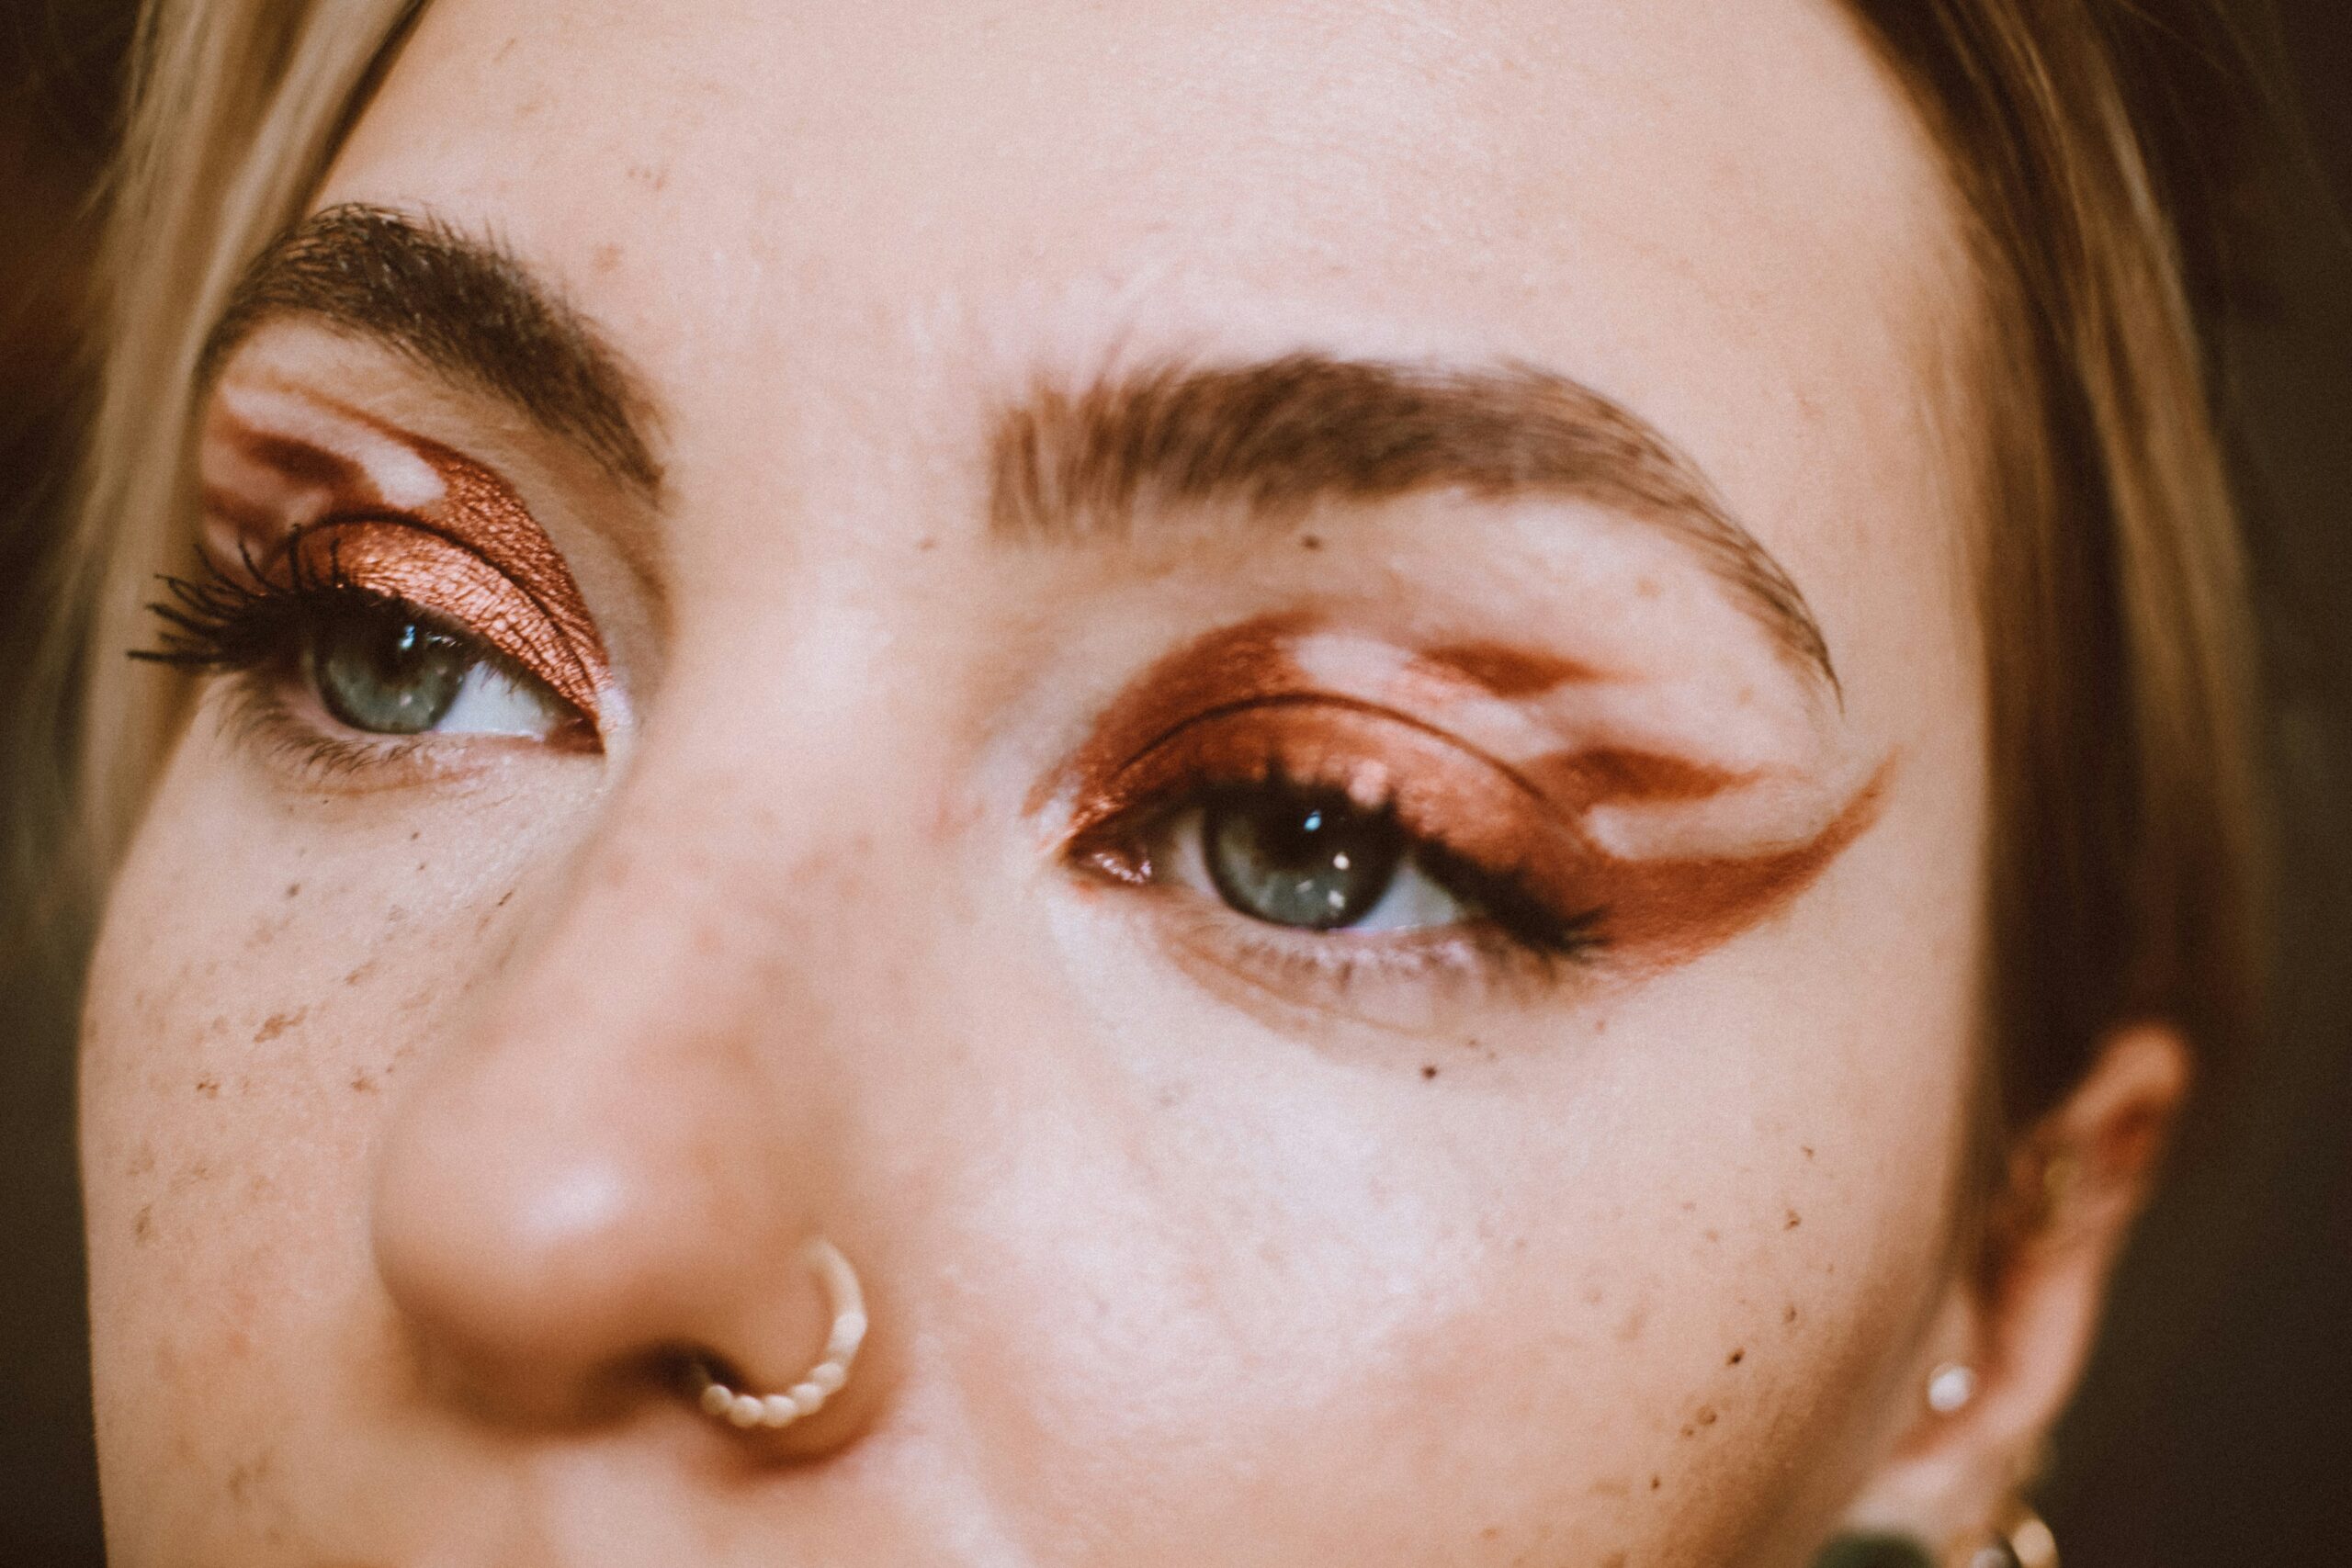
Inspiration Alert: Real Smokey Eye Success Stories
Surely you’ve seen celebrities rocking dramatic smokey eyes on red carpets. But guess what? Regular people achieve these looks too! Check out Tessa M., who went viral after her beginner-friendly smokey eye tutorial surpassed 1M views online. “It took weeks of trial and error,” she admits, “but now it’s my signature style.”
sounds like YOUR future #makeupgoals
Frequently Asked Questions About Smokey Eyes
Can I Do Smokey Eyes Without Black Shadow?
Absolutely! Try navy blue, forest green, or plum tones for a modern twist.
Are Smokey Eyes Suitable for Daytime?
Toned-down versions absolutely are possible; simply opt for lighter bases and muted shades.
Do I Need Fake Lashes?
Nope, though adding mascara definitely amps up the effect.
Concluding Thoughts: Rock Your Next Smokey Eye Like a Pro
You now have every piece of info needed to conquer smokey eye techniques. Remember, Rome wasn’t built in a day—and neither was perfection. Practice consistently, embrace mistakes as learning moments, and soon enough, creating flawless smokey eyes will feel second nature.
“Like tracing stars in the sky,
Your smokey eye draws everyone’s eye.
A touch of glam, et voilà—magic.”