Table of Contents
- Introduction
- Key Takeaways
- Strobing and Highlighting Essentials
- Step-by-Step Guide to Perfect Strobing
- Best Practices for Highlighting
- Real-World Examples and Case Studies
- FAQs
- Conclusion
Introduction
Ever stood in front of the mirror wondering why your strobing and highlighting look more like a disco ball than glowing skin? Yeah, us too. Strobing and highlighting are magical makeup techniques that promise radiant skin—when done right. But let’s be real, nailing these looks can feel impossible if you’re not armed with the right tips.
In this post, we’ll dive deep into the artistry behind strobing and highlighting. You’ll learn what they are, how to do them flawlessly, and why they’re a game-changer in the beauty world. Plus, we’ve got step-by-step guides, pro tips, and some brutally honest truths about common mistakes (like using glitter instead of glow). So grab your brushes—let’s get glowing!
Key Takeaways
- Strobing and highlighting amplify natural radiance by focusing light on key areas of the face.
- Choosing the right product texture is crucial for achieving a seamless finish.
- Avoid overly shiny formulas unless you’re going for an intentional “disco queen” vibe.
- Layering and blending are non-negotiable steps for professional results.
- Practice makes perfect—don’t give up after one failed attempt!
What Are Strobing and Highlighting, Anyway?
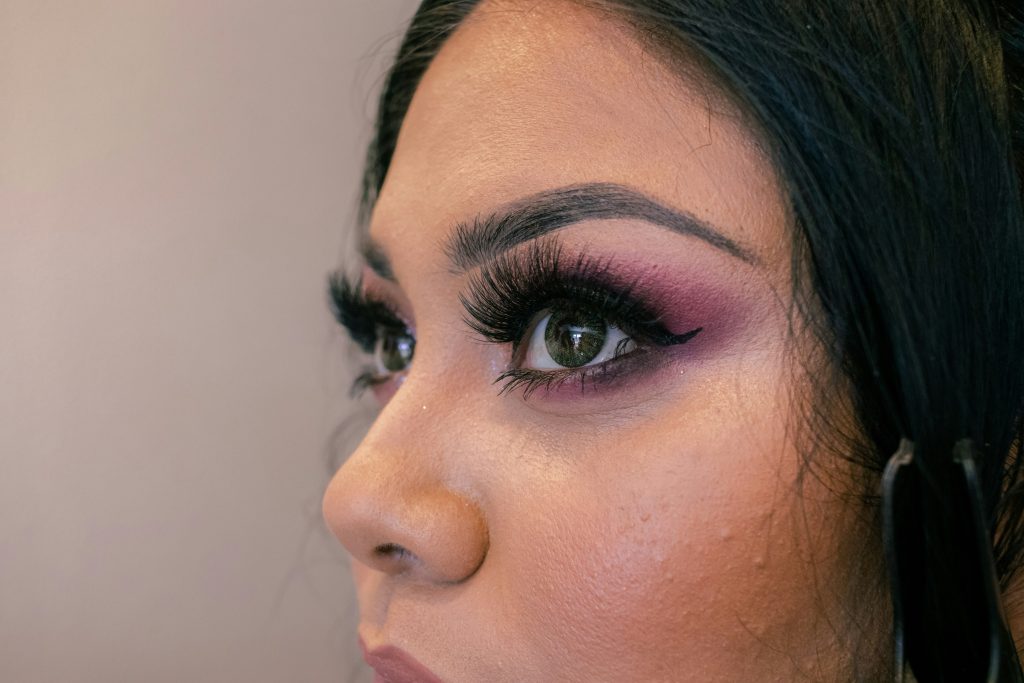
Let’s start with the basics. Strobing involves strategically applying highlighter to mimic natural light hitting your face. Think cheekbones, brow bones, and the bridge of your nose—all places where sunlight naturally bounces off. The goal? To create dimension and make your skin look lit from within.
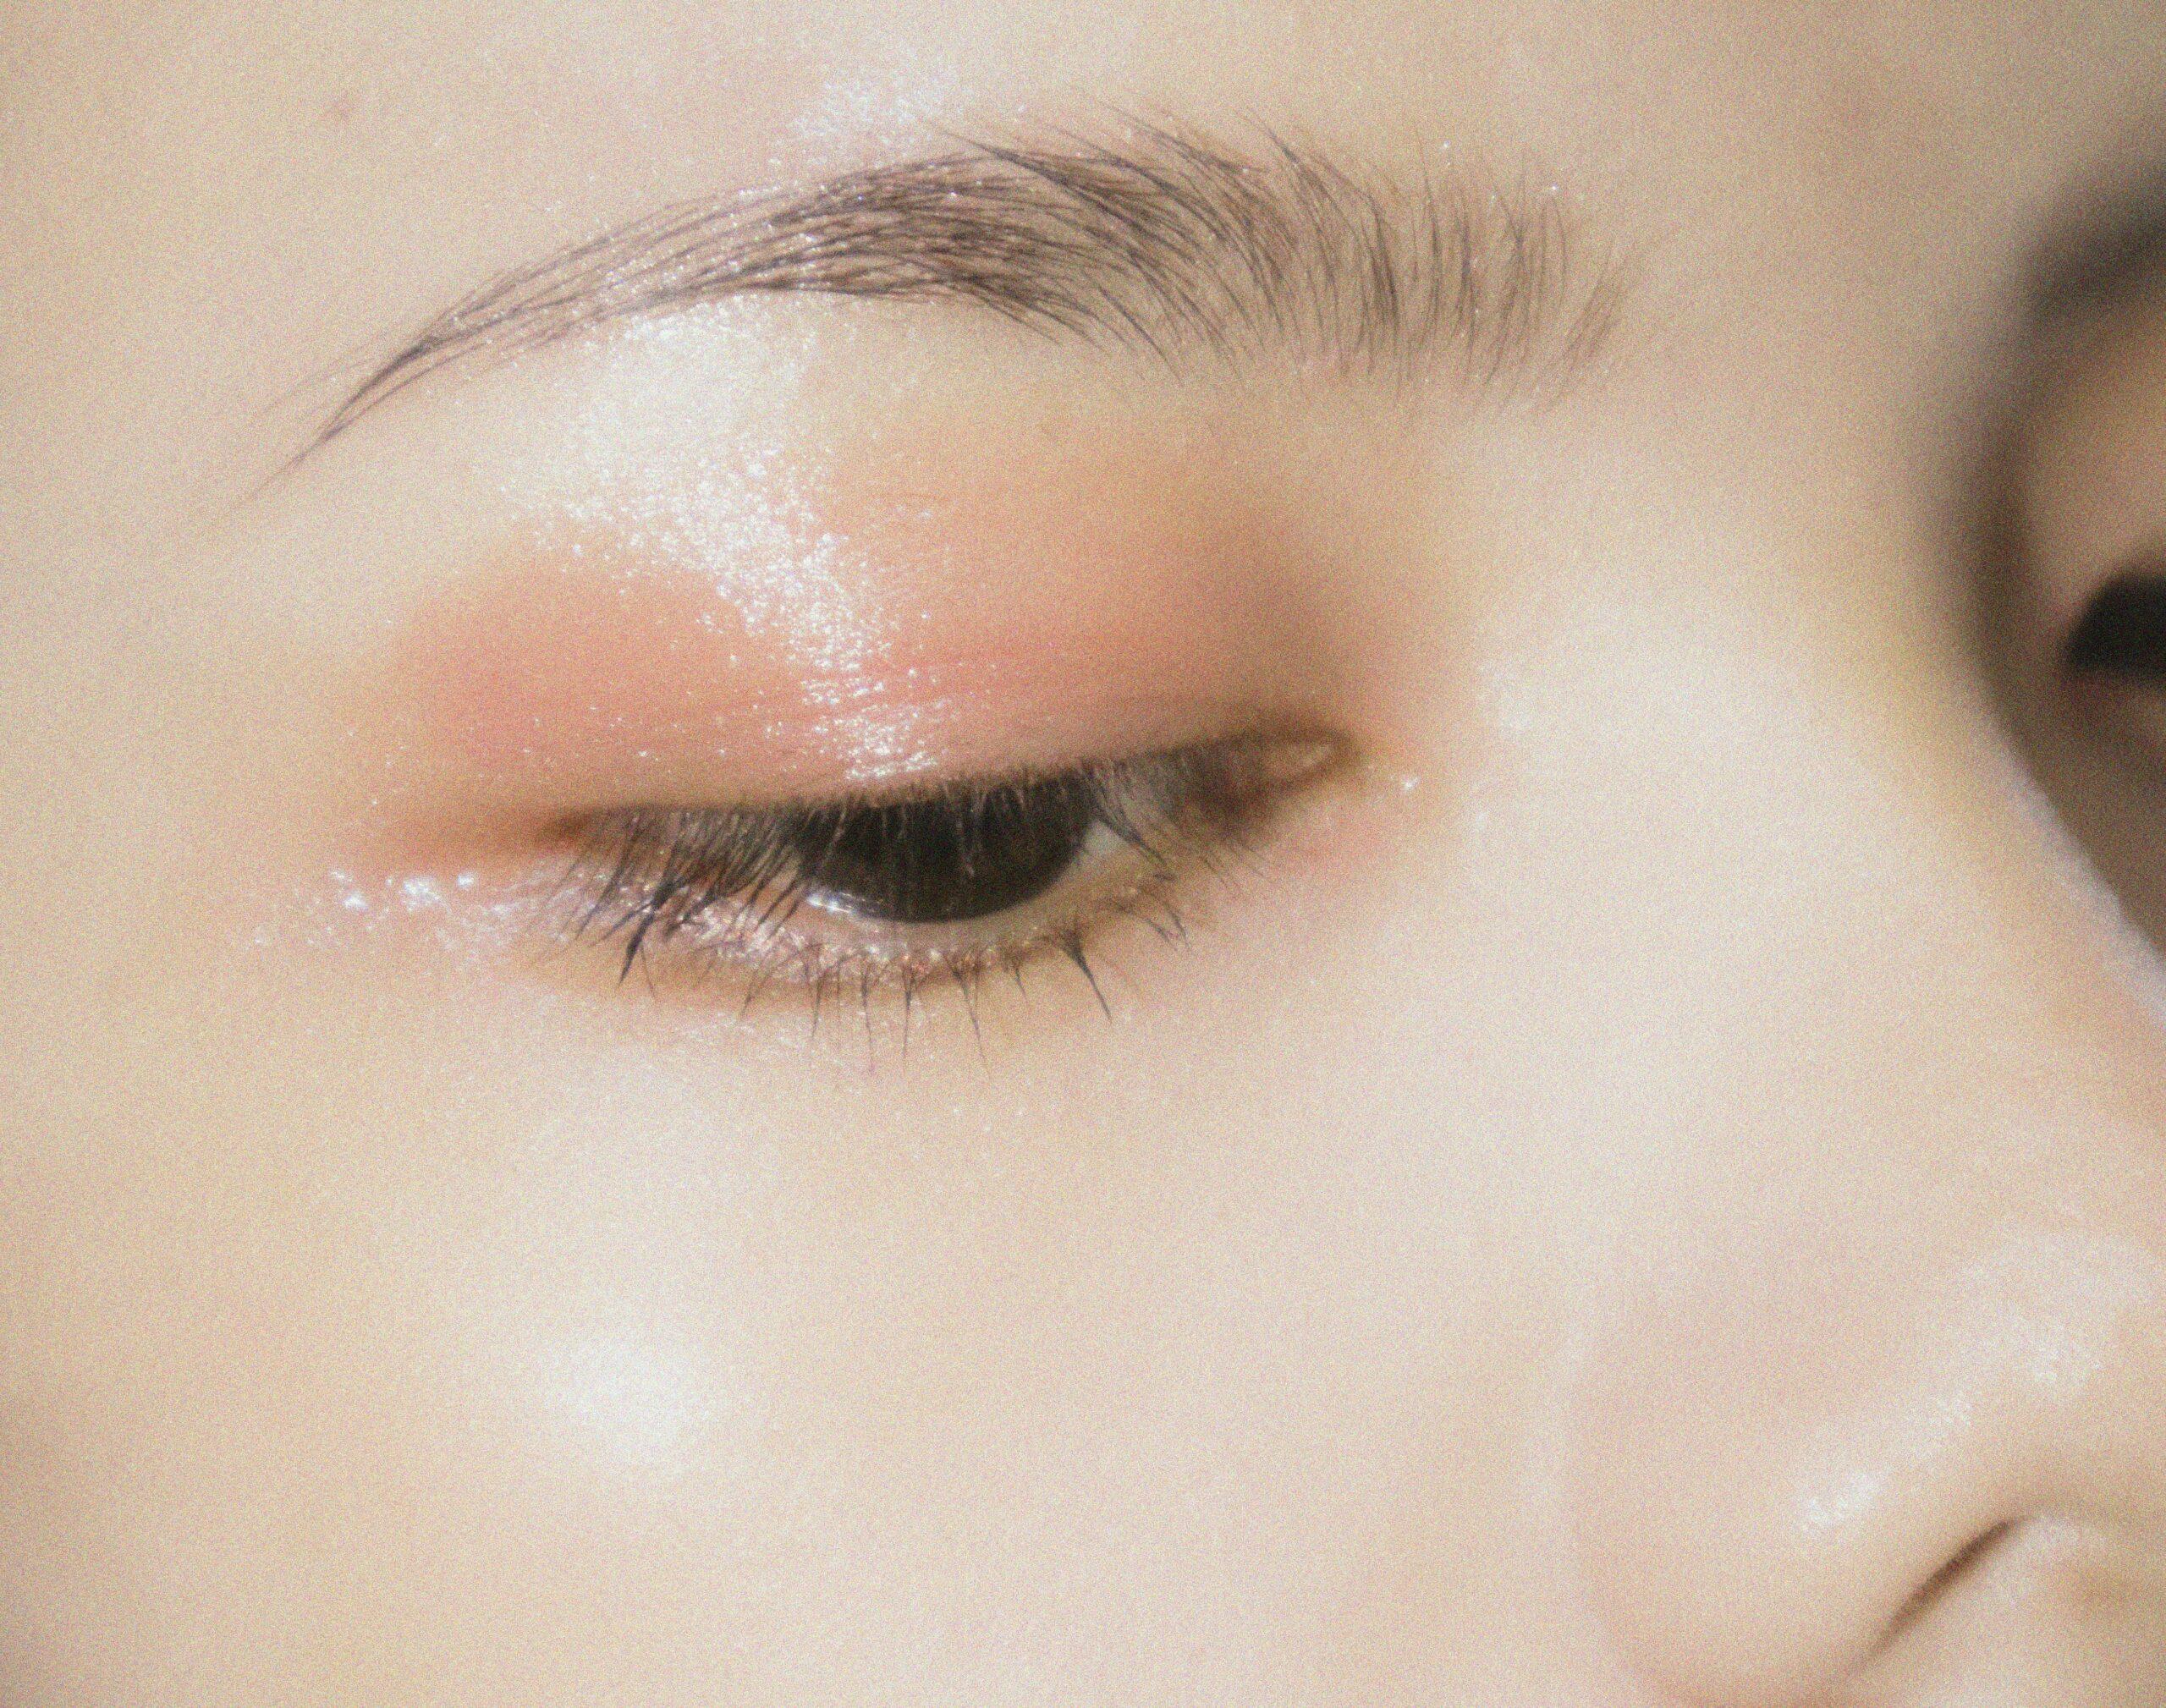
Highlighting is similar but slightly different. It’s all about adding luminosity to specific features without necessarily creating contour or depth. Imagine a subtle shimmer across your cupid’s bow or inner corners of your eyes—it brightens your entire complexion effortlessly.
You might be thinking, “I tried this once, and I looked like a glazed donut.” Don’t worry—that’s fixable. We’ve all been there. Personally, my first attempt at strobing ended in disaster because I used body oil as a makeshift highlighter. Spoiler alert: It slid off faster than my confidence did.
Why Should You Care About Strobing and Highlighting?
Pssst… Ever noticed how influencers always seem to have glowing, dewy skin even under harsh lighting? Yup, it’s not Photoshop—well, most of the time. Strobing and highlighting are their secret weapons. These techniques not only enhance your best features but also give your skin a youthful, fresh-from-a-facial glow. Sounds dreamy, right?
Step-by-Step Guide to Perfect Strobing
Ready to transform yourself into a walking halo of light? Follow these steps for flawless strobing:
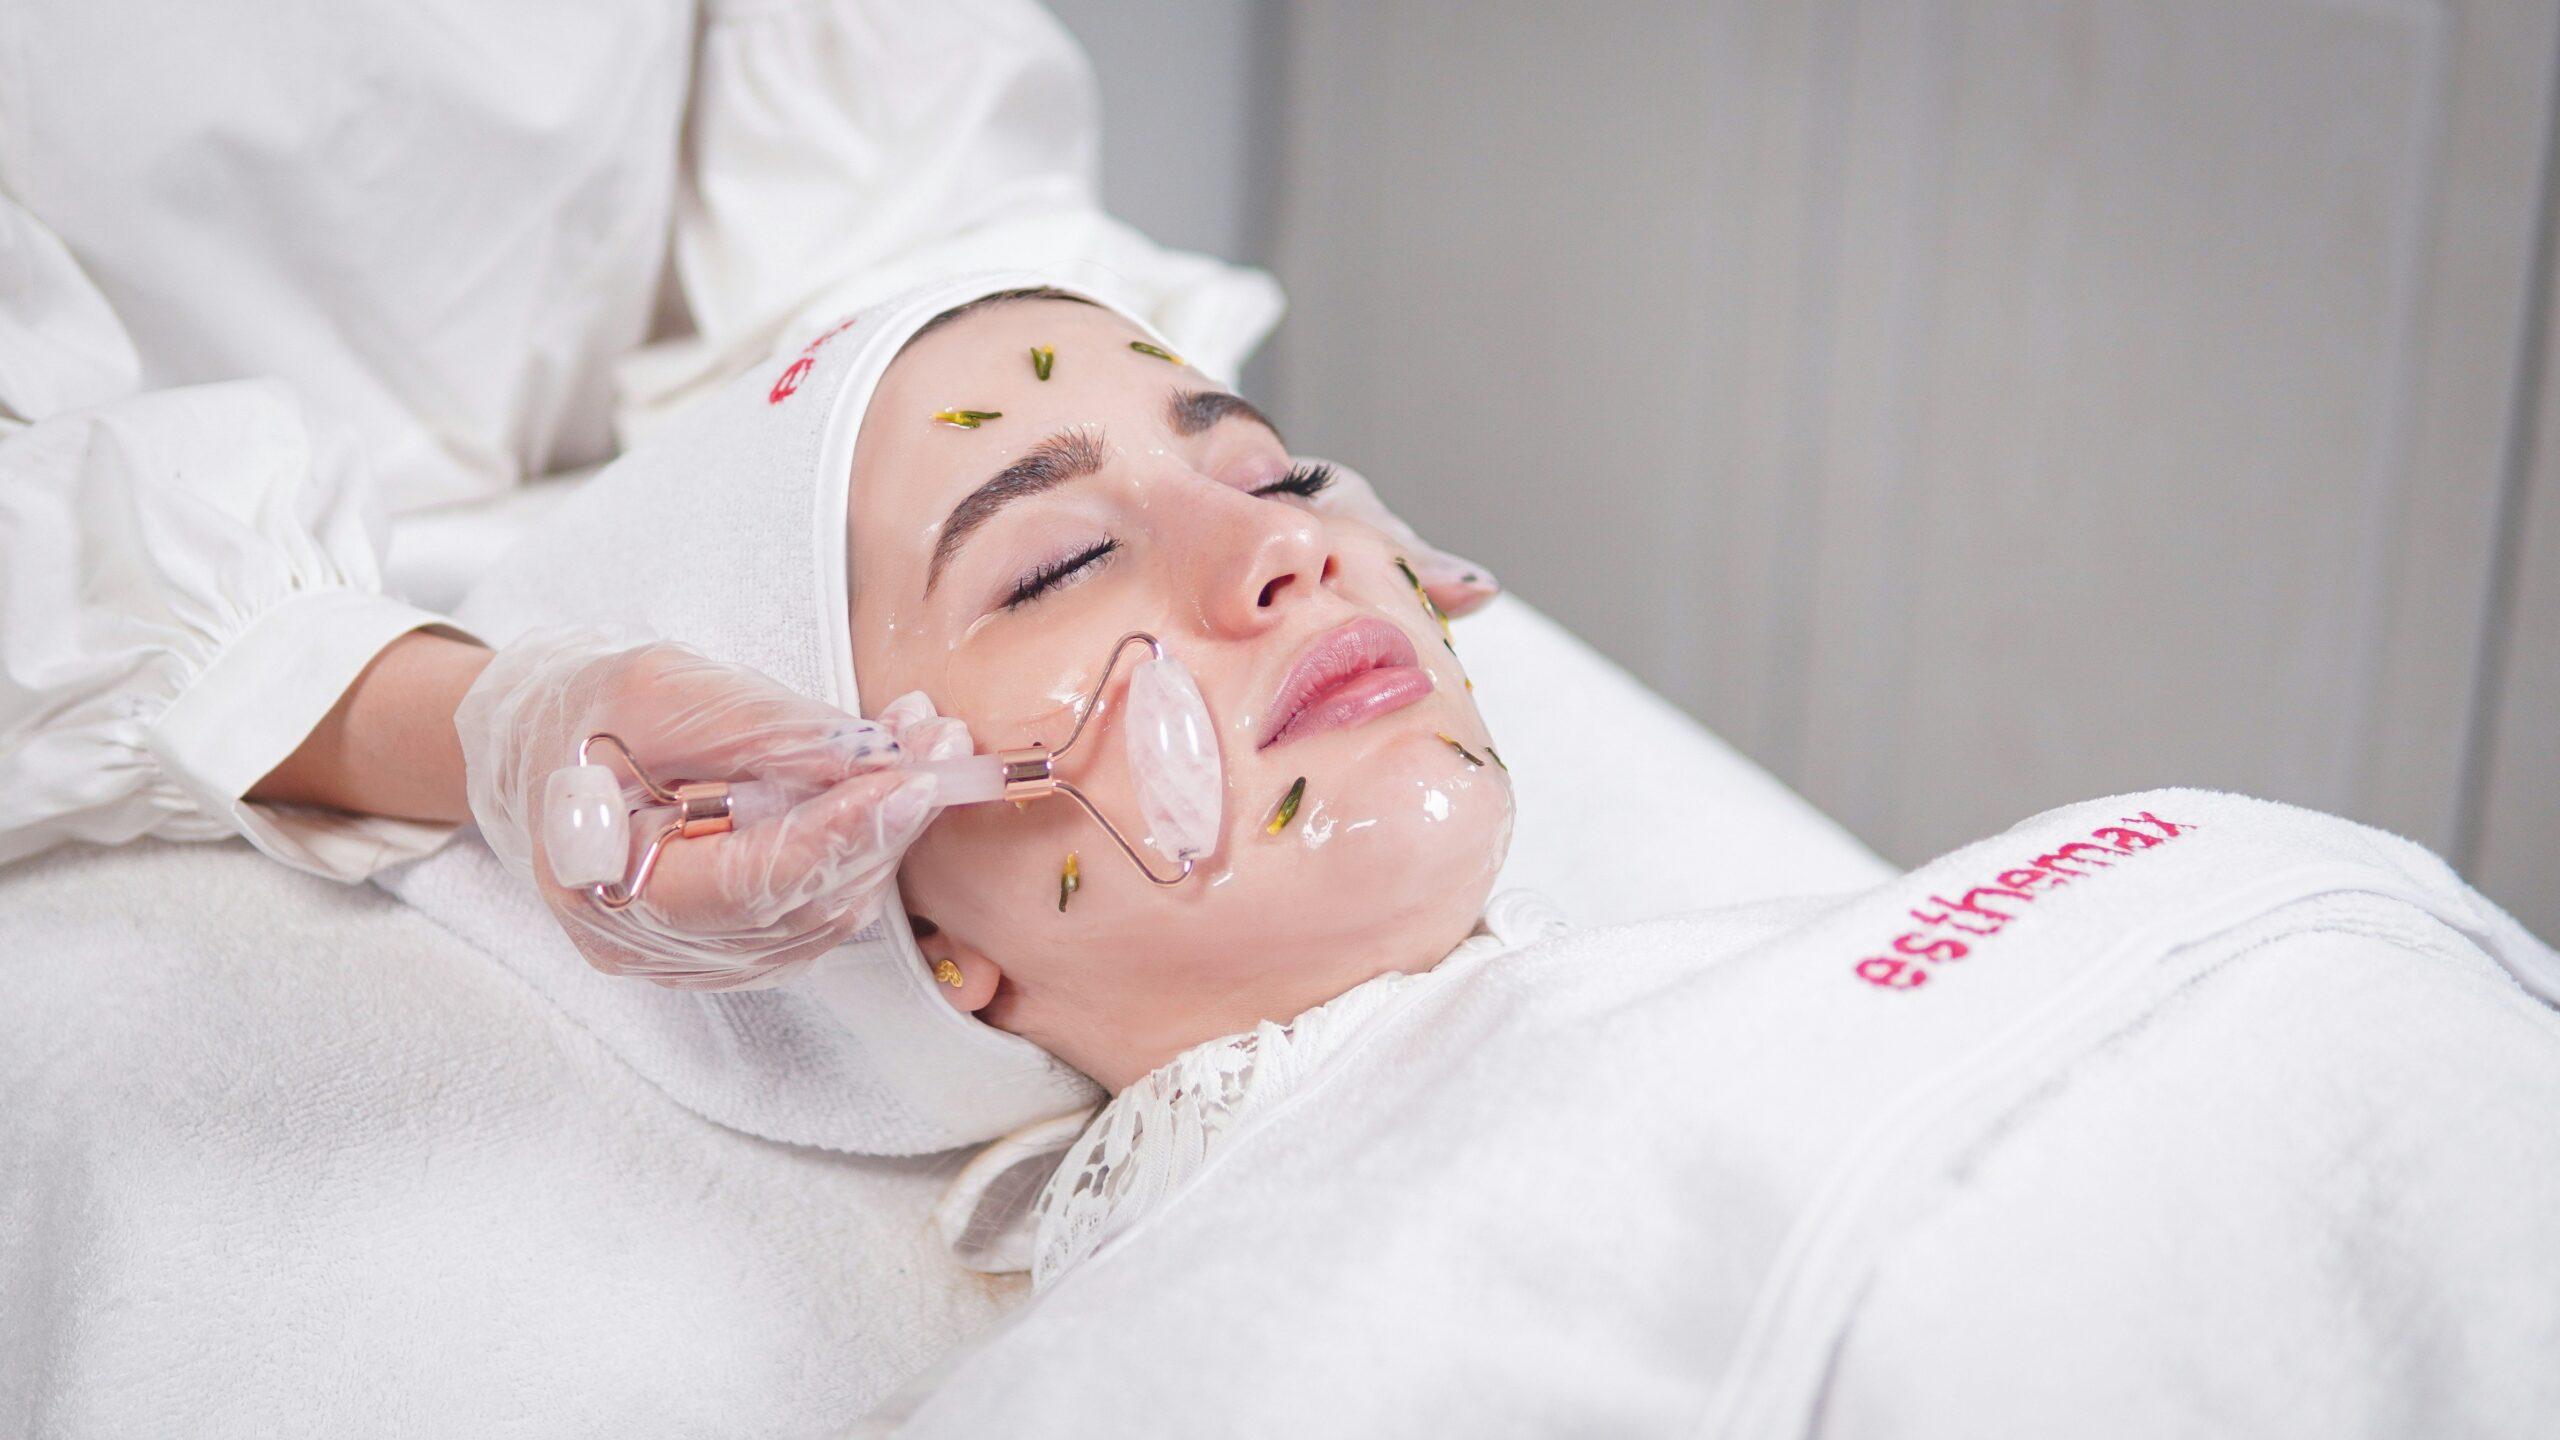
- Prep Your Canvas: Start with a smooth base. Hydrate your skin and apply primer to minimize pores and create a flawless foundation layer.
- Choose the Right Product: Opt for cream-based highlighters if you want a dewy, natural finish. Powder highlighters work for oily skin types who prefer a matte sheen.
- Apply Strategically: Dab highlighter along your cheekbones, above your brows, down the center of your nose, and on your cupid’s bow.
- Blend Like a Pro: Use a damp beauty sponge or fluffy brush to blend the edges seamlessly. Harsh lines = no thanks.
- Set and Seal: Lightly dust translucent powder over your T-zone to prevent slipping throughout the day.
Optimist You:* ‘This will totally work!’
Grumpy You: ‘Ugh, fine—but only if coffee’s involved.’
Best Practices for Highlighting
Highlighting doesn’t stop at strobing. Here’s how to take it to the next level:
- Less Is More: Overdoing it can lead to looking greasy rather than glowing. Keep it minimalistic.
- Mix Products: Combine liquid highlighter with foundation for an all-over luminous effect.
- Match Your Undertone: Gold tones suit warm undertones, while pink or champagne shades flatter cool ones.
- Avoid Bad Lighting: Test your look in natural daylight before heading out. Trust me—you don’t want any last-minute surprises.
The Terrible Tip Warning
Seriously, avoid skipping primer. Skipping primer is like building a house without a foundation—it’s bound to crumble. Unless you enjoy patchy, uneven highlighting, this step isn’t optional.
Rant Alert
Why do people insist on using glittery eyeshadow as highlighters? Glitter belongs on your eyelids, NOT your cheekbones. Enough said.
Real-World Examples and Case Studies
Take Emily Ratajkowski, for instance. Her Instagram selfies always feature that ethereal glow, thanks to expertly executed strobing. Notice how her cheekbones catch the light just so? That’s no accident.
For everyday inspiration, follow makeup artist Wayne Goss. His tutorials break down complex techniques into simple, actionable steps anyone can replicate.
FAQs
- Is strobing suitable for all skin types?
- Yes, as long as you choose products tailored to your skin type. Oily skins should opt for lightweight formulas, while dry skins benefit from hydrating creams.
- Do I need special tools for strobing?
- No fancy gadgets required—just a good-quality brush or sponge works wonders.
- Can men use strobing and highlighting too?
- Absolutely! Anyone seeking a healthy glow can incorporate these techniques into their routine.
Conclusion
There you have it—your ultimate guide to mastering strobing and highlighting. Whether you’re aiming for red-carpet glamour or everyday freshness, these techniques have got you covered. Remember, practice makes perfect (and coffee helps too).
Like peanut butter and jelly, strobing and highlighting belong together. Now go forth and shine—and may your skin forever glow brighter than your future ex’s car headlights.
Haiku Time:
Radiant skin glows,
Cheekbones catch the moonlight’s grace,
Disco ball no more.
P.S. Shoutout to early 2000s frosted tips for teaching us what *not* to highlight.