“Ever stared in the mirror and wondered why your contour just looks like dirt smeared across your face? Yeah, us too.”
Contouring is an essential skill every makeup artist must master—but let’s be honest; it can feel impossible to get right. Whether you’re a beginner or a seasoned MUA, we’re about to break down foolproof techniques that will elevate your artistry game. By the end of this post, you’ll have mastered facial mapping, product selection, and blending methods so seamless they deserve their own Netflix docuseries.
Table of Contents
- Why Contouring Matters (and Why It’s Hard)
- Step-by-Step Guide to Perfect Contouring
- Best Practices for Killer Contours
- Real-Life Examples of Pro Contouring
- FAQs About Contouring Techniques
Key Takeaways
- Understanding facial structure is key to effective contour placement.
- Choosing the right products and tools makes all the difference.
- Blending isn’t optional—it’s mandatory if you want professional results.
- Avoid overdoing it; less really is more when it comes to contouring.
Why Contouring Matters (and Why It’s Hard)

Contouring has taken the beauty world by storm because it sculpts, defines, and enhances natural features. Think of it as Photoshop… but IRL. However, there’s one crucial reason people fail at contouring:
Pain Point Alert: Using muddy shades without understanding light and shadow dynamics.
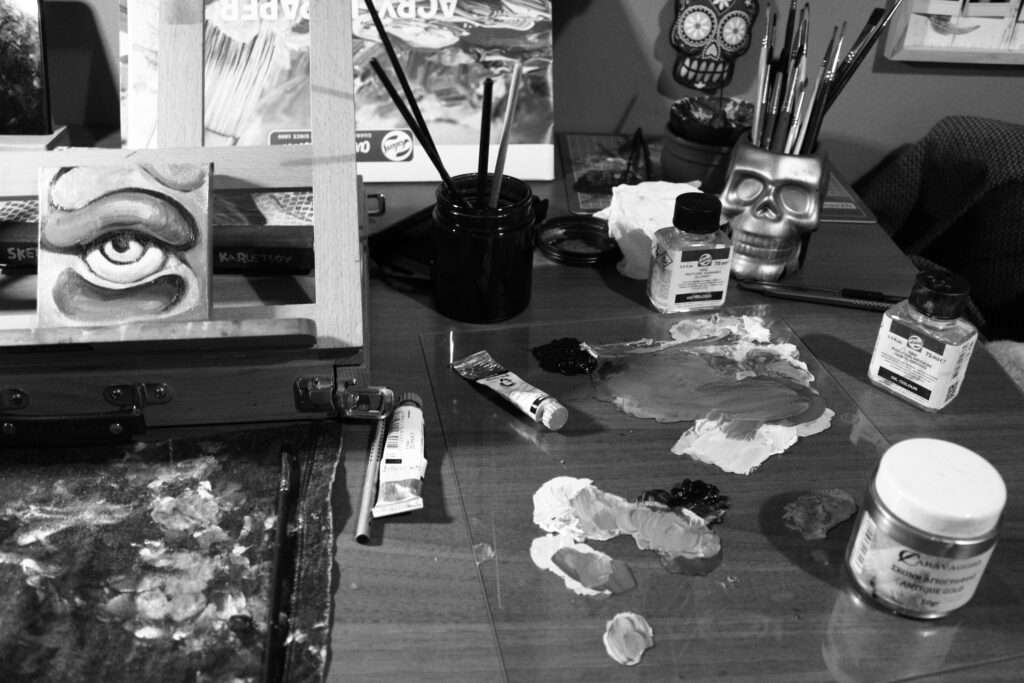
Here’s my personal confession: On my very first attempt at contouring during cosmetology school, I used a dark brown powder two shades too warm for my skin tone. My professor looked at me deadpan and said, “You look like you went ten rounds with a raccoon.” Oof.
Grumpy You: “Ugh, do I really need to learn *this* much?”
Optimist You: “Yes, but once you nail it, you’ll glow up harder than Instagram filters!”
Step-by-Step Guide to Perfect Contouring
Step 1: Understand Your Face Shape
Before diving into products, identify your face shape—oval, round, square, heart, or diamond. This determines where shadows should go:
- Oval: Focus on cheekbones and jawline.
- Round: Add dimension along the temples and under cheekbones.
- Square: Soften angular lines near the forehead and jaw.
Step 2: Choose the Right Products
Gel, cream, or powder? Here’s your cheat sheet:
- Dry Skin: Cream contours blend beautifully on dehydrated skin.
- Oily Skin: Powders provide longevity and matte finishes.
- Mixed Types: Gel works well as a versatile option.
Step 3: Apply Strategically (Light vs. Shadow)
Create contrast using these rules:
- Highlighter goes on high points (forehead center, bridge of nose).
- Shadow colors define hollow areas (under cheekbones, sides of the nose).
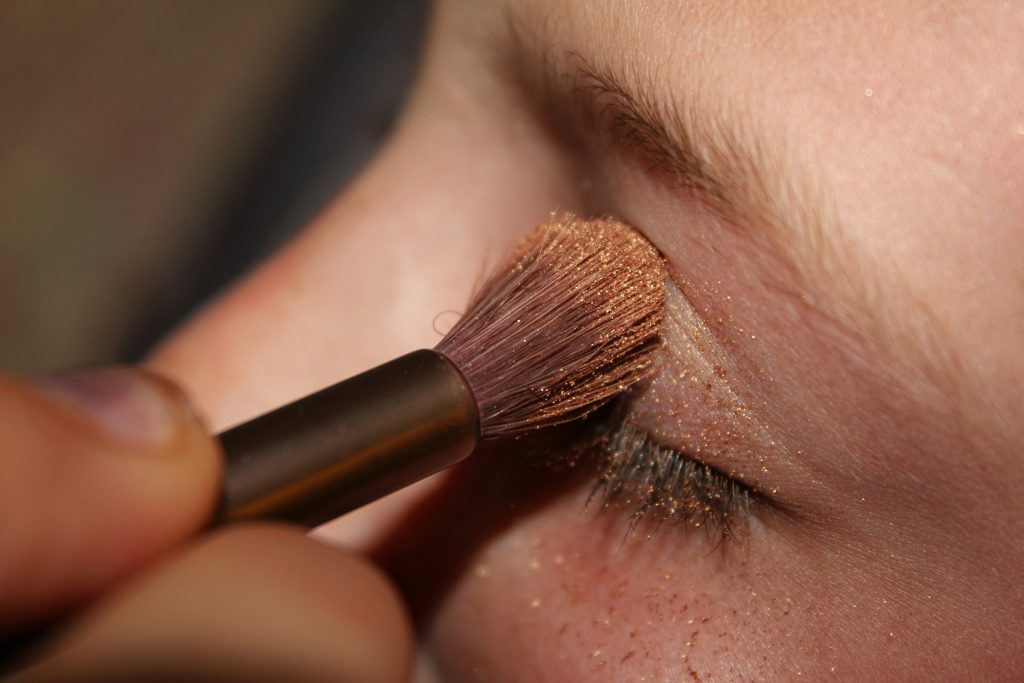
Step 4: Blend Like Your Life Depends on It
No harsh lines allowed! Grab a damp beauty sponge or fluffy brush to soften edges until seamless.
Best Practices for Killer Contours
- Match Undertones: Always pick cool-toned contours—not orangey bronzers.
- Less Is More: Start subtle then build intensity gradually.
- Use Natural Light: Artificial lighting can trick you into overapplying.
Rant Break: UGH. Why are TikTok trends pushing overly dramatic ‘Instagram brows’ paired with clown-level contour?! Subtlety sells. PLEASE STOP LOOKING LIKE YOU WERE ATTACKED BY A SHADOW PALETTE.
Real-Life Examples of Pro Contouring
Take inspiration from industry legends like Mario Dedivanovic (Kim K’s go-to artist) who revolutionized modern-day contouring. Notice how his work creates natural depth instead of looking painted-on.
FAQs About Contouring Techniques
Q: Can oily-skinned folks use cream contours?
Absolutely, but set them with translucent powder immediately after application!
Q: What’s the biggest mistake beginners make?
Overdoing it. Remember—highlight adds volume, while shadow recedes. Balance is everything.
Q: Do men benefit from contouring?
Totally! Male grooming often incorporates subtle contouring to enhance jawlines and cheekbones.
Conclusion
From understanding face shapes to mastering those sneaky blending hacks, perfect contouring isn’t rocket science—it’s practice meets precision. As promised, here’s a haiku for good luck:
Shadows meet the light,
Your canvas blooms with carefree strokes—
Voila! A masterpiece.
Now grab your brushes and conquer the art of contouring techniques like a true pro!