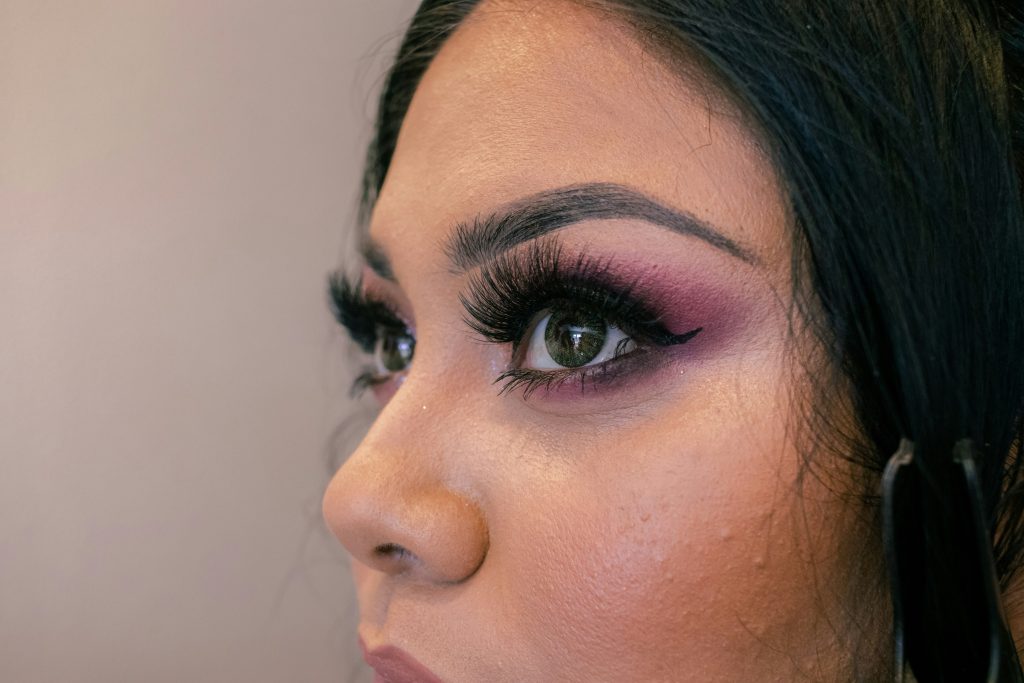
“Why does my makeup look flawless in the mirror but turns into a hot mess by lunch?” Sound familiar? Spoiler: it’s not your face—it’s your finish!”
Have you ever spent hours layering foundation, blending blush, and perfecting that cat-eye—only for your hard work to fade faster than your morning coffee buzz? Welcome to the club. Perfecting makeup finish isn’t just about technique; it’s an art form. Today, we’ll decode how professional makeup artists achieve long-lasting, camera-ready results—and trust me, it doesn’t involve duct-taping your face.
Table of Contents
- The Problem with Makeup Finish
- Step-by-Step to Perfecting Your Finish
- Pro Tips for a Flawless Look
- Real-World Inspiration: Case Studies from Makeup Artists
- FAQs About Perfecting Makeup Finish
Key Takeaways
- Perfecting makeup finish requires prep, proper tools, and product knowledge.
- Avoid skipping primer—it’s the holy grail of lasting finishes.
- Layer lightly to avoid cakey textures.
- Powder strategically, especially on oily zones.
- Use setting sprays as your final step for seamless hold.
Why Does My Makeup Finish Always Fail Me?
Ever slapped on a full face only to find yourself blotting uncontrollably two hours later? Or maybe your foundation looks patchy under harsh lighting? Let me confess: I once used glitter highlighter during a humid outdoor wedding shoot. Rookie move. By the end of the ceremony, my client looked less like a glowing bride and more like she’d been dipped in melted candles.
Here’s the unfiltered truth: Poor makeup finishes happen when skin prep is neglected, products aren’t tailored to your skin type, or techniques are rushed. So before blaming your beauty stash, let’s break down the real culprits—and fix them.

How to Nail That Flawless Finish (Yes, Even On Bad Skin Days)
Step 1: Prep Like a Pro
Grumpy You: “Ugh, do I *really* have to wash my face again?”
Optimist You: “Absolutely! Clean skin = flawless base.”
Your canvas matters. Start with a gentle cleanser, follow up with toner to balance pH levels, and lock everything in place with a lightweight moisturizer. Bonus points if your moisturizer contains hyaluronic acid—your future self will thank you.
Step 2: Prime Time
Primer is non-negotiable. It smooths pores, evens texture, and grips makeup like nobody’s business. For oily skin, opt for mattifying primers; dry skin types should reach for hydrating formulas. Don’t forget to let it sink in for at least 60 seconds before moving on!
Step 3: Layer Strategically
Thick layers scream amateur hour. Instead, apply thin, even coats of foundation or tinted moisturizer using a damp beauty sponge—or better yet, your fingers. Yes, seriously. Your natural body heat helps blend products seamlessly.
Step 4: Set Without Overdoing It
Over-powdering = chalk city. Dust translucent powder only where needed (T-zone, anyone?) and use a fluffy brush for light diffusion. Save heavy-handed applications for baking techniques reserved for photoshoots.
Step 5: Seal the Deal with Setting Spray
This magical mist locks everything in place while adding a dewy glow. Hold your breath, close your eyes, and spritz lightly across your face—not directly into your eyeballs. Ouch.
10 Genius Hacks for Perfecting Makeup Finish
- Always match your foundation shade in natural daylight—not fluorescent bathroom lighting.
- Mix liquid highlighter with your foundation for an all-over radiant effect.
- Use cream blush for a youthful flush that lasts longer than powder versions.
- Blend lip liner slightly outside your natural line for fuller-looking pouts.
- Keep blotting papers handy for midday shine control without ruining your finish.
- Apply mascara in zigzag motions for volume AND separation.
- Add concealer one shade lighter under your eyes to brighten tired areas.
- Spray setting spray onto your sponge before blending for extra staying power.
- Dab a tiny bit of Vaseline on cheekbones for instant glass-skin vibes.
- TERRIBLE TIP ALERT: Ignoring your neck is a rookie mistake. Blend foundation down past your jawline to avoid harsh lines.
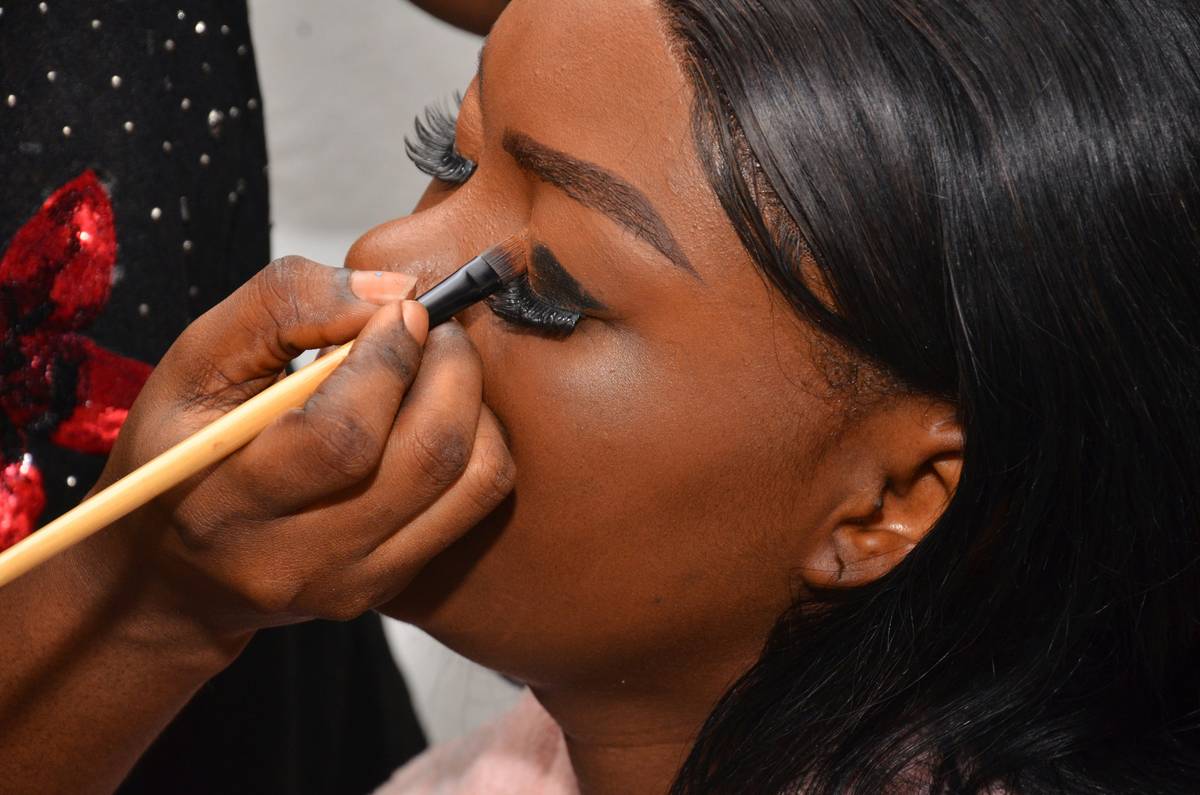
Case Study: From Meltdown to Masterpiece
I recently worked with Sarah, whose combination skin made her foundation disappear faster than Netflix auto-plays another episode. We swapped her matte foundation for a weightless formula, added a hydrating primer, and introduced minimal powder use. Voilà—a fresh-faced masterpiece that stayed put for over eight hours!
Rant Break: Why do brands still insist on selling “one-size-fits-all” foundations? Not everyone has the same undertones, people!
Frequently Asked Questions
What’s the best way to test foundation shades?
Swatch three shades along your jawline in natural light. The one that disappears into your skin is The One.
Can I skip primer?
Technically yes—but don’t blame us when your makeup slides south by noon.
How often should I refresh my makeup bag?
Every six months to prevent bacteria buildup and clogged pores.
Conclusion
Perfecting makeup finish isn’t rocket science—but it does require attention to detail, quality products, and practice. Remember: Every face is unique, so don’t be afraid to experiment until you find what works for you. Whether you’re prepping for a big event or just leveling up your daily routine, these tips will help you slay every time.
And hey, drop a comment below—let’s hear your most epic makeup fails (we’ve all had ‘em).
*Bonus Easter Egg:* Remember those days of slathering on Bonne Bell Lip Smackers? Ahh, nostalgia. 😉