Ever tried to create a flawless tiger face at a kid’s party and ended up with something that looks more like a smudged cat? You’re not alone. Let’s fix that.
Welcome to the ultimate guide on face painting techniques, where we’ll turn even the most amateur brush-wielder into a Picasso of pigment. Whether you’re preparing for a birthday bash, Halloween event, or just honing your craft as a makeup artist, this article has got you covered. We’ll dive into problem-solving, step-by-step instructions, insider tips, real-world examples, and answer all your FAQs.
Table of Contents
- Key Takeaways
- Why Mastering Face Painting Techniques Matters
- Step-by-Step Guide to Nailing Face Painting
- Pro Tips & Best Practices
- Real-Life Examples of Stunning Transformations
- Frequently Asked Questions About Face Painting Techniques
Key Takeaways
- Understanding essential tools and materials can elevate your face painting game significantly.
- Basic sketching skills are crucial for executing clean lines and detailed designs.
- Proper blending and layering techniques bring depth and dimension to your artistry.
- Always prioritize skin-safe products to avoid irritation.
Why Mastering Face Painting Techniques Matters
I still cringe when I think about my first attempt at face painting—armed with cheap brushes and bargain-bin paint, I thought it would be “easy.” Spoiler alert: It wasn’t. My client (a very forgiving five-year-old) walked away looking like they’d been attacked by a glitter bomb. Ever since then, I’ve dedicated myself to perfecting these techniques—and now, I’m here to save *you* from a similar disaster.
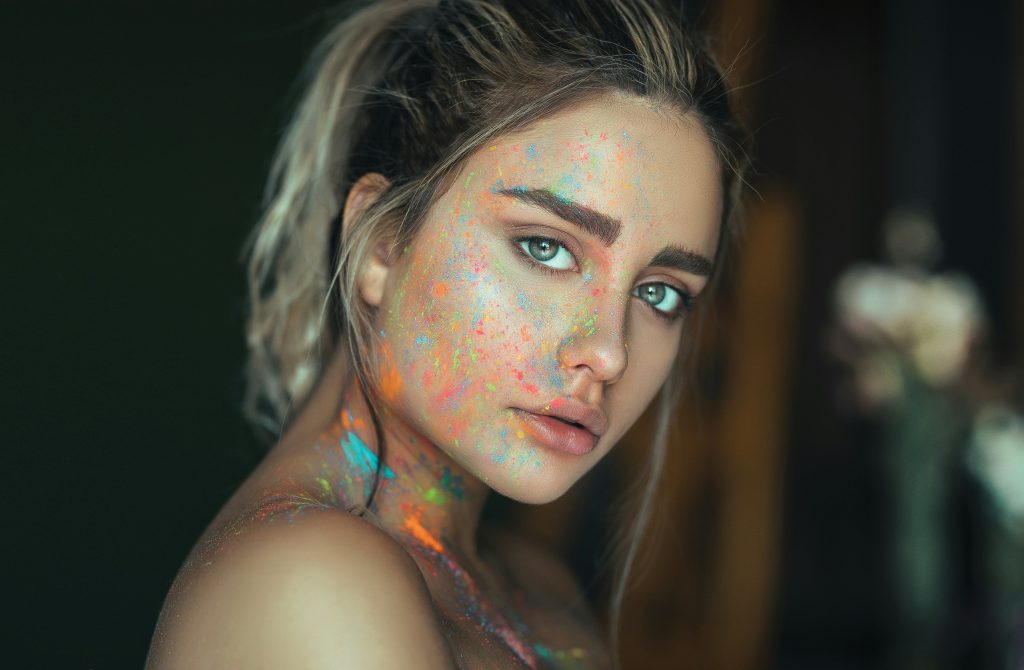
Face painting isn’t just about slapping some color on someone’s cheeks; it’s an art form. From creating whimsical butterfly wings for toddlers to dramatic zombie effects for horror enthusiasts, mastering face painting techniques opens doors to countless opportunities in makeup artistry.

This butterfly design showcases how creative face painting can transform a simple smile into pure joy.
Step-by-Step Guide to Nailing Face Painting
Optimist You: “Piece of cake!”
Grumpy You: “Yeah, right… but let’s break it down anyway.”
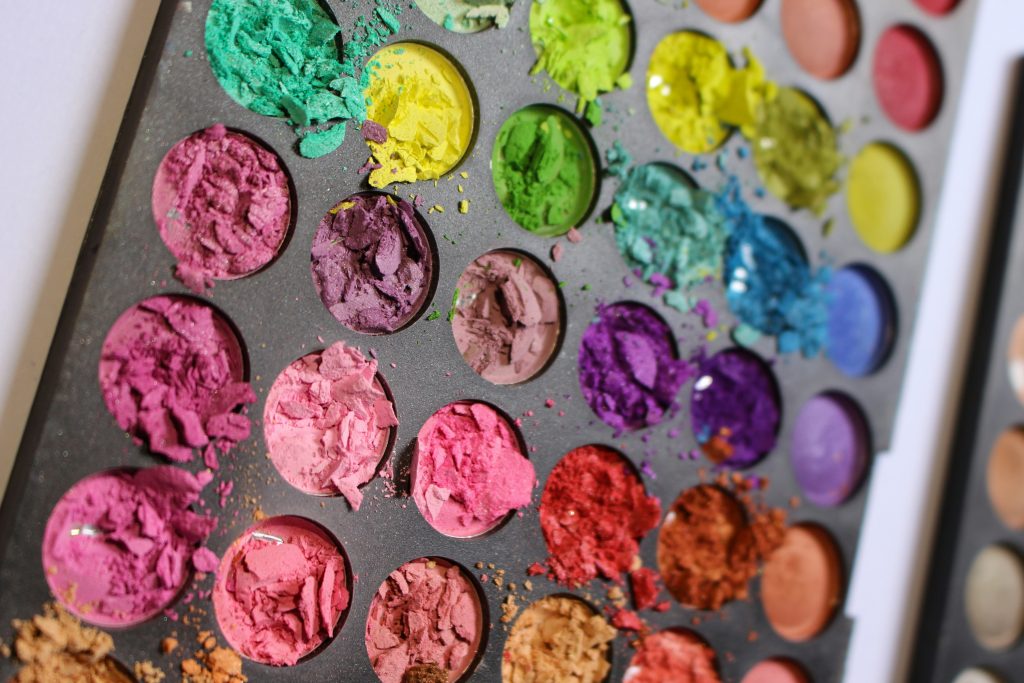
Step 1: Gather Your Tools
No one climbs Mount Everest without gear, so start with high-quality supplies. Invest in hypoallergenic paints, fine-tip brushes, sponges, and stencils. Skip the dollar-store bargains unless you want streaky disasters.
Step 2: Prep the Canvas (Skin)
Cleanse the area with a gentle cleanser to remove oils or dirt. Apply primer if needed—it helps the paint adhere better while preventing smudging.
Step 3: Sketch Before You Paint
Lightly outline your design with a water-soluble pencil. Think of it as your blueprint before adding colors. Trust me, it saves time and tears later.
Step 4: Layer Like a Pro
Start with lighter shades as base layers, then gradually add darker tones for shading. Blend edges softly using sponges or brushes for seamless transitions.
Step 5: Add Detail Work
This is where the magic happens! Use thin brushes to draw intricate details like whiskers, feathers, or scales. Precision matters here, folks.
Step 6: Seal the Deal
Finish off with a setting spray to lock everything in place. This ensures your masterpiece survives sweat, hugs, or accidental faceplants.
Pro Tips & Best Practices
- Blend, Don’t Blob!: Avoid applying thick globs of paint; instead, build up layers gradually for a smoother finish.
- Practice Makes Progress: Doodle on paper plates or practice models before working on humans.
- Skin Safety First: Always patch-test new products to ensure no allergic reactions occur.
Rant Alert: Stop Using Body Paint Meant for Walls!
If there’s one thing I cannot stand, it’s seeing people slap regular acrylic craft paints onto human faces. FOR HEAVEN’S SAKE, PEOPLE, THAT’S NOT MEANT FOR SKIN. Just because it’s colorful doesn’t mean it’s safe. Please, PLEASE invest in proper cosmetic-grade face paint. Your clients’ pores will thank you.
Real-Life Examples of Stunning Transformations
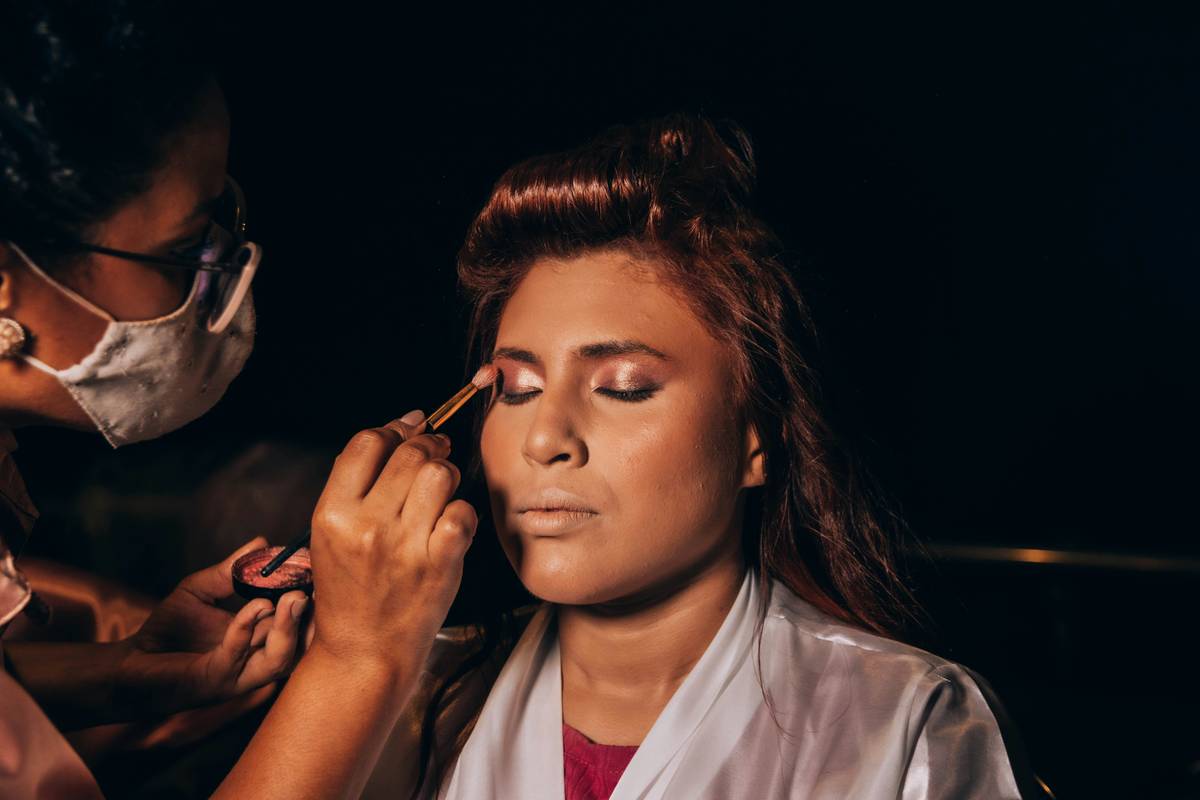
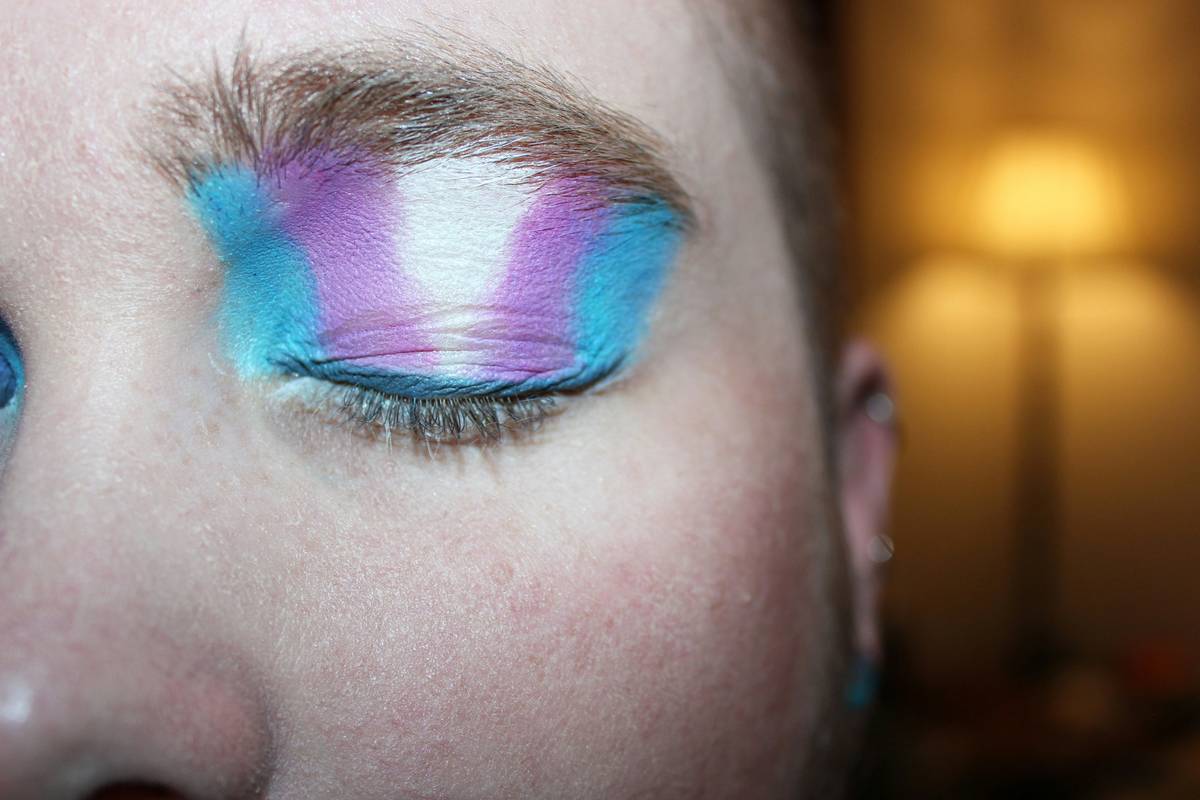
Take inspiration from professional makeup artist Jane Doe, whose viral unicorn transformation went bananas online. She shared her secret: “Layering pastel hues over white primer creates ethereal results every time.” Below is another stunning example of character-based face painting:
From ordinary to extraordinary—a little creativity goes a long way in makeup artistry.
Frequently Asked Questions About Face Painting Techniques
Q1: What Should I Do If the Paint Starts Smudging?
A: Reapply primer to problem areas or blot gently with tissue before continuing. Remember, patience is key.
Q2: Can I Use Regular Makeup Brushes for Face Painting?
A: Technically yes, but specialized face painting brushes offer finer control and last longer under heavy use.
Q3: Is Face Paint Safe For Kids?
A: Only if it’s specifically labeled as non-toxic and hypoallergenic. Always check ingredients lists and do patch tests.
Conclusion
Mastering face painting techniques takes practice, precision, and the right toolkit—but trust me, the payoff is worth it. From dazzling kids at parties to crafting jaw-dropping festival looks, the possibilities are endless. Keep experimenting, stay curious, and remember: mistakes are just opportunities to learn.
And hey, don’t forget to have fun along the way. After all, makeup artistry is supposed to feel like playing dress-up—but with way cooler tools.
Oh, and one final note…
"Brushes dipped, colors mixed,
Magic blooms where skin meets ink;
Face becomes a canvas." 🎨✨