Ever found yourself staring at a makeup tutorial thinking, “Why does their eyeshadow look like a sunset, but mine resembles a smudged crayon?” Yeah, we’ve all been there. The secret? It’s not magic—it’s detailed eyeshadow blending. If you’re ready to upgrade your makeup game and create those seamless transitions that scream “pro,” you’re in the right place.
In this post, you’ll learn why detailed eyeshadow blending is essential for professional results, step-by-step techniques to perfect it, insider tips from top makeup artists, and examples of stunning looks achieved through expert blending. Let’s dive in!
Table of Contents
- Key Takeaways
- The Importance of Detailed Eyeshadow Blending
- Step-by-Step Guide to Perfect Blending
- Pro Tips for Flawless Results
- Real-Life Examples of Stunning Blends
- Frequently Asked Questions
- Conclusion
Key Takeaways
- Detailed eyeshadow blending transforms amateur makeup into professional artistry.
- Using the right brushes and layering strategies can make or break your blend.
- Common mistakes include overloading product and neglecting transition shades.
Why Detailed Eyeshadow Blending Is Your Secret Weapon
Think about the last time you saw a breathtaking makeup look—wasn’t it the flawless gradient of colors on the eyes that caught your attention? Detailed eyeshadow blending is what separates an everyday application from something Instagram-worthy. But let me confess: I once tried blending without a transition shade (because who has time for that, right?) and ended up looking like I had two black eyes instead of sultry smoked-out lids. Oops.
The truth is, poor blending can ruin even the most expensive products. Without smooth transitions between colors, harsh lines stick out like a sore thumb—literouslly. That’s why mastering this skill isn’t just optional; it’s a must for anyone serious about makeup artistry.
How to Achieve Detailed Eyeshadow Blending Like a Pro
Optimist You: “Follow these steps, and you’ll be blending like a pro!”
Grumpy You: “Ugh, fine—but only if coffee’s involved.”
Step 1: Prep Your Canvas
Start with a clean, primed eyelid. Primer ensures longevity and enhances pigmentation, so don’t skip it unless you want your hard work to fade faster than TikTok trends.
Step 2: Choose Your Colors Wisely
Select three to four shades: a base, a transition shade, a darker accent color, and a highlight. Remember, blending is all about creating harmony between colors—not clashing them.
Step 3: Apply Transition Shade First
Using a fluffy brush, sweep your transition shade across the crease. This softens edges and creates a natural gradient before adding deeper tones.
Step 4: Layer Gradually
Build depth by applying darker shades in small increments. Use windshield-wiper motions for a seamless blend.
Step 5: Blend, Blend, and Blend Some More
Switch to a clean blending brush to diffuse any remaining lines. Think of it as polishing a masterpiece—patience pays off here.
Top Tips for Mastering Detailed Eyeshadow Blending
- Invest in Quality Brushes: Cheap brushes equal cheap results. Splurge on a good blending brush—it’s worth every penny.
- Use Light Pressure: Pressing too hard distorts the shape of your eye crease and makes blending uneven.
- Avoid Overloading Product: Less is more when building layers. Tap off excess shadow to prevent fallout.
- Blend Until It Hurts: Okay, maybe not literally, but keep going until no visible lines remain.
- Terrible Tip Alert: Don’t use water-based setting sprays mid-blend—it messes up your gradient. Trust me; I learned this the hard way.
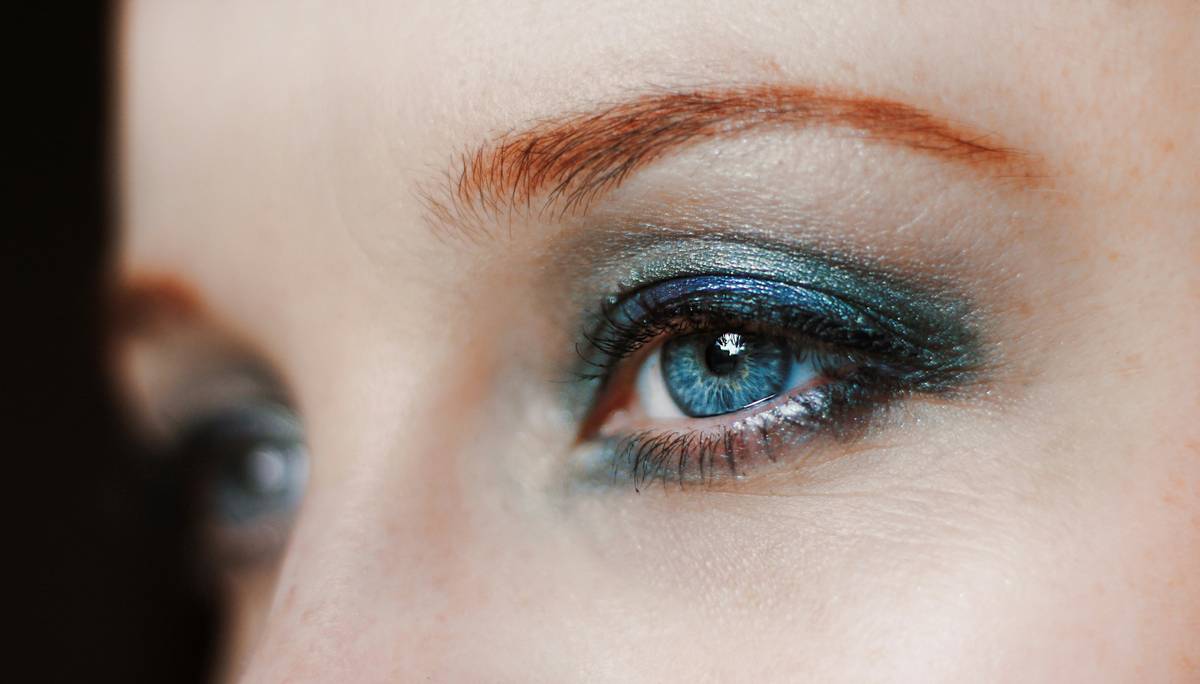
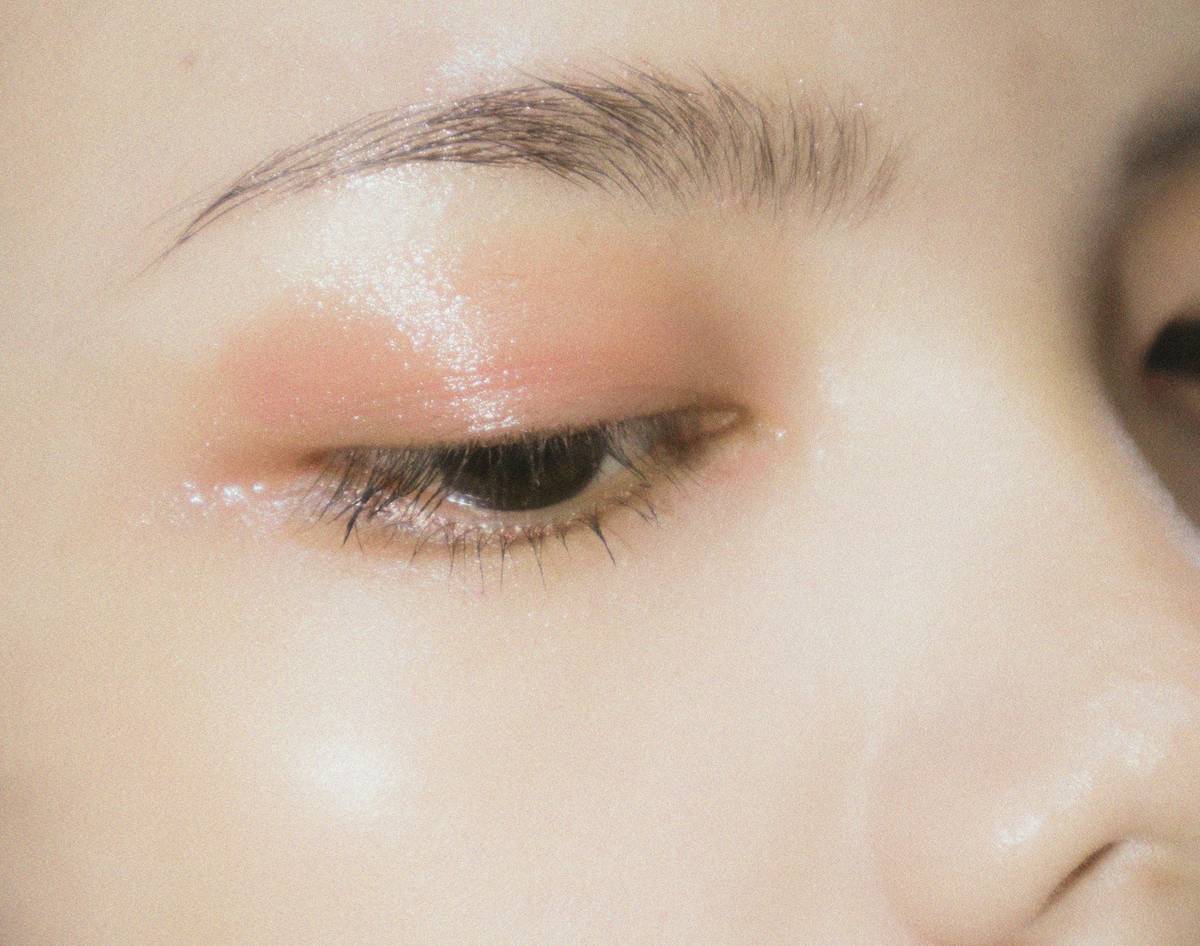
Stunning Examples of Detailed Eyeshadow Blending
Let’s talk success stories. Remember Kim Kardashian’s iconic Met Gala look? Those razor-sharp cut creases? Flawless shading? All thanks to meticulous blending. Another standout example comes from celebrity makeup artist Mario Dedivanovic, who swears by layering translucent powders between colors to achieve dimension.
Rant moment: Why do some people still think blending is optional? Harsh edges are basically screaming, “I’m new at this!” Please, for the love of contouring, take your time.
Frequently Asked Questions About Detailed Eyeshadow Blending
What’s the best brush for detail work?
A tapered blending brush offers precision while still diffusing edges beautifully.
Can beginners master blending?
Absolutely! With practice and patience, anyone can nail it.
How long should I spend blending?
At least five minutes per eye—but don’t rush it. Quality takes time.
Final Thoughts on Detailed Eyeshadow Blending
We covered everything from choosing colors to perfecting your technique. To recap, invest in quality tools, layer gradually, avoid overloading product, and always finish with thorough blending. With dedication, you’ll be crafting pro-level makeup looks in no time. Now go forth and blend like the artist you were born to be!
Oh, and one final note:
Soft strokes,
Patience grows.
Blend till glow shines bright.
Like a Tamagotchi, your skills need daily care—so practice often!