Ever stared at your makeup bag feeling like you’re auditioning for an art class but ending up looking more “abstract painting” than “makeup masterpiece”? You’re not alone. Achieving makeup pro looks isn’t just about having the right tools—it’s about understanding techniques, products, and how they work together seamlessly.
In this post, we’ll unravel the secrets behind flawless makeup pro looks. We’ll explore common mistakes, share step-by-step tutorials, and even include some brutally honest advice that might save your next glam session. Ready to transform yourself into a canvas of perfection? Let’s get started!
Table of Contents
- The Challenge with Makeup Pro Looks
- Step-by-Step Guide to Mastering Makeup Pro Looks
- Best Practices for Flawless Finishes
- Real-World Examples of Stunning Makeover Transformations
- FAQs About Makeup Pro Looks
Key Takeaways
- Preparation is key: Skincare sets the stage for every great look.
- Product knowledge matters: Know what works best for your skin type.
- Practice makes perfect: Don’t be afraid to experiment!
The Challenge with Makeup Pro Looks
Let me confess something embarrassing. Early on in my makeup journey, I once spent two hours attempting “soft glam” only to step back and see what looked like a neon clown staring back at me in the mirror. My foundation was patchy, contour lines were sharp enough to cut glass, and let’s not talk about the mismatched blush.
“Optimist Me:” ‘It’s okay; everyone starts somewhere!’
Grumpy Me: ‘Ugh, why does YouTube make it seem so easy?!’
The truth? Achieving makeup pro looks requires patience, skill, and A LOT of trial-and-error. But don’t worry—we’ve all been there, and today, we’ll fix those rookie mistakes once and for all.
Step-by-Step Guide to Mastering Makeup Pro Looks
Step 1: Prep Your Canvas Like a Pro
You wouldn’t paint on unprimed canvas, would you? Same goes for your face. Start with clean, moisturized skin. Use a hydrating serum followed by primer to smooth out texture and create longevity.
Step 2: Foundation & Concealer – The Unsung Heroes
Choose a foundation that matches your undertone perfectly. Blend using a damp beauty sponge or brush in gentle pressing motions. Follow up with concealer under eyes and over blemishes for extra coverage.
Step 3: Sculpt Those Features
Contour should enhance—not overpower. Use a cool-toned powder or cream product slightly darker than your natural shade along hollows of cheeks, jawline, and temples. Blend thoroughly!
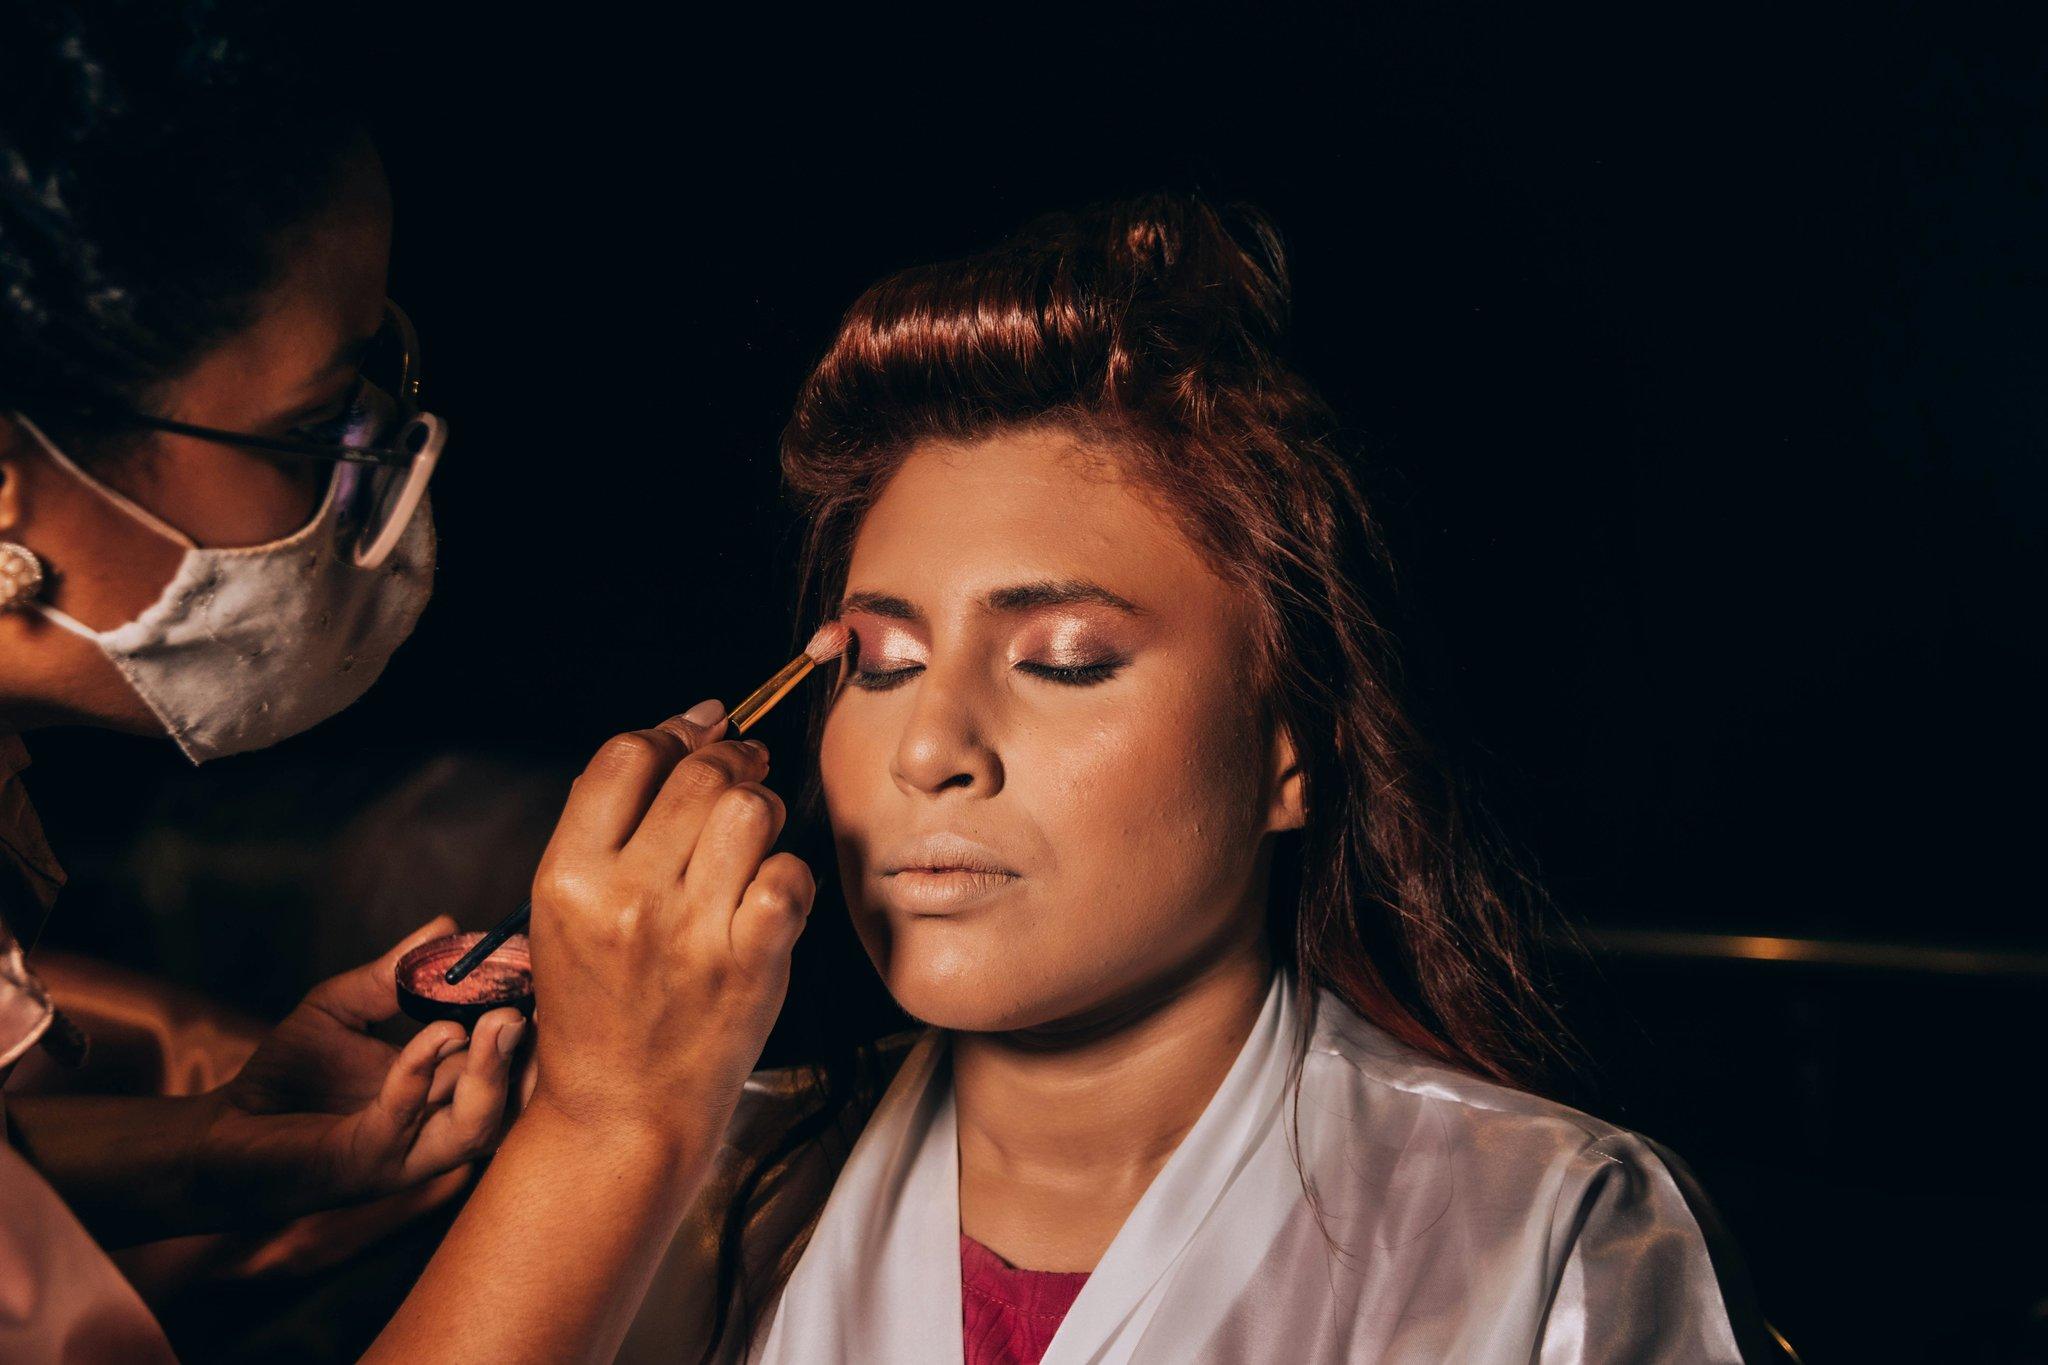
Step 4: Add Color & Dimension
Apply blush to apples of cheeks, blending upwards toward temples. Highlighter gives dimension—dab onto cheekbones, brow bones, and cupid’s bow for that lit-from-within glow.
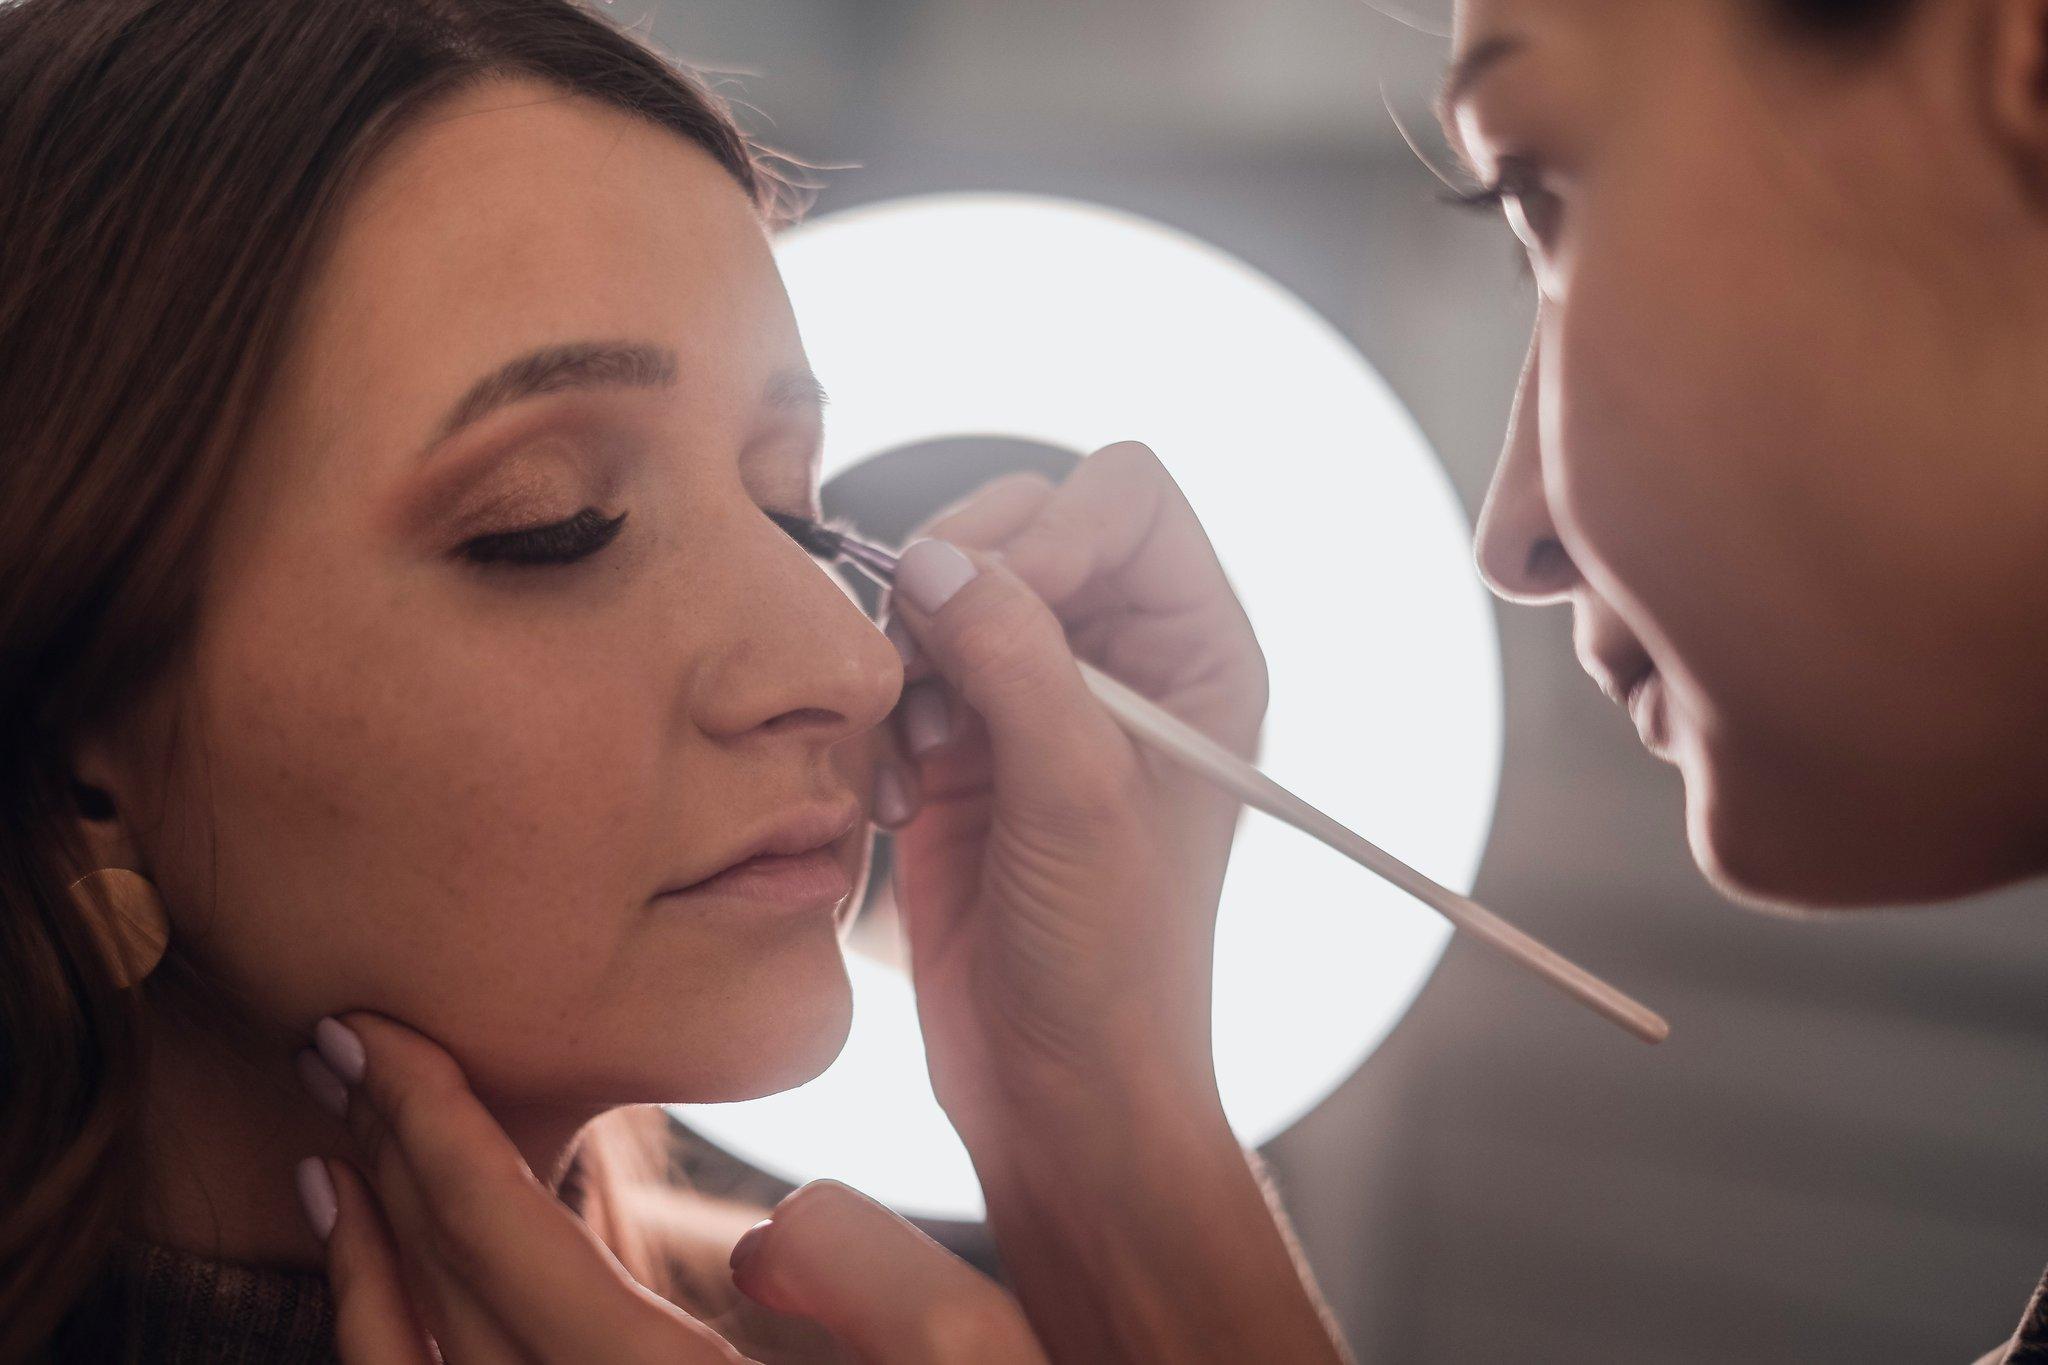
Step 5: Finish With Eyes That Pop
Start with eyeshadow primer (trust me), then layer shadows starting from lightest to darkest. Winged liner can elevate any look; smudge pencil lightly underneath lower lash line if desired.
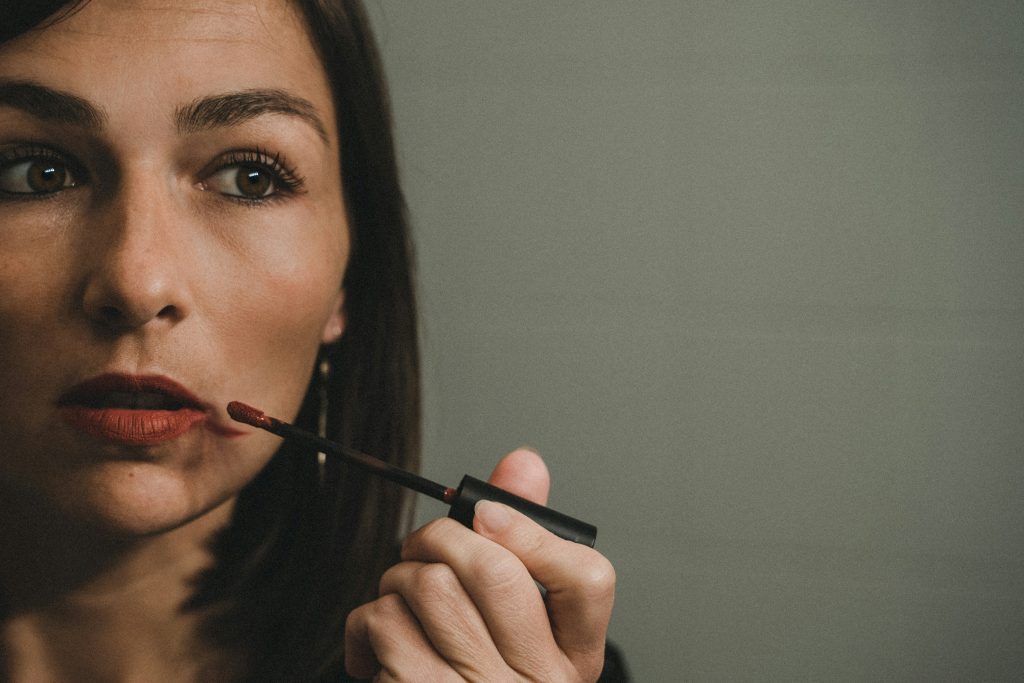
Step 6: Lips & Lashes Complete Every Look
Apply mascara generously after curling lashes for added drama. Choose lip color based on occasion—a nude gloss for daytime chic, bold red for evening wow factor.
Best Practices for Flawless Finishes
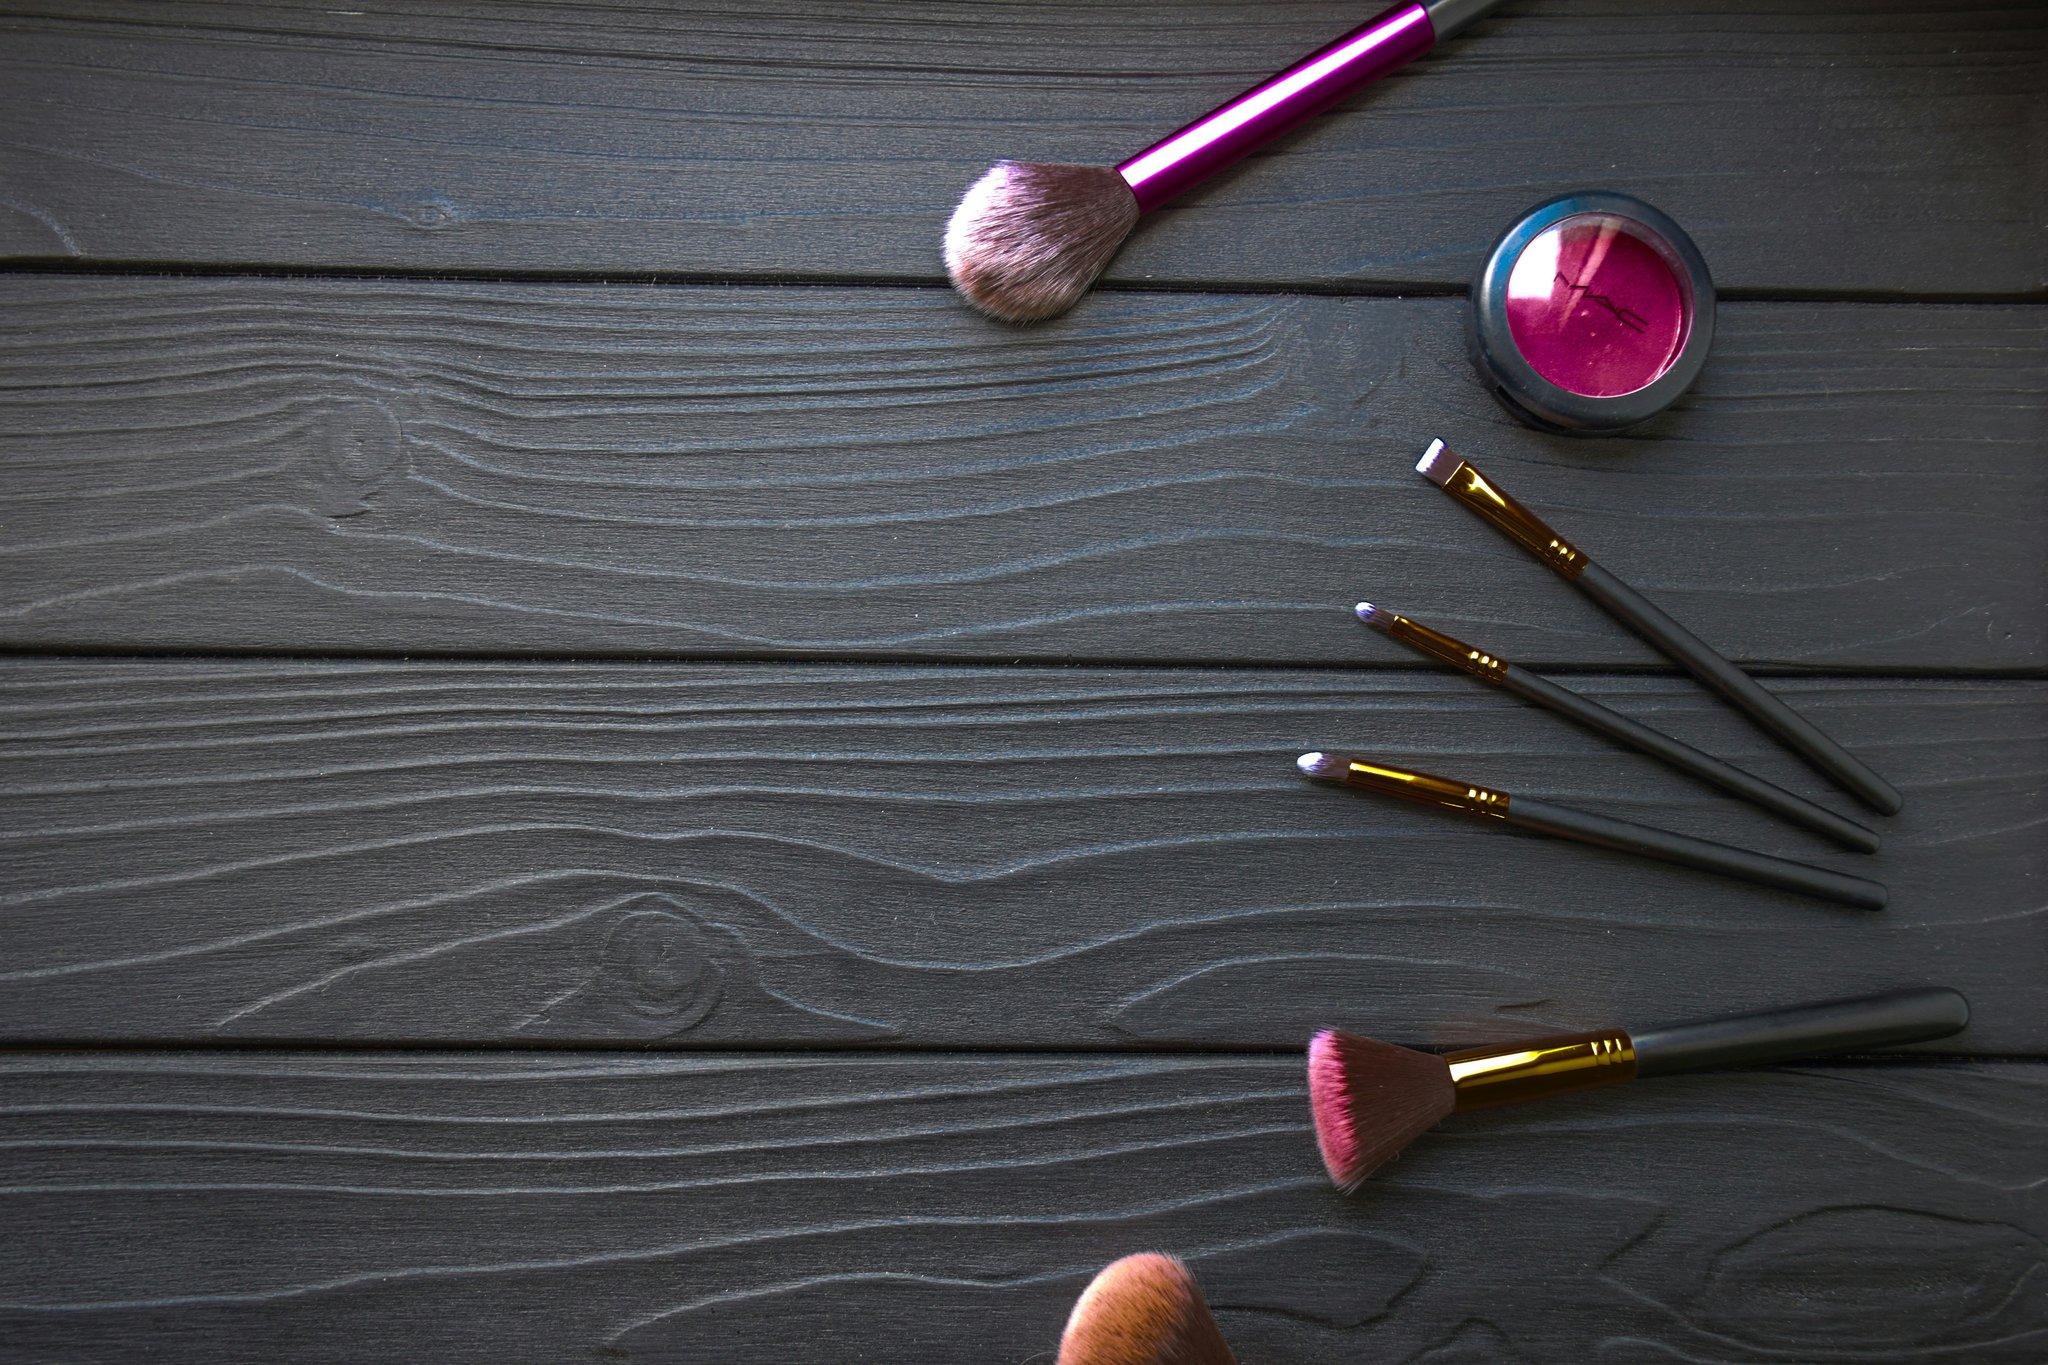
- Invest Wisely: High-quality brushes and sponges are non-negotiable.
- Blend, Blend, BLEND: Harsh edges will ruin any makeup pro look.
- Less Is More: Build products gradually rather than going full glam instantly.
- Skin First: Always prioritize skincare before picking up foundation.
Terrible Tip Alert: Never skip setting spray unless you enjoy raccoon eyes midday.
Real-World Examples of Stunning Makeover Transformations
Take Sarah, a bride who wanted her wedding photos to reflect elegance without appearing overly done. By following these steps, she achieved glowing skin, subtle contouring, and classic winged eyeliner—a timeless makeup pro look captured beautifully in pictures.
Another example? Mia, transitioning from office worker to night-out queen. She nailed dramatic smoky eyes paired with glossy lips while maintaining balance thanks to skilled blending techniques covered earlier.
FAQs About Makeup Pro Looks
What Products Should Beginners Focus On?
Foundation, concealer, mascara, and lip products form the holy grail of beginner kits.
How Long Does It Take To Learn Professional Techniques?
Consistent practice over weeks/months yields noticeable improvement, depending on dedication levels.
Can I Achieve These Looks On All Skin Types?
Absolutely! Tailor products according to individual needs—like oil-free formulas for oily skin.
Conclusion
We’ve covered everything from overcoming challenges to mastering precise techniques for makeup pro looks. Remember, becoming proficient takes time, effort, and lots (and lots) of coffee. Now go forth and slay confidently!
Like unlocking cheat codes in GTA, each small tip leads closer to pro status. Stay fierce, folks.
P.S.: Just because you can blend… doesn’t mean sparkly blue eyeshadow belongs everywhere. 😉
Haiku Break:
Brush strokes whisper dreams,
Mirror reflects truest self,
Makeup tells stories.