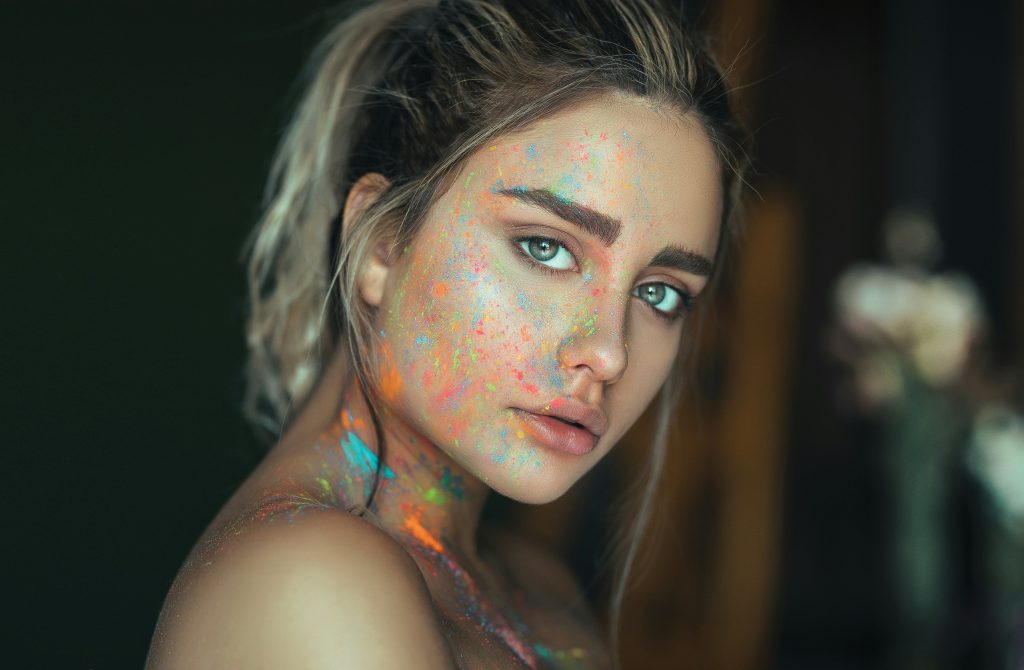
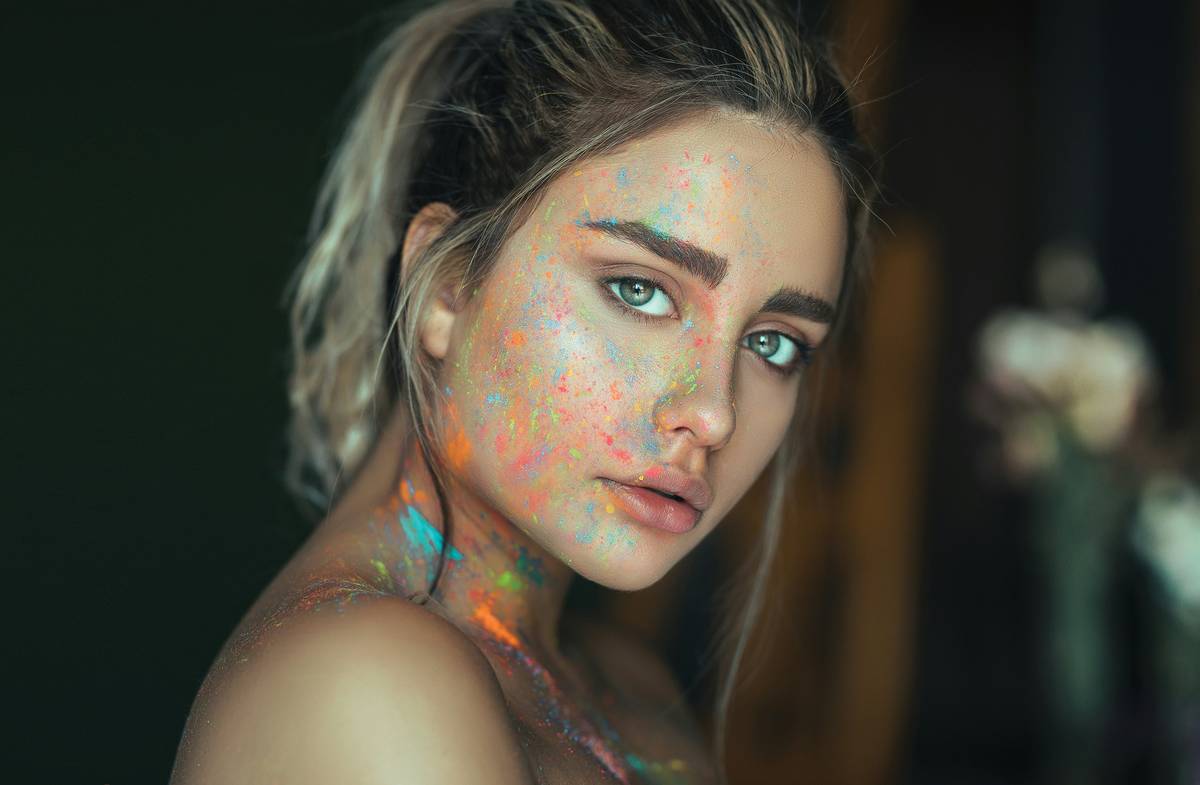
Ever stared at your blush palette and thought, “Why does my makeup look flat even though I’ve blended for days?” Yeah, us too. Creative blush application isn’t just about dabbing some color on your cheeks—it’s an art form that transforms your entire face. Whether you’re a beginner or seasoned makeup artist, this guide will show you how to master the unexpected, go bold, and nail every blush technique like a pro.
In this post, we’ll dive into why creative blush techniques matter, step-by-step instructions for flawless execution, tips from top artists, real-life examples, and answers to all your burning blush questions. Ready to elevate your makeup game? Let’s do this!
Table of Contents
- Why Creative Blush Application is So Important
- Step-by-Step Guide to Mastering Creative Blush Techniques
- Top Tips for Perfect Blush Every Time
- Examples of Stunning Blush Artistry
- FAQs About Creative Blush Application
Key Takeaways
- Creative blush application can completely transform your facial structure and enhance your natural features.
- Using unconventional placement (like under the brow bone or along the temples) adds dimension.
- Prepping your skin properly before applying blush ensures longevity and vibrancy.
- Experimenting with textures and tools opens up endless possibilities.
Why Creative Blush Application is So Important
Blush often gets overlooked in favor of dramatic eyeshadows or sharp liners, but it’s one of the most versatile products in your kit. When used creatively, blush doesn’t just give you healthy-looking cheeks—it shapes your face, creates balance, and ties everything together.
Here’s the harsh truth: slapping blush right on the apples of your cheeks every time is *chef’s kiss* boring. It does absolutely nothing for depth or dimension. Once upon a time, I tried blending three different shades of blush without thinking through placement—and ended up looking like a sunburned tomato emoji. Painful, sure, but also educational.
Optimist You: “Creative blush application sounds fun!”
Grumpy You: “But what if I end up looking clownish?” Don’t worry—we’ll fix that.
Step-by-Step Guide to Mastering Creative Blush Techniques
Step 1: Prep Your Canvas
Before diving into any creative blush application, prep matters. Start with hydrated, moisturized skin topped with foundation or tinted moisturizer. A matte primer helps control shine while letting creamy blushes glide smoothly.
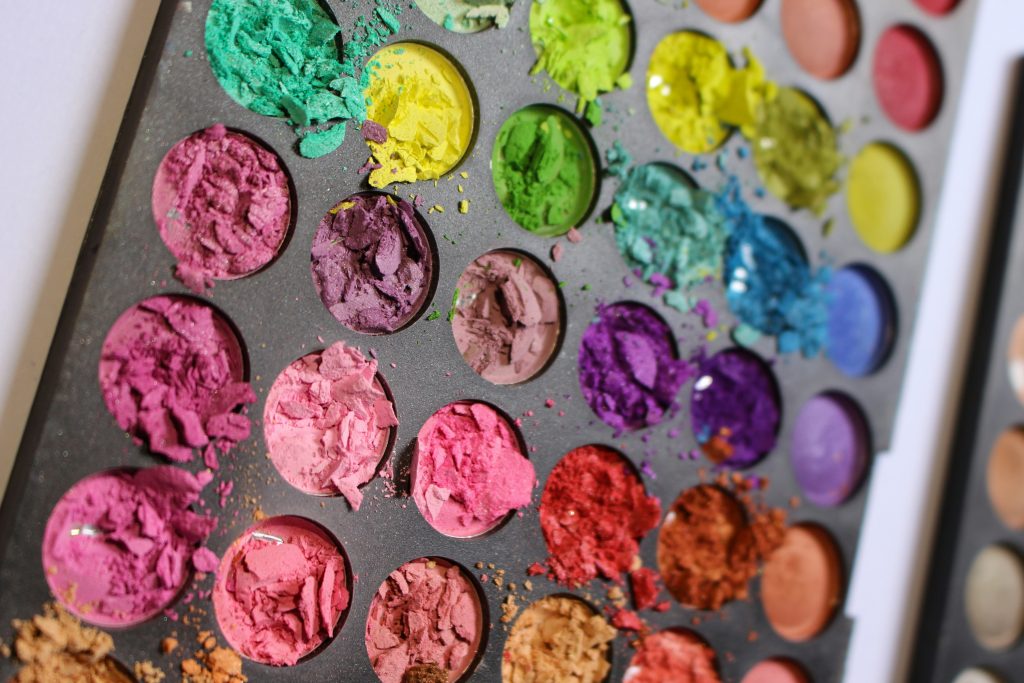
Step 2: Choose Your Weapon (Blush Type)
Not all blushes are created equal:
- Powder: Great for oily skin; easy to layer.
- Cream: Dewy finish, ideal for dry or combo skin.
- Liquid: Long-lasting, perfect for special events or editorial looks.
Step 3: Experiment with Placement
Forget those apple-of-the-cheek rules. Try these placements:
- Under the brow bone: Adds lift and a youthful glow.
- Along the hairline: Creates soft contouring.
- Nose bridge: Mimics a post-exercise flush.
Step 4: Blend Like a Pro
Use a fluffy brush for powders, fingers for creams, and a stippling sponge for liquids. Blend outward gently to avoid harsh lines—but not so much that it disappears entirely.
Top Tips for Perfect Blush Every Time
- Work in layers. Build intensity gradually instead of going heavy-handed immediately.
- Match undertones. Cool-toned complexions suit pinks and berries; warm tones rock peach and coral.
- Mix textures. Combine powder and cream formulas for a multidimensional effect.
- Don’t forget lighting. Always check your blush in both daylight and artificial light to ensure consistency.
- (Terrible tip alert!) Skip setting spray over blush—it dulls its radiance unless you love robot cheeks.
Examples of Stunning Blush Artistry
Let’s take inspiration from makeup artist @makeupbyjessica, who went viral for her “reverse blush” technique—she applied blush horizontally across the cheekbones rather than vertically. The results? A sculpted yet natural flush that fans raved about online.
Another gem comes from runway shows where makeup artists painted blush down models’ necklines—a daring move that made waves during Fashion Week seasons.
FAQs About Creative Blush Application
Q: Can anyone pull off creative blush techniques?
Absolutely! While professional skills help, creativity knows no boundaries. Just experiment until you find what works best for your unique facial structure.
Q: How do I keep my blush from fading throughout the day?
Prime your skin first, then set with translucent powder after application. Avoid oil-based skincare products directly underneath your makeup.
Q: What tools should I use?
It depends on your preference! Brushes work well for precision, fingers offer seamless blending for creams, and sponges are excellent for liquid formulas.
Conclusion
Creative blush application might feel intimidating at first, but don’t let fear hold you back. With practice, experimentation, and the right techniques, you’ll unlock a world of artistic potential. Remember, mistakes happen—they’re opportunities to learn. Oh, and drink coffee while practicing because caffeine makes everything better.
Like an iPod shuffle playlist, your creativity should surprise and delight. Go forth, experiment wildly, and rock those blush vibes!
“Pink power / Brushes swirling / Glow goals achieved.”