Ever tried to create that perfect artistic blush look, only to end up with what looks like a bad sunburn? Yeah, we’ve all been there.
If you’re reading this, chances are you’re not just dabbling in makeup artistry—you’re diving headfirst into one of its most nuanced techniques. From mastering gradient shading to avoiding clown cheeks, artistic blush is both an art and a science. In this guide, you’ll learn why it’s worth your effort, how to pull off stunning effects step-by-step, tips from pros, and real-world examples that will inspire you. But first—what exactly *is* artistic blush?
Table of Contents
- Why Artistic Blush Matters
- How to Apply Artistic Blush Like a Pro
- Top Tips & Best Practices
- Real-World Examples: What Works
- FAQ: Your Burning Questions Answered
Key Takeaways
- Artistic blush elevates any makeup look by adding dimension and expression.
- Choosing the right product and tools is crucial for achieving precision.
- Techniques vary depending on skin tone, texture, and occasion.
- Practice and experimentation are key to nailing complex styles.
Why Artistic Blush Matters
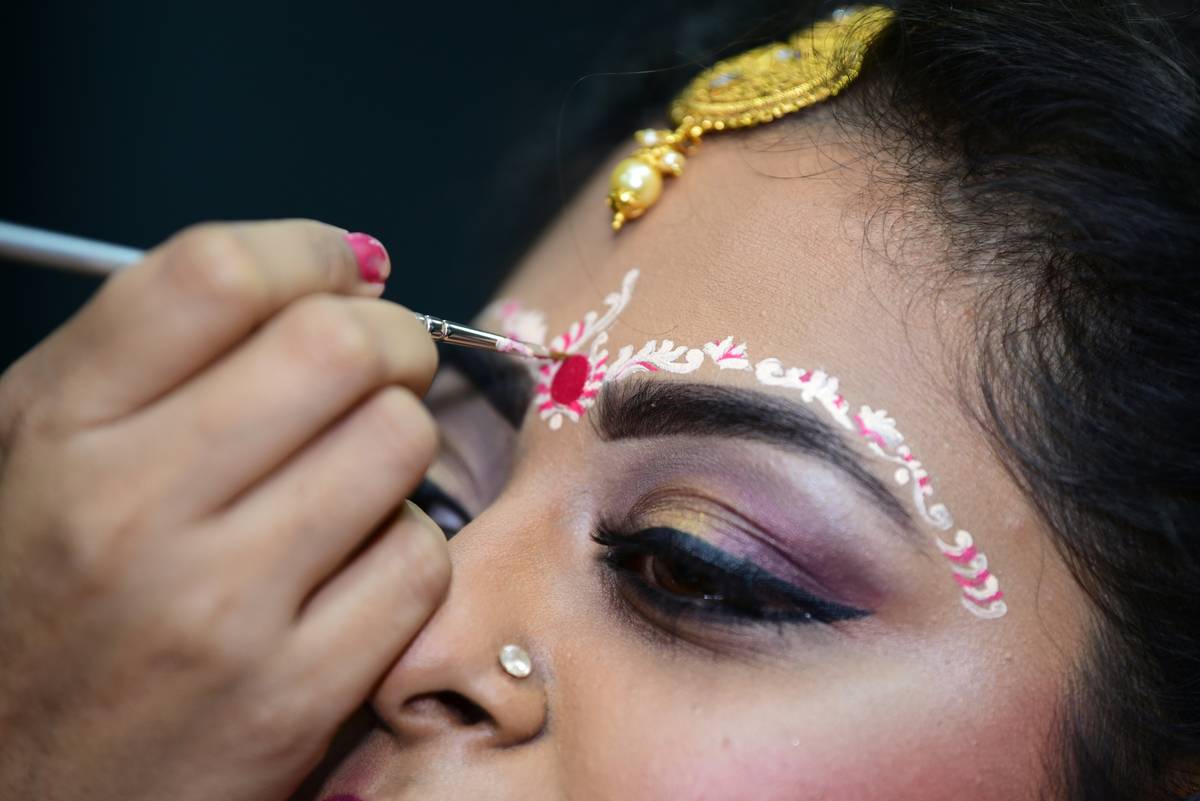
Let’s cut to the chase: blush isn’t just about popping some pink onto your cheeks anymore. It’s become a storytelling tool—a way to express emotion, highlight facial structure, and even transport someone into character. Whether you’re sculpting ethereal bridal looks or bold editorial spreads, artistic blush adds drama and intrigue.
I once spent two hours trying to replicate a Pinterest-worthy blush gradient—only to realize I’d forgotten to blend properly. The result? A hot mess that screamed “I’m new at this.” Don’t be me. Understanding the nuances behind artistic blush can save you time, stress, and potentially your client’s trust.
How to Apply Artistic Blush Like a Pro
Optimist You: “Follow these steps and you’ll nail it!”
Grumpy You: “Ugh, fine—but only if coffee’s involved.”
Step 1: Pick the Right Product
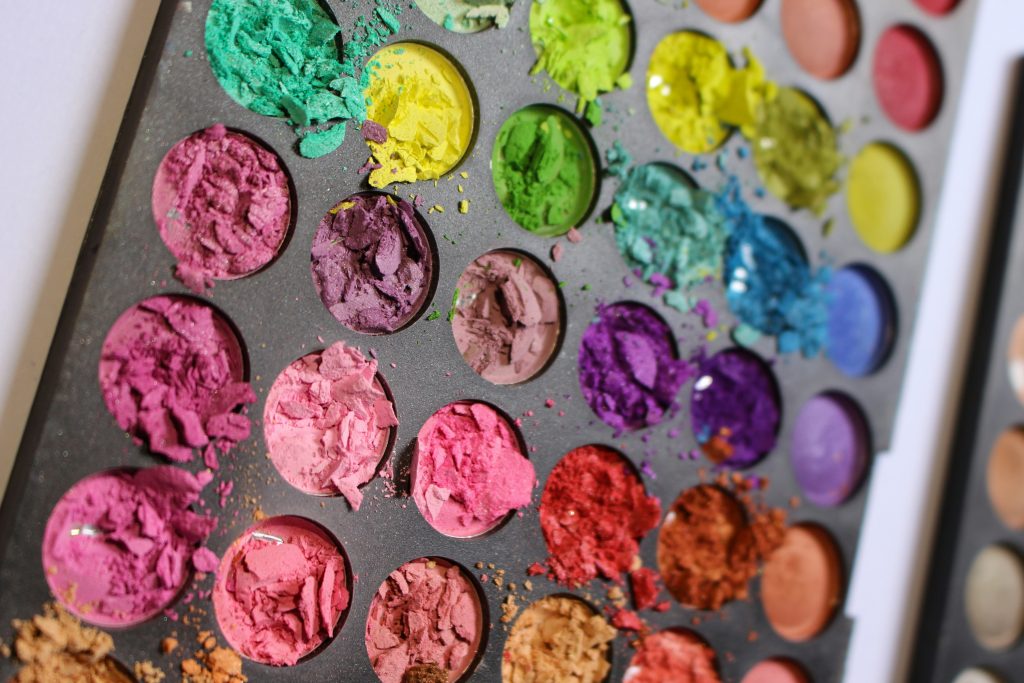
Not all blushes are created equal. Cream blushes work wonders for natural finishes, while powders provide buildable coverage. Pro Tip: Test colors against your wrist—it’s a better match test than your hand.
Step 2: Choose Your Tools Wisely
A fluffy brush works great for diffused applications, but angled brushes offer more control. Feeling fancy? Try stippling sponges for seamless cream blends.
Step 3: Map Out Placement
Start small! Blush doesn’t always belong on the apples of your cheeks. For editorial looks, consider unconventional placements like temples or jawlines.
Step 4: Layer Strategically
This is where things get fun. Build layers gradually, using translucency to maintain softness. Overdo it? No worries. Simply pat foundation over trouble areas to reset.
Top Tips & Best Practices
Here’s what every budding makeup artist should know:
- Mix Textures: Combine cream and powder products for long-lasting results.
- Consider Lighting: Fluorescent lights can wash out pigments; adjust accordingly.
- Ditch Generic Brushes: Use specialized tools designed for contouring.
- Terrible Tip Alert: Never skip blending unless you’re deliberately going for avant-garde shock value.
RANT: Who came up with those sponge-tip applicators?! They’re absolutely useless for precision work. Please invest in quality brushes instead—it’s chef’s kiss for drowning frustration.
Real-World Examples: What Works
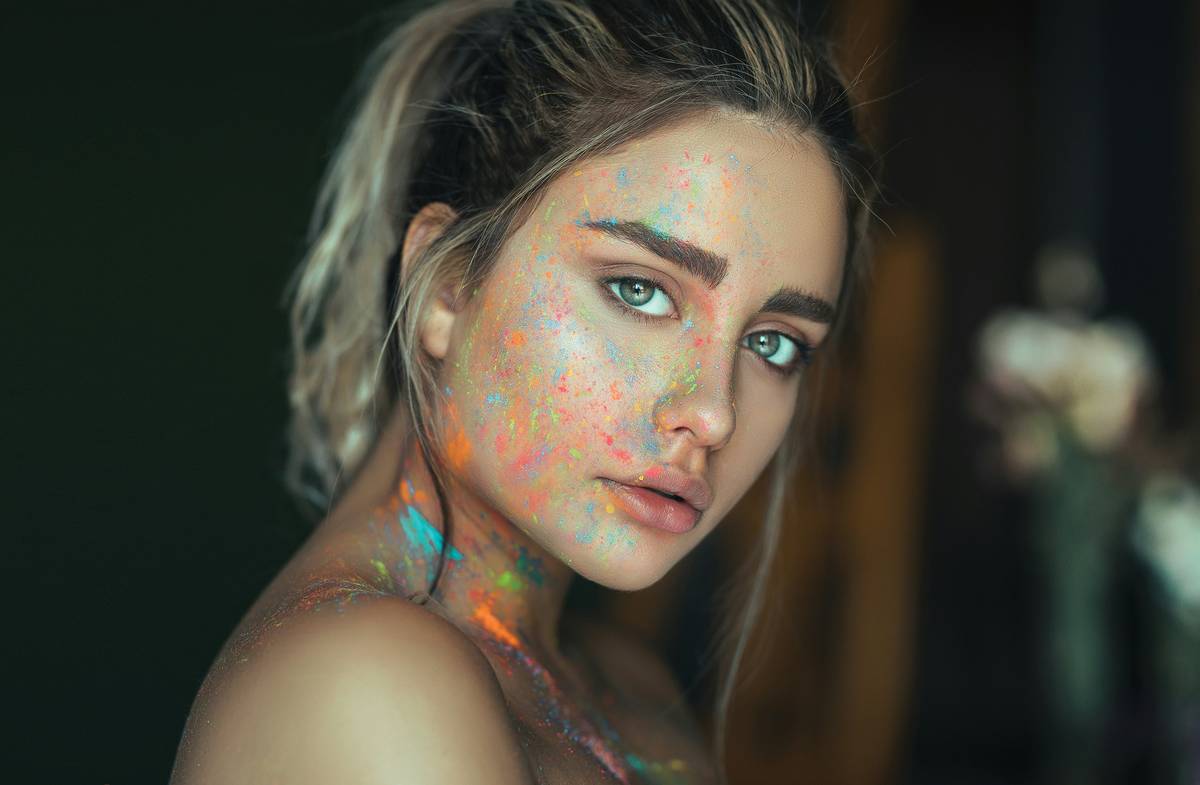
Take inspiration from pro makeup artists who dominate Instagram with their creative blush techniques. For instance, James Charles’ experimental blush gradients showcase how far abstract makeup can go. Similarly, Pat McGrath often uses blush as a bridge between eyeshadow and cheekbones—pure genius.
FAQ: Your Burning Questions Answered
What makes artistic blush different from regular blush?
Artistic blush focuses on creativity and expression, often deviating from traditional rules to enhance storytelling through makeup.
Can beginners master artistic blush?
Absolutely! While advanced techniques require practice, simple approaches like ombre blending are beginner-friendly.
Is cream or powder blush better?
Both have unique benefits. Cream offers dewy flexibility, whereas powder provides sharper edges.
Conclusion
Mastering artistic blush takes patience, but the payoff is worth it. By following our guide, embracing trial-and-error, and investing in quality tools, you’ll unlock endless possibilities for creating breathtaking makeup artistry pieces. So go ahead—grab that blush brush and let your creativity run wild!
And remember:
Rosy hues dance free,
Art meets skin in harmony—
Cheeks bloom like springtime.