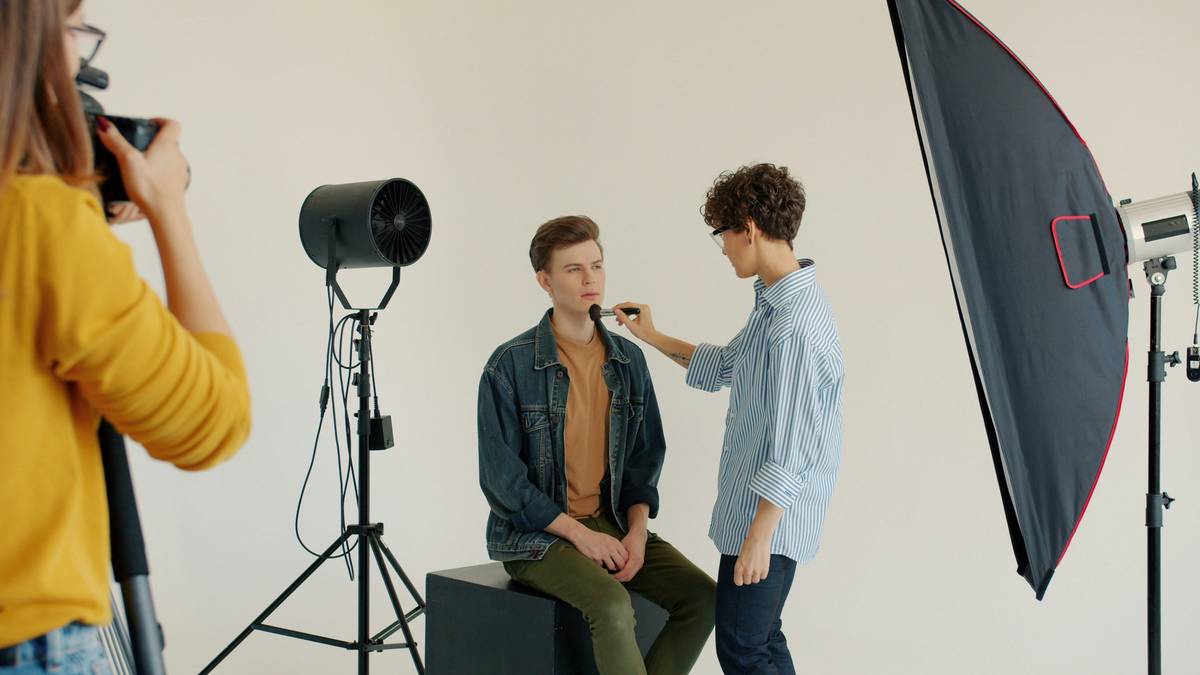
Have you ever scrolled through Instagram, marveling at those perfectly lit photos where the makeup looks flawless? Then tried it yourself only to find your foundation looked cakey or your blush was barely visible under the flash? Yeah, welcome to the club. Getting makeup right for photography isn’t *just* about slapping on extra layers—it’s a whole art form. We’re here to break down exactly how to achieve pro-level camera-ready makeup so you can nail that next photoshoot like a true makeup artist.
Table of Contents
- Why Makeup for Photography is Different
- Step-by-Step Guide to Camera-Ready Makeup
- Best Practices and Tips
- Real-World Examples
- FAQs About Makeup for Photography
Key Takeaways
- Makeup for photography requires specific techniques due to lighting and angles.
- Using high-definition (HD) products ensures smoother finishes in photos.
- Blending is key—no one likes harsh lines showing up on camera!
Why Is Makeup for Photography So Different?
Let me tell you a story—I once did my “perfect” daytime makeup routine before an outdoor shoot. Sunlight hit me hard, and guess what? My face looked flat AF because I skipped highlighter. Lesson learned: Cameras don’t see skin the way eyes do. They flatten textures, exaggerate shine, and sometimes even play tricks with color tones.
When it comes to makeup for photography, everything changes. Harsh studio lights can wash out colors, while natural light highlights every imperfection. That said, not all hope is lost. Understanding these nuances will set you up for success.
How to Do Makeup for Photography Step by Step
Step 1: Prep Your Canvas
*Optimist You:* “Start with a clean canvas!”
*Grumpy You:* “Yeah, but moisturize first unless you want crepe-paper cheeks.”*
- Cleanse and tone your skin thoroughly.
- Apply a hydrating primer to smooth texture and prep for foundation.
- If shooting indoors, avoid heavy silicone primers—they reflect light weirdly.
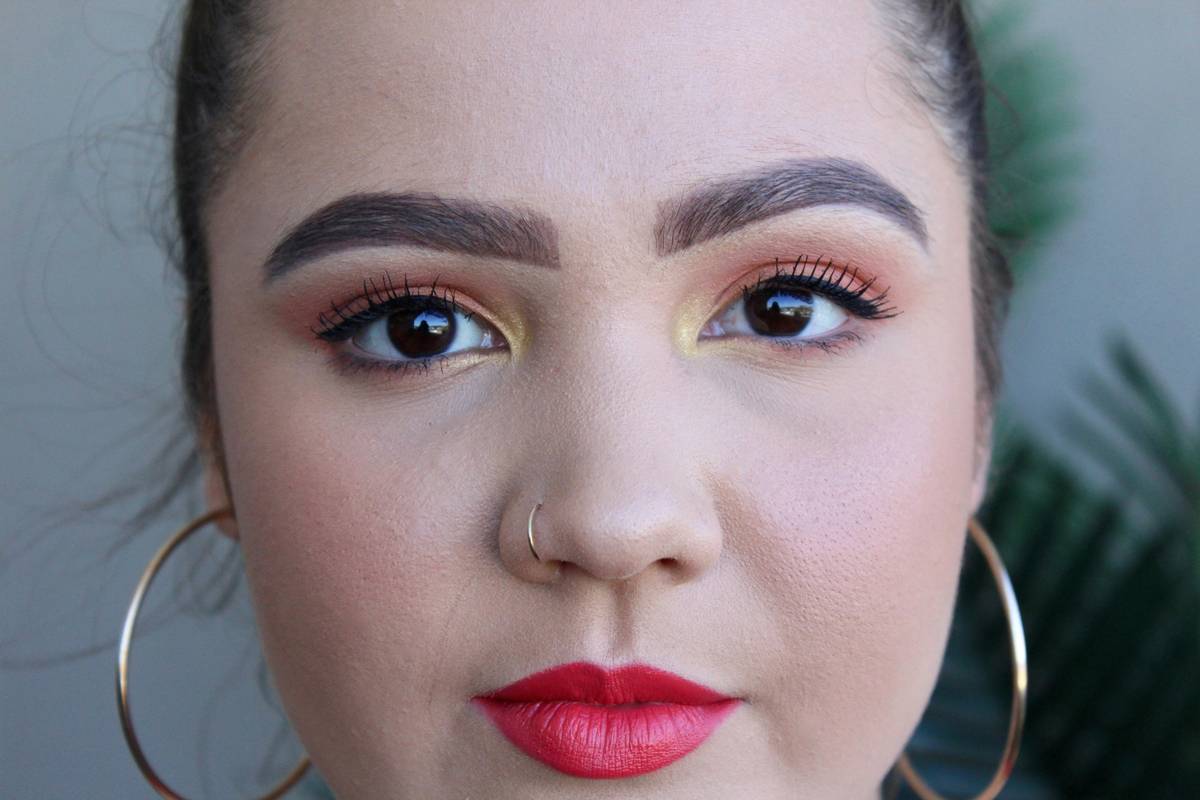
Step 2: Foundation Done Right
This step makes or breaks your look. Use HD-friendly foundations with matte finishes, as they photograph beautifully without appearing too oily.
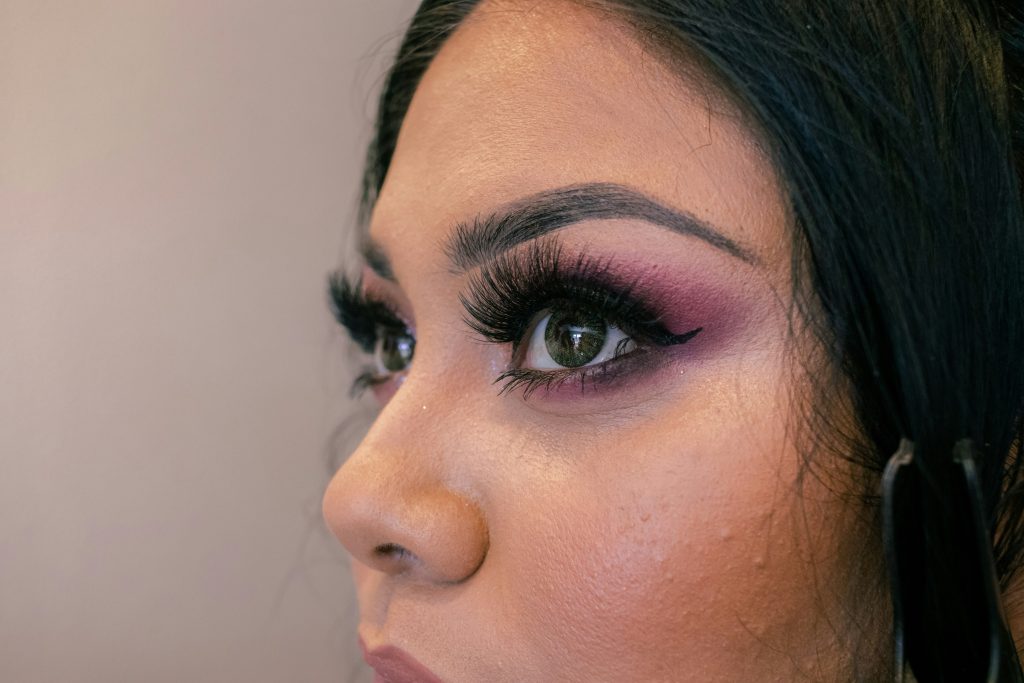
Step 3: Contour and Highlight Strategically
Here’s the secret sauce: Less contour, more highlight. Over-contouring often results in muddy shadows in photos, whereas strategic highlighting adds dimension back into flat images.
Tips and Best Practices for Makeup for Photography
- Set Everything: Translucent powder is non-negotiable; cameras love shiny foreheads less than toddlers love vegetables.
- Mascara Matters: Waterproof formulas are clutch since flashes make eyes water unexpectedly.
- Avoid Glitter Overload: Too much sparkle translates poorly in photos. Stick to subtle shimmer instead.
Note: Terrible Tip Alert! Some people suggest caking on layers of concealer, but trust us—this screams “I’m trying too hard.” Quality beats quantity every time.
Real-World Examples of Stunning Makeup for Photography
Take inspiration from celebrity red carpet moments. Stars like Zendaya and Lupita Nyong’o consistently rock perfect makeup for flashing bulbs thanks to skilled artists who understand lighting dynamics. Pay attention to their glowing skin and balanced features—it’s literally art meeting science.
Frequently Asked Questions About Makeup for Photography
What’s the best foundation type for photography?
Opt for long-wearing, HD foundation with medium-to-full coverage. Brands like Estée Lauder Double Wear and L’Oreal True Match offer great options.
Can I use regular makeup for photoshoots?
Technically, yes—but it won’t give you the polished effect achieved by tailored photo makeup. Specialized products enhance details better under various lighting scenarios.
Conclusion
To sum it up, mastering makeup for photography involves understanding lighting, using quality products, and applying strategic techniques like blending. By following our guide, you’ll feel confident stepping in front of any lens. So grab your brushes and start practicing—it’s time to shine!
“Flashes pop, skin glows bright / Confidence blooms beneath the stage / Beauty reigns supreme.”