“Why does my highlight look like a greasy forehead instead of a glowing masterpiece?” If this question haunts you, you’re not alone. Achieving the perfect strobing and highlighting technique can feel as elusive as finding your phone in a messy handbag. Fear not—this guide will take you from amateur dabber to radiant pro!
In this post, we’ll tackle what strobing and highlighting really mean for makeup artistry enthusiasts like yourself. You’ll get actionable techniques, step-by-step instructions, and insider tips to create that “lit-from-within” glow without looking like an oil spill. Let’s dive in!
Table of Contents
- Understanding Strobing vs. Highlighting: What’s the Difference Anyway?
- Step-by-Step Guide to Perfect Strobing and Highlighting
- Pro Tips for Flawless Glow-Up Results
- Real-Life Success Examples of Killer Strobing Techniques
- FAQs About Strobing and Highlighting
Key Takeaways
- Strobing emphasizes high points of the face using light-reflective products for a naturally radiant finish.
- Highlighting adds more intense shimmer but works best when paired with proper blending and prep.
- Prepping your skin is non-negotiable—it’s the foundation of any successful strobing or highlighting routine.
Understanding Strobing vs. Highlighting: What’s the Difference Anyway?
If I told you strobing was just contouring on vacation, would you believe me? Okay, maybe it’s a bit more nuanced.
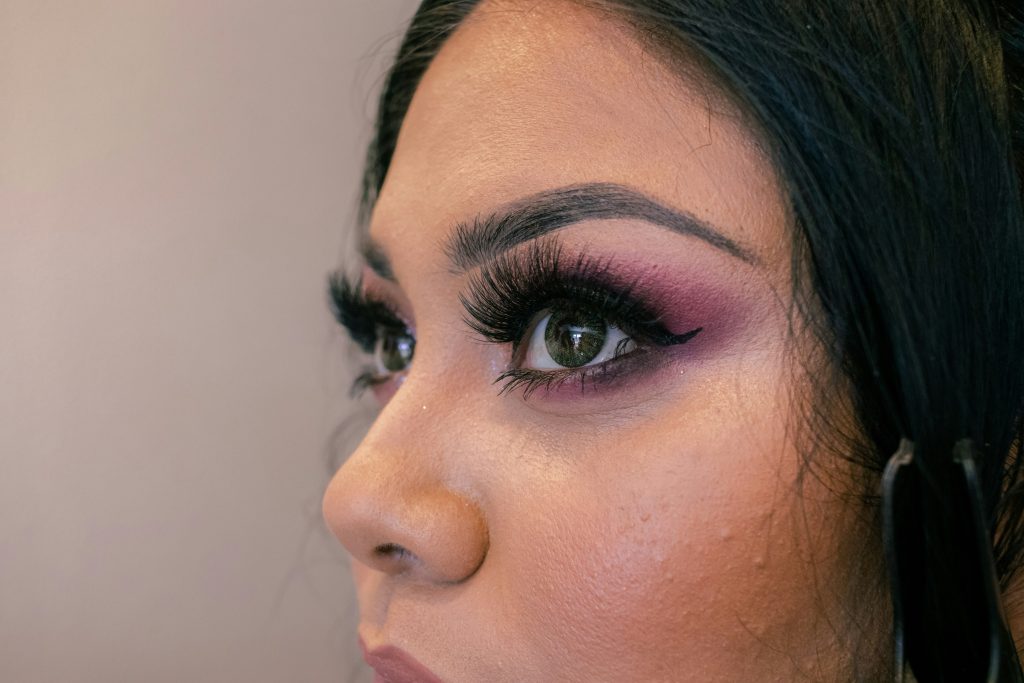
Strobing: Imagine standing under golden hour sunlight—that soft, ethereal glow hitting all your best features. That’s strobing. It uses strategic placement of cream or liquid illuminators along your cheekbones, brow bones, cupid’s bow, and nose bridge to mimic natural radiance.
Highlighting: Now picture champagne glitter poured directly onto those same areas—intense sparkle town. Highlighting leans toward powder formulas meant to catch the light dramatically, often seen in evening makeup looks.
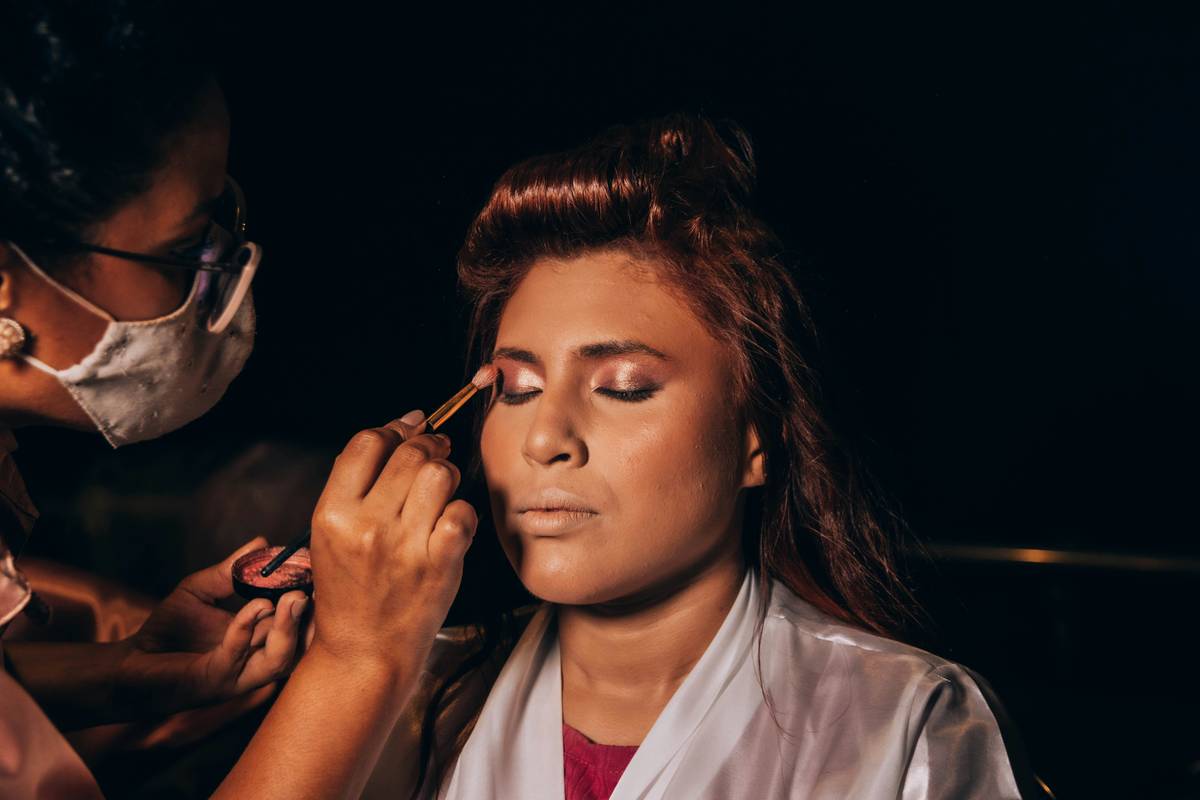
Image Credit: YourGlowGuide.com – Comparison of strobing versus highlighting techniques.
Step-by-Step Guide to Perfect Strobing and Highlighting
Grumpy You: “Do I seriously need another tutorial? Can’t I just wing it?”
Optimist You: “Yes, follow these steps because I promise they’ll change everything.”
Step 1: Prep Your Canvas (Skincare First)
No amount of highlighting magic will save dry patches or oily T-zones. Start with clean, moisturized skin and apply primer tailored to your skin type.
Step 2: Foundation and Concealer Base
A smooth base equals smoother highlights. Opt for lightweight foundations or BB creams if going full glam isn’t necessary.
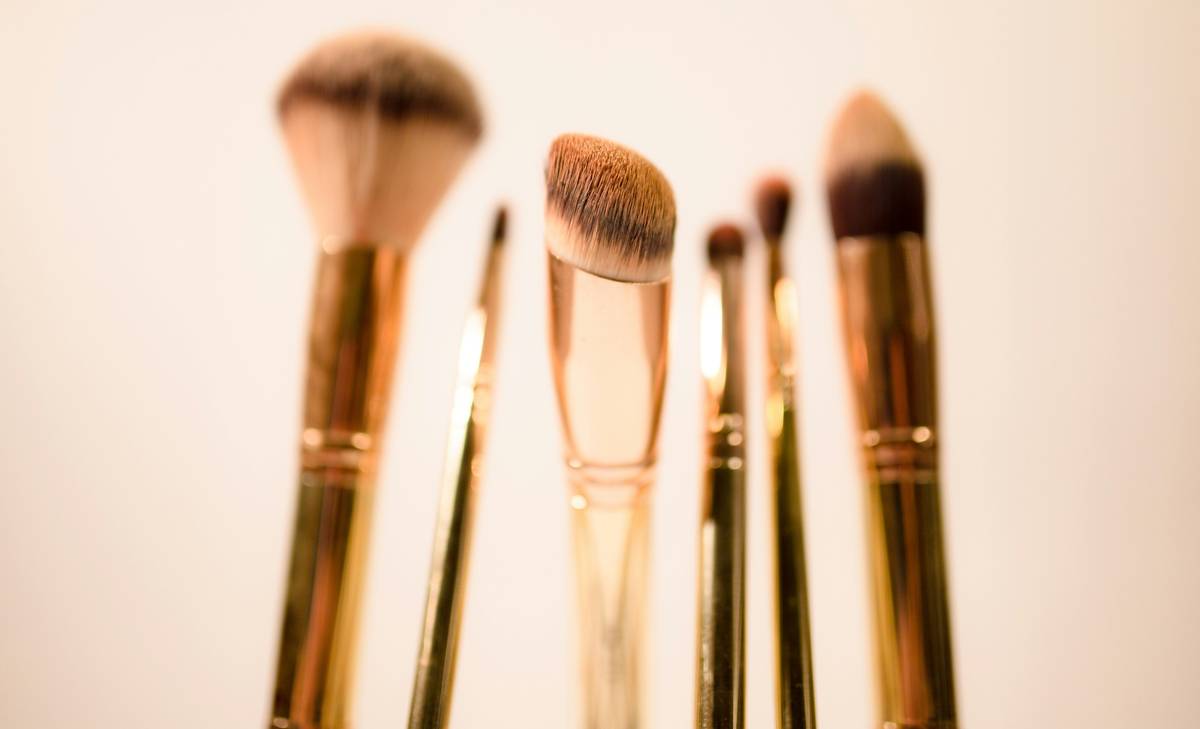
Step 3: Choose Your Product Wisely
Creamy textures work better for strobing, while powders are ideal for traditional highlighting. Test shades carefully; opt for pearls over metallic tones unless aiming for disco ball vibes.
Step 4: Apply Strategically
Focused areas include:
- Cheekbones
- Brow bones
- Cupid’s bow
- Nose bridge
- Inner corners of eyes
Step 5: Blend Like There’s No Tomorrow
Use sponges or fingers for cream products and fluffy brushes for powders. Blending eliminates harsh edges.
Pro Tips for Flawless Glow-Up Results
- Mix Illuminators Into Foundation: For a subtle all-over strobe effect, mix liquid illuminator into your foundation.
- Layer Strategically: Try layering cream first, then setting lightly with powder for depth.
- Avoid Overloading Texture: If your skin tends to reflect shine naturally, stick to minimal layers.
- Pet Peeve Warning: Stop slathering glitter everywhere! Strategic placement matters more than quantity. Please spare us the glitter grenades.
Real-Life Success Examples of Killer Strobing Techniques
Let’s talk about Karen—a fictional client who swore she’d never pull off strobing due to her combination skin. After mastering prep routines and learning where to place product, her Instagram selfies started racking up double-digit likes overnight.
Before-and-afters also highlight transformations effectively. Remember: even pros start somewhere. Trial and error refine the craft.
FAQs About Strobing and Highlighting
Can I Use One Highlighter for Both Strobing and Traditional Looks?
Yes, versatile products exist—but ensure texture suits each purpose.
How Do I Know Which Shade Works Best?
Select based on undertones. Cool-toned complexions rock icy pinks and silvers; warm skins thrive with golds and coppers.
What Are Some Common Mistakes Beginners Make?
Applying too much product tops the list, followed closely by skipping prep work.
Conclusion
Mastering strobing and highlighting boils down to understanding your tools, knowing your canvas, and practicing strategically. With these steps, you’re ready to dazzle—not blind—the world!
And remember: Just like crimped hair made its comeback, so can your confidence in makeup experimentation. ✨
Haiku time:
Radiant cheekbones,
Glow up, don’t give up yet—
Beauty loves patience.