Ever stared at your lipstick and thought, “I could turn this into art?” Yeah, us too. But turning a swipe of color into jaw-dropping creative lip art? That’s where the fun—and frustration—begins.
In this post, we’ll dive deep into the world of creative lip art, from beginner-friendly techniques to Instagram-worthy masterpieces. You’ll learn how to transform lips into canvases, avoid rookie mistakes, and even troubleshoot those dreaded smudging disasters. Ready to get started?
Table of Contents
- The Magic of Creative Lip Art: Why It Matters
- Step-by-Step Guide to Creating Jaw-Dropping Lip Art
- Top Tips for Perfecting Your Creative Lip Art
- Real-World Inspiration: Examples & Case Studies
- FAQs About Creative Lip Art
Key Takeaways
- Creative lip art is more than just makeup—it’s self-expression through bold colors and designs.
- A good base (primer + liner) can make or break your final look.
- Don’t overwork it: Keep strokes light and use precision tools like brushes or stencils.
- Trending techniques include ombre effects, geometric patterns, and metallic finishes.
- Pro tip: Seal with a clear gloss to prevent smudging without dulling design details.
The Magic of Creative Lip Art: Why It Matters
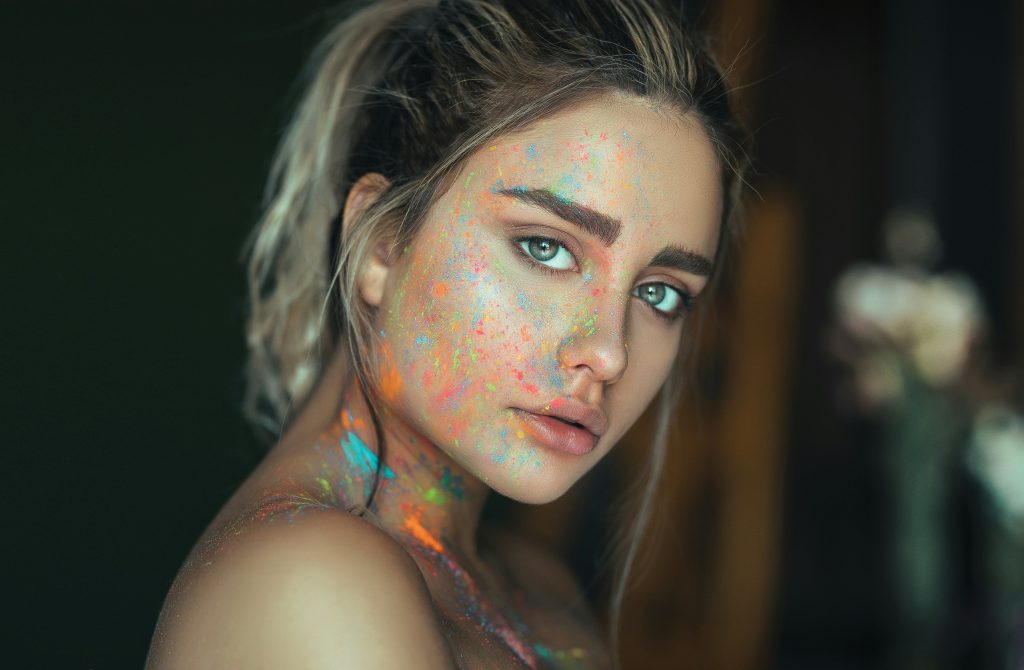
Lipstick has been around forever, but creative lip art takes it to another level. Imagine transforming plain pouts into psychedelic waves, floral blooms, or even galaxy-inspired masterpieces. Sounds dreamy, right?
But here’s the confession—this isn’t as easy as swiping on some red lipstick and calling it a day. I once tried my hand at creating an intricate checkerboard design only to end up looking like I’d eaten way too much cherry pie. My face was sticky, uneven, and utterly uninspired.
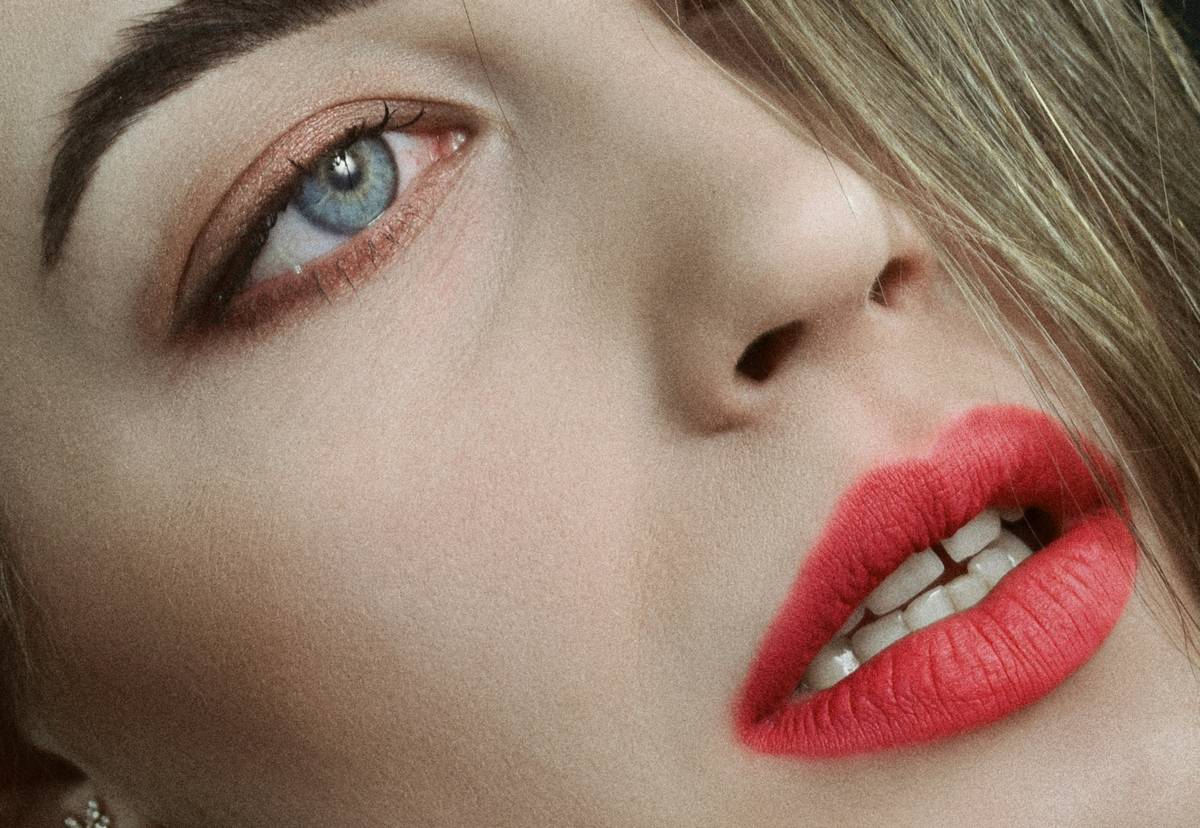
So why bother? Because when done right, creative lip art screams confidence, creativity, and endless possibilities. Whether you’re prepping for Halloween, a festival, or simply want to wow your followers online, mastering this skill opens doors to infinite inspiration.
Step-by-Step Guide to Creating Jaw-Dropping Lip Art
Alright, let’s cut the fluff and jump straight into action. Here’s how to create show-stopping creative lip art:
Step 1: Prep Like Your Life Depends On It
No matter what masterpiece you’re envisioning, start with hydrated, smooth lips. Exfoliate gently using a sugar scrub, then apply a hydrating primer. This step is chef’s kiss for locking down foundation.
Step 2: Line & Define
Use a nude pencil close to your natural lip shade to outline. If you’re going abstract, don’t stress about perfection—just keep clean edges for contrast later.
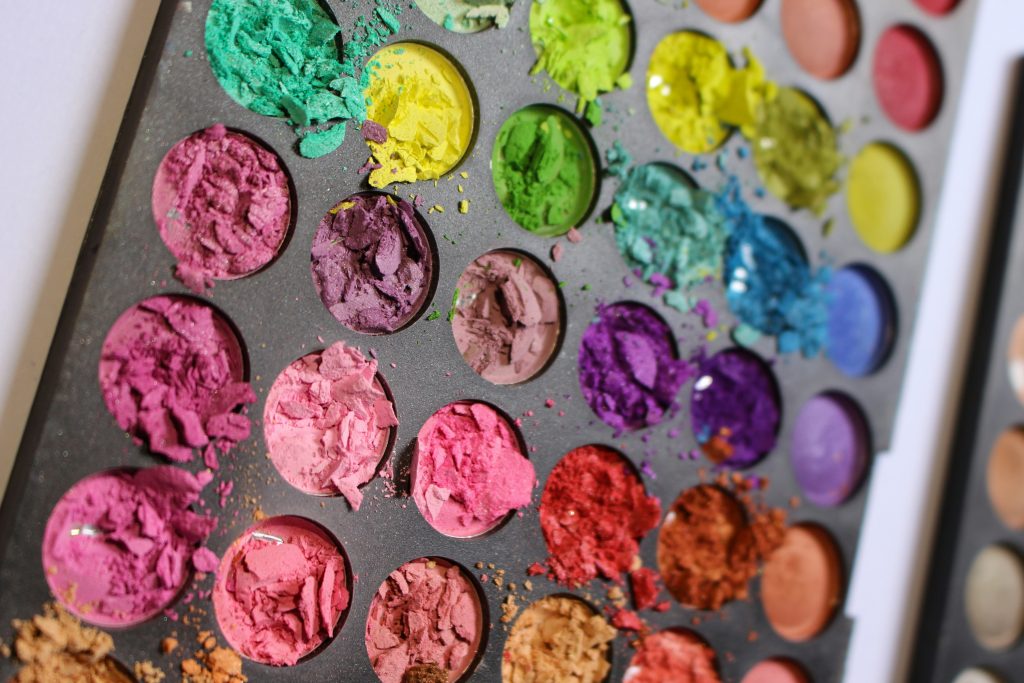
Step 3: Layer Colors Strategically
Pick complementary shades for depth. Start lighter, then build intensity. Pro artists swear by angled brushes for tight corners; trust me, they’re game-changers. Sounds like your laptop fan during a 4K render—whirrrr—but worth every second.
Step 4: Add Details & Finishing Touches
Splatter gold glitter for dimension or draw sharp lines with liquid liners. Once satisfied, mist setting spray lightly to lock everything in place.
Top Tips for Perfecting Your Creative Lip Art
- Invest in Quality Tools: Cheap brushes = streaky results. Spend smartly on fine-tipped brushes and stencils.
- Practice Patience: Don’t rush. Let each layer dry before adding new elements.
- Avoid This Terrible Tip: Never mix oil-based products in your artwork unless you enjoy watching chaos unfold.
- Embrace Color Theory: Complementary colors pop better together (e.g., purple against yellow).
- Seal Without Smudging: Use a non-sticky gloss or fixing powder strategically.
Real-World Inspiration: Examples & Case Studies
Want proof that creative lip art works wonders? Look no further than these Instagram legends:
- @LipartQueen: Known for her surrealist themes, she combines vibrant hues with surreal illusions, drawing thousands daily.
- @GlamGeekGal: This artist specializes in futuristic metallics, blending silver foils seamlessly into everyday looks.

FAQs About Creative Lip Art
Q: How long does it take to create creative lip art?
A: Beginner designs might take 15–20 minutes, while advanced pieces require upwards of an hour.
Q: Can anyone do creative lip art?
A: Absolutely! With practice and patience, anyone can excel.
Q: What tools should beginners invest in first?
A: Start with angled brushes, peelable lip liner, and cream-based pigments for versatility.
Conclusion
Congrats—you now have all the secrets to rocking stunning creative lip art. Remember, prep matters, patience pays off, and mistakes are part of the learning curve. So grab those brushes, unleash your inner Picasso, and go shine!
Like a Tamagotchi, your SEO needs daily care. 😉