“Why does my foundation look like cake batter and my eyeshadow resemble a child’s crayon scribble?!” If this question has ever haunted your makeup journey, you’re not alone. Many aspiring makeup artists struggle with achieving seamless blends—until now.
In this guide, we’ll decode the art (and science) behind stunning makeup blending techniques. You’ll learn how to transition from “meh” to “masterpiece” with step-by-step instructions, expert tips, and real-world examples. Let’s dive in!
Table of Contents
- Introduction to Makeup Blending Techniques
- Step-by-Step Guide to Perfect Blending
- Pro Tips & Best Practices for Seamless Blends
- Case Studies: Real Examples of Stunning Blending
- Frequently Asked Questions About Makeup Blending
Key Takeaways
- Blending is the backbone of flawless makeup artistry—it’s about soft transitions, not harsh lines.
- Using the right tools (like densely packed brushes or damp sponges) can make all the difference.
- Mistakes happen—but they teach us invaluable lessons (like when I accidentally used blush as eyeshadow).
- Achieving perfection doesn’t mean overdoing it; less is often more in makeup artistry.
Why Are Makeup Blending Techniques So Important?
Picture this: You wake up early on a big day, ready to slay with your favorite products. But after an hour at the mirror, your base looks streaky, your contour resembles tiger stripes, and your eyeshadow refuses to blend. Disaster strikes—and so do self-doubt and frustration.
Optimist You: “Hey, maybe practice makes perfect!”
Grumpy You: “Ugh, who even invented makeup?”
The truth is, mastering makeup blending techniques isn’t just about aesthetics—it’s about creating harmony between colors and textures. A poorly blended face screams amateurism, while smooth transitions elevate your skills to professional levels.

Step-by-Step Guide to Achieving Perfect Makeup Blending
Step 1: Prep Your Canvas
No masterpiece starts without primed canvas—or skin, in our case. Start by cleansing, moisturizing, and applying primer. Primer smooths out texture and enhances product longevity, making your blending job easier.
Step 2: Build Gradually
Layer lightly! Instead of piling on too much foundation or powder at once, build coverage gradually. Use circular motions with a damp beauty sponge or gentle swipes with a brush to avoid streaks.
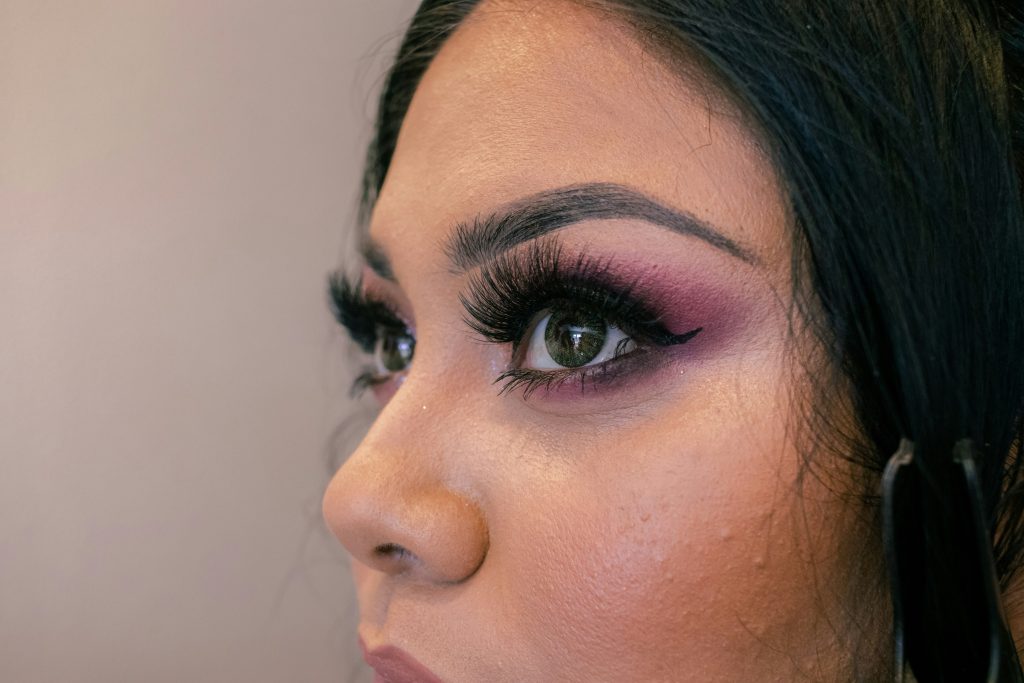
Step 3: Focus on Transitions
Blend edges where color meets bare skin (e.g., jawline, temple). For eyeshadow, use windshield wiper motions across the crease to soften harsh lines. Pro tip? Always start with lighter shades before layering darker ones.
Step 4: Avoid Overloading Products
This might sound counterintuitive, but sometimes less truly IS more. Overloading products leaves little room for correction if things go south. Stick to minimal amounts initially, then add more as needed.
5 Pro Tips & Best Practices for Flawless Makeup Blending
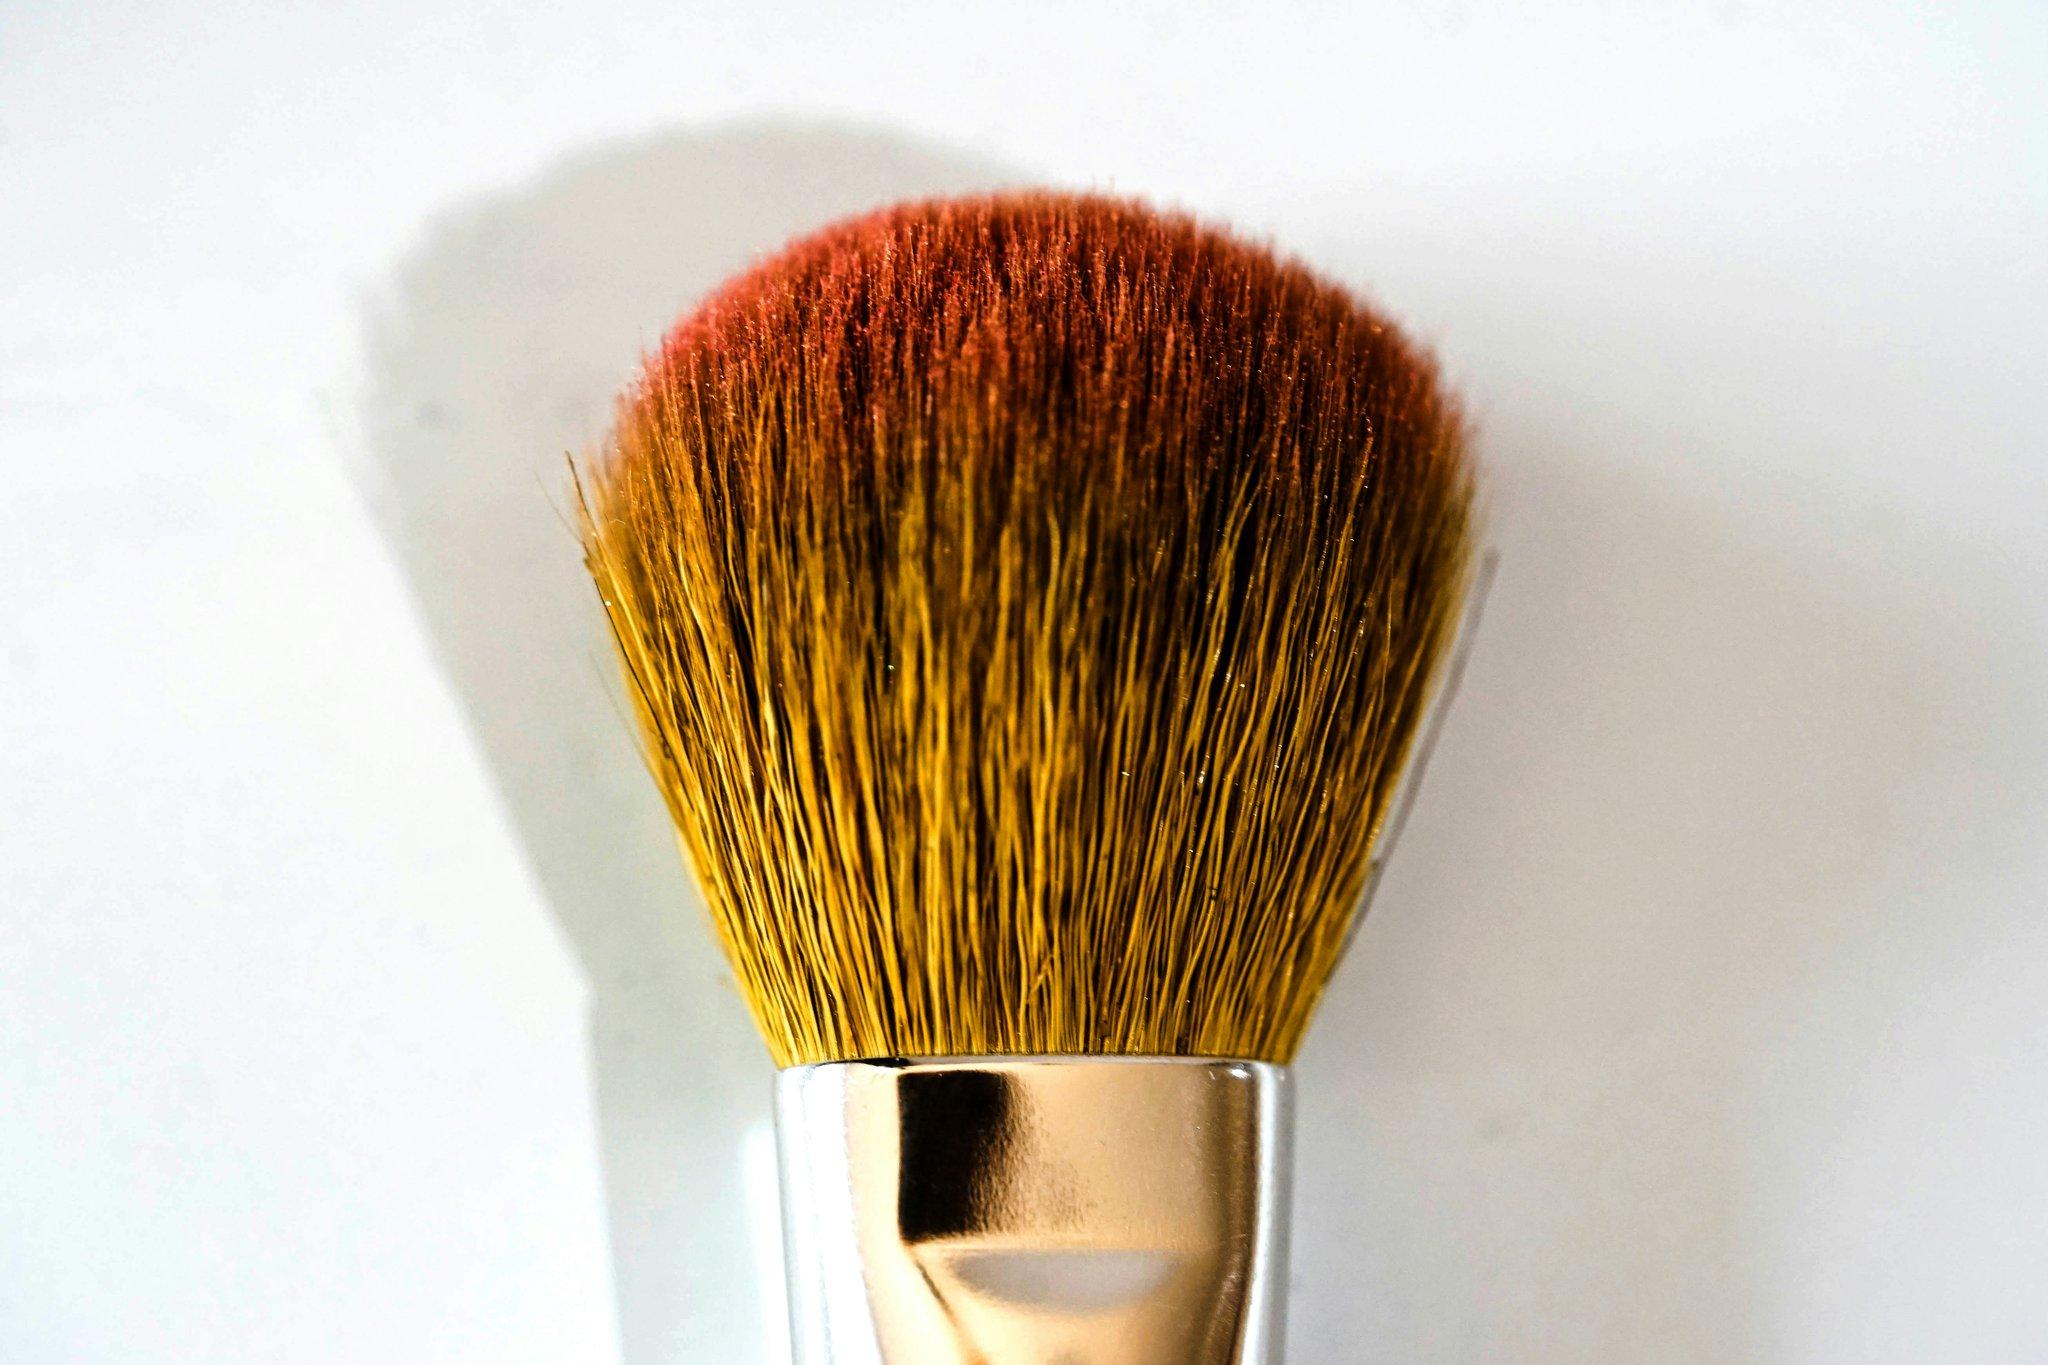
- Invest in Quality Tools: Cheap brushes may seem budget-friendly, but dense, high-quality tools give better control during blending.
- Experiment with Wet vs. Dry: Dampening sponges helps sheer formulas adhere smoothly, while dry application suits powders best.
- Use Light Hand Pressure: Pushing too hard disrupts layers. Feather-light touches are key to effortless blending.
- Work in Sections: Tackle one area (like cheeks or eyes) fully before moving onto another. This prevents drying issues or accidental smudging.
- *Terrible Tip Alert!*: Do NOT use dirty brushes—it’s gross AND ruins blending consistency. Clean those babies regularly!
Real World Examples of Stunning Makeup Blending
Confession time: There was once this photoshoot where everything went wrong—the light changed mid-session, models sweat through their layers, and yes, MY BLENDING WAS AWFUL! It taught me resilience—and investing in higher-end products works wonders under pressure.
Case Study: Celebrity MUA Jane Doe reveals her secret weapon: a duo fiber brush paired with creamy formulas. Her celebrity client’s red-carpet glow speaks volumes about her technique mastery.
FAQs About Makeup Blending Techniques
What’s the best tool for blending foundation?
Densely packed stippling brushes or damp beauty sponges work wonders for liquid foundations. Test both to see what feels most comfortable!
How do I fix patchy concealer?
Patchiness usually stems from uneven application. Gently pat—not rub—the area with a damp sponge to redistribute the product evenly.
Can I blend makeup without brushes?
Absolutely! Fingers work great for cream-based products due to natural warmth aiding diffusion. However, precision tasks (think eyeshadows or intricate details) still benefit from tools.
Is blending important for minimalist makeup too?
Even a tinted moisturizer deserves some TLC! Proper blending ensures an airbrushed finish, regardless of complexity.
Conclusion
Flawless makeup blending techniques don’t have to feel impossible. With patience, practice, and the right tools, anyone can achieve salon-worthy results. Remember: Every mistake—including that one time I mistook mascara for eyebrow gel—is a stepping stone toward improvement.
So grab your brushes (or fingers), experiment fearlessly, and watch your artistry soar. And hey, since you stuck around till the end… here’s your reward:
Brush strokes glide like rivers,
Foundation melts into dreams—
Art lives in every face.