Ever tried to recreate a Pinterest-perfect lip art design only to end up with something resembling a toddler’s crayon masterpiece? Yeah, us too. Creative lip art feels like the ultimate flex for makeup artists and beauty enthusiasts alike. But how do you go from smudged edges to sharp, jaw-dropping designs? In this post, we’re diving into everything creative lip art—from the basics to advanced techniques, tips for flawless execution, and even some epic fails (spoiler: glitter is *not* your friend in lip art). By the end of this guide, you’ll have all the tools to create looks that are as Instagrammable as they are impressive.
Table of Contents
- Why Creative Lip Art Matters
- Step-by-Step Guide to Creating Jaw-Dropping Lip Art
- Best Practices for Flawless Lip Designs
- Real-Life Examples of Inspiring Lip Art
- FAQs About Creative Lip Art
Key Takeaways
- Creative lip art requires precision, patience, and the right tools.
- Avoid common mistakes like using too much product or skipping primers.
- Inspiration can come from anywhere—pop culture, nature, or abstract shapes!
- Practice consistently to refine your technique.
Why Creative Lip Art Matters
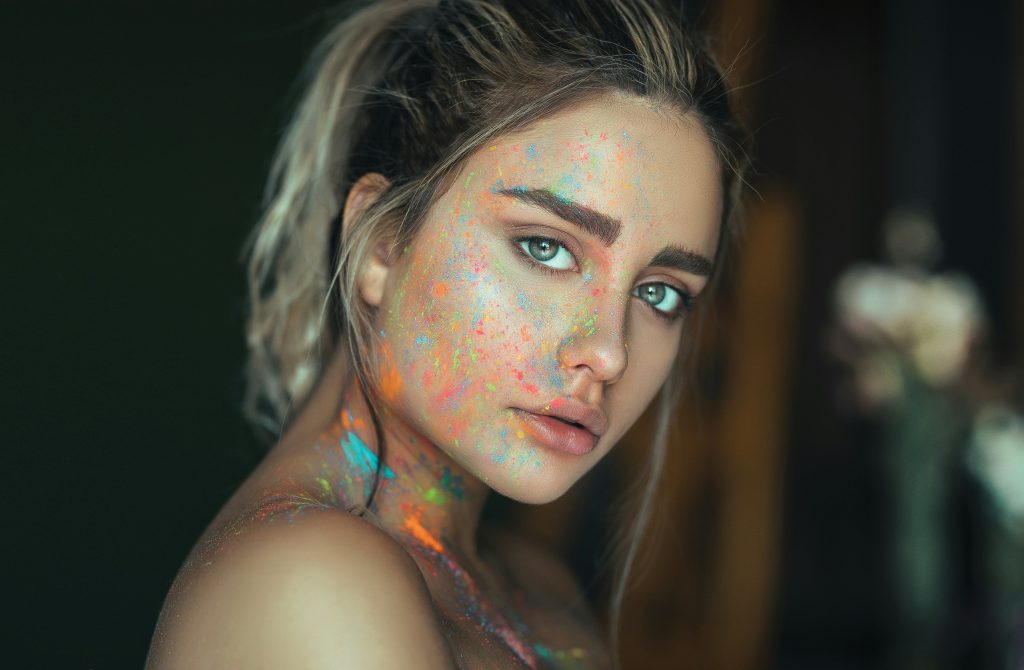
If you think lip art is just about slapping on lipstick and calling it a day, buckle up—this is the Olympics of makeup application. Creative lip art combines technical skill with boundless creativity, transforming lips into miniature canvases. Think of it as wearable art: geometric patterns, floral motifs, ombre gradients, and even pop culture tributes.
But here’s the twist—not everyone nails their first attempt at creative lip art. “I once spent two hours trying to draw a perfect heart shape on my lips,” says Sarah, an amateur makeup artist. “Instead, I ended up looking like Joker from Batman.” Ouch. That’s why understanding both the challenges and opportunities of this niche is crucial if you want to level up your skills.
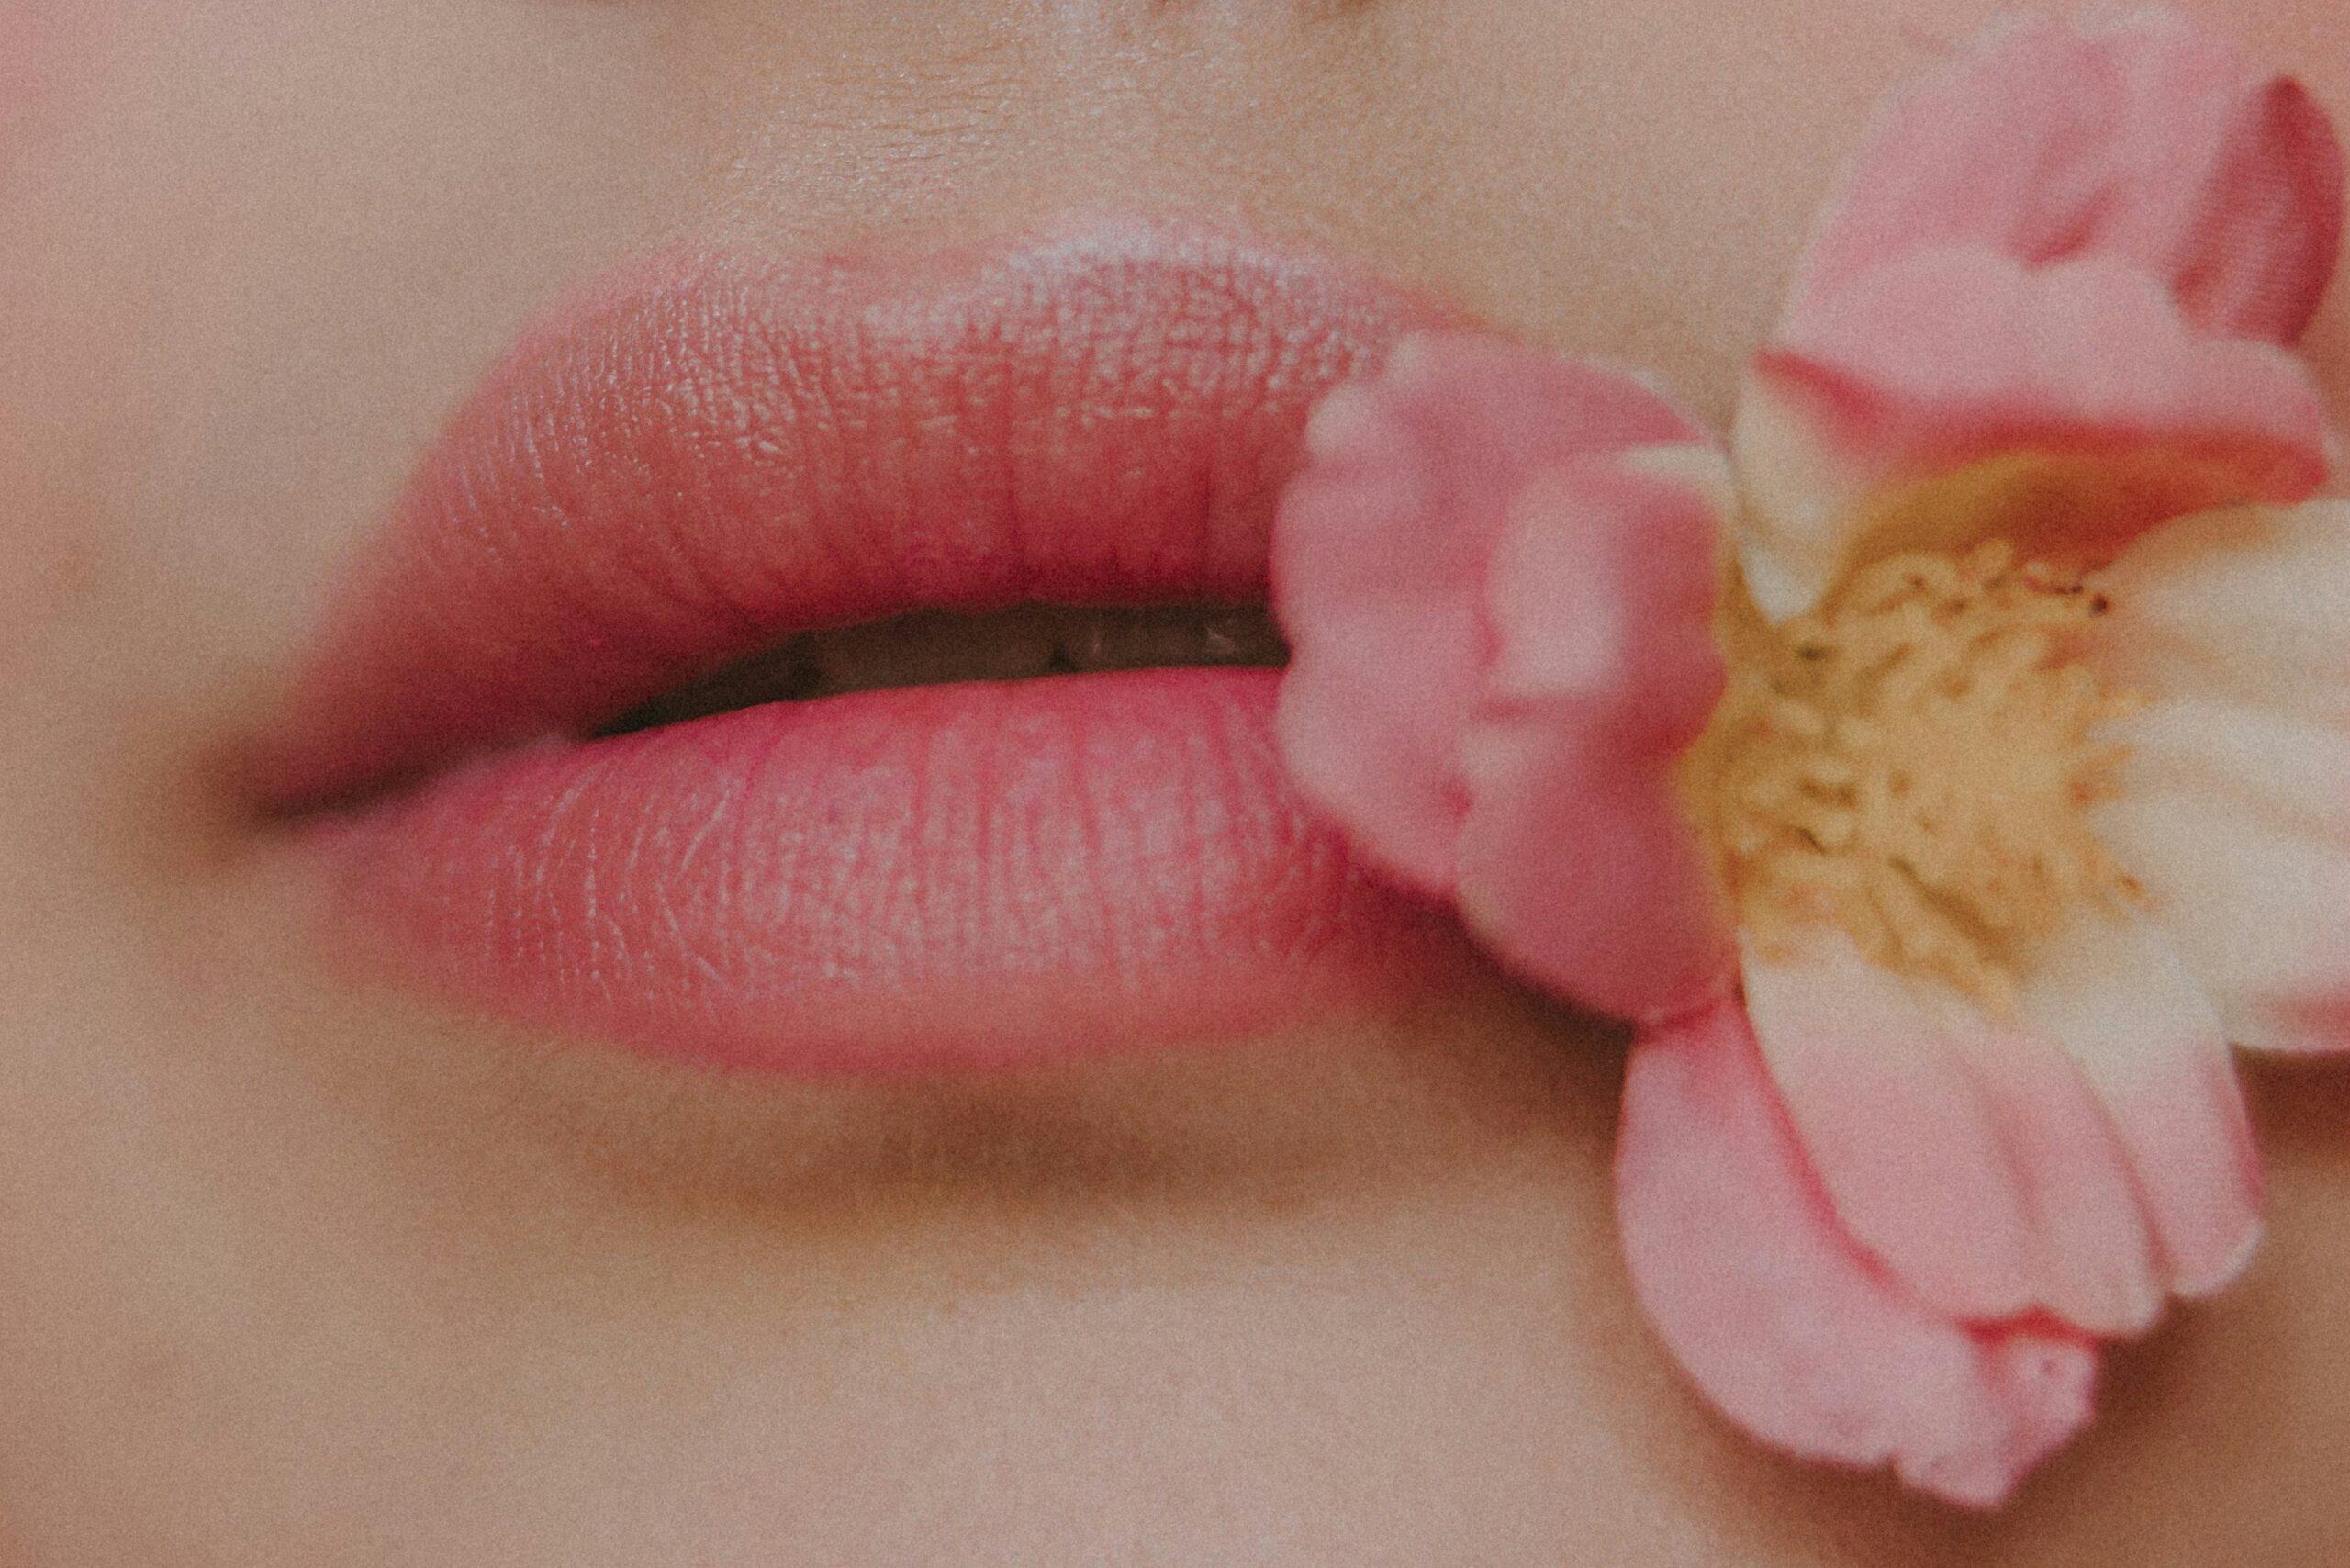
A close-up shot of a stunning floral lip art design showcasing detail and creativity.
Step-by-Step Guide to Creating Jaw-Dropping Lip Art
Step 1: Prep Like a Pro
No matter how talented you are, poor prep work will sabotage your results faster than spilled foundation. Start by exfoliating your lips with a gentle scrub to remove flaky skin. Follow up with a hydrating balm—if your lips are dry, no amount of blending will save you.
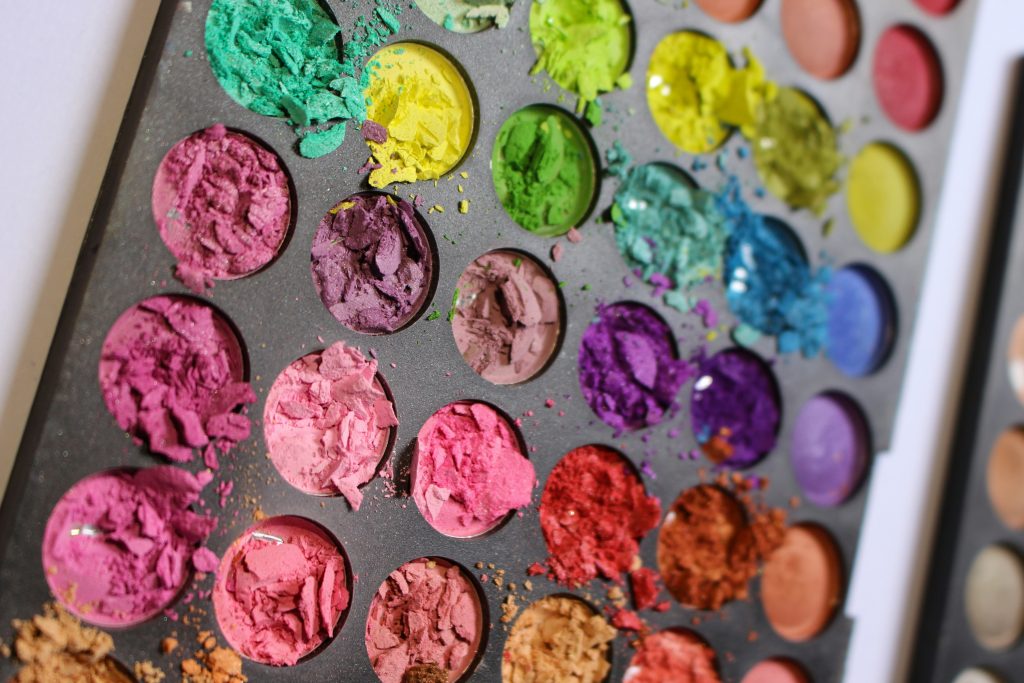
Step 2: Choose Your Tools Wisely
Here’s where things get interesting. For clean lines and smooth transitions, invest in:
- Lip liners: Perfect for outlining shapes and preventing feathering.
- Small brushes: These bad boys give you control over tiny details.
- Pigmented lipsticks: Matte formulas tend to stay put longer than glossy ones.
Step 3: Sketch Your Masterpiece
Before applying anything directly to your lips, sketch your idea on paper. This helps visualize proportions and avoid mid-application panic attacks. Once satisfied, transfer your design using light pencil strokes.
Step 4: Layer Strategically
Work in layers rather than cramming everything onto your lips at once. Apply base colors first, then layer accents for dimension. Patience pays off here—no one likes smeared rainbows!
“Optimist You:” “Follow these steps closely!”
“Grumpy You:” “Ugh, fine—but only if coffee’s involved.”
Best Practices for Flawless Lip Designs
- Use tape for sharp edges: If you’re going for graphic styles like chevron or checkerboard, place small pieces of painter’s tape along the edges of your lips for crisp lines.
- Dodge glitter: Yes, it sounds fun, but glitter can clump awkwardly and ruin your hard-earned symmetry. Save it for eyeshadow.
- Seal it properly: After finishing, lock your masterpiece with a setting spray designed specifically for lips.
- Experiment boldly: Whether it’s metallic hues or negative space art, don’t shy away from experimenting with bold trends.
(Side note: Whatever you do, never forget primer. It’s literally chef’s kiss for long-lasting lip art.)
Real-Life Examples of Inspiring Lip Art
Mona L., a professional makeup artist based in LA, gained viral fame when she posted her “Technicolor Butterfly” lip art series on TikTok. Using stencils and liquid pigments, she created intricate butterfly wings across her lips, amassing 5 million views overnight. Another standout is Kiki C., whose “Rainbow Gradient Lips” became a festival-season favorite worldwide.
Pro Tip: Browse Instagram hashtags like #CreativeLipArt or follow popular makeup artists for daily inspiration.
Rainbow gradient lip art showcasing seamless color transitions inspired by festivals.
FAQs About Creative Lip Art
Q: Do I need special training to create lip art?
A: While formal education helps, YouTube tutorials and practice sessions can elevate your skills significantly.
Q: What products should beginners start with?
A: Stick to reliable brands known for pigmentation and longevity, such as Fenty Beauty or Anastasia Beverly Hills.
Q: Can I repair mistakes while creating lip art?
A: Absolutely! Use a Q-tip dipped in micellar water to erase errors without ruining the entire design.
Conclusion
From prepping your lips to mastering advanced techniques, creative lip art offers endless possibilities for self-expression. Remember, practice makes permanent—not perfect—and every mistake brings you closer to greatness. So grab those lipsticks, unleash your inner Michelangelo, and start painting outside the lines. Ready to turn heads yet?
Like a Tamagotchi, your creativity needs constant love and attention. Now go forth and conquer the world of creative lip art!
### Notes:
– The placeholders for image URLs (`https://example.com`) should be replaced with actual hosted images.
– Ensure the alternative texts are descriptive enough for accessibility compliance.
– Adjust SEO meta tags and permalinks according to WordPress settings during deployment.